Sourdough Bread: A complete guide to creating your best loaf of bread!
Sourdough Bread, a complete guide from starter to loaf!
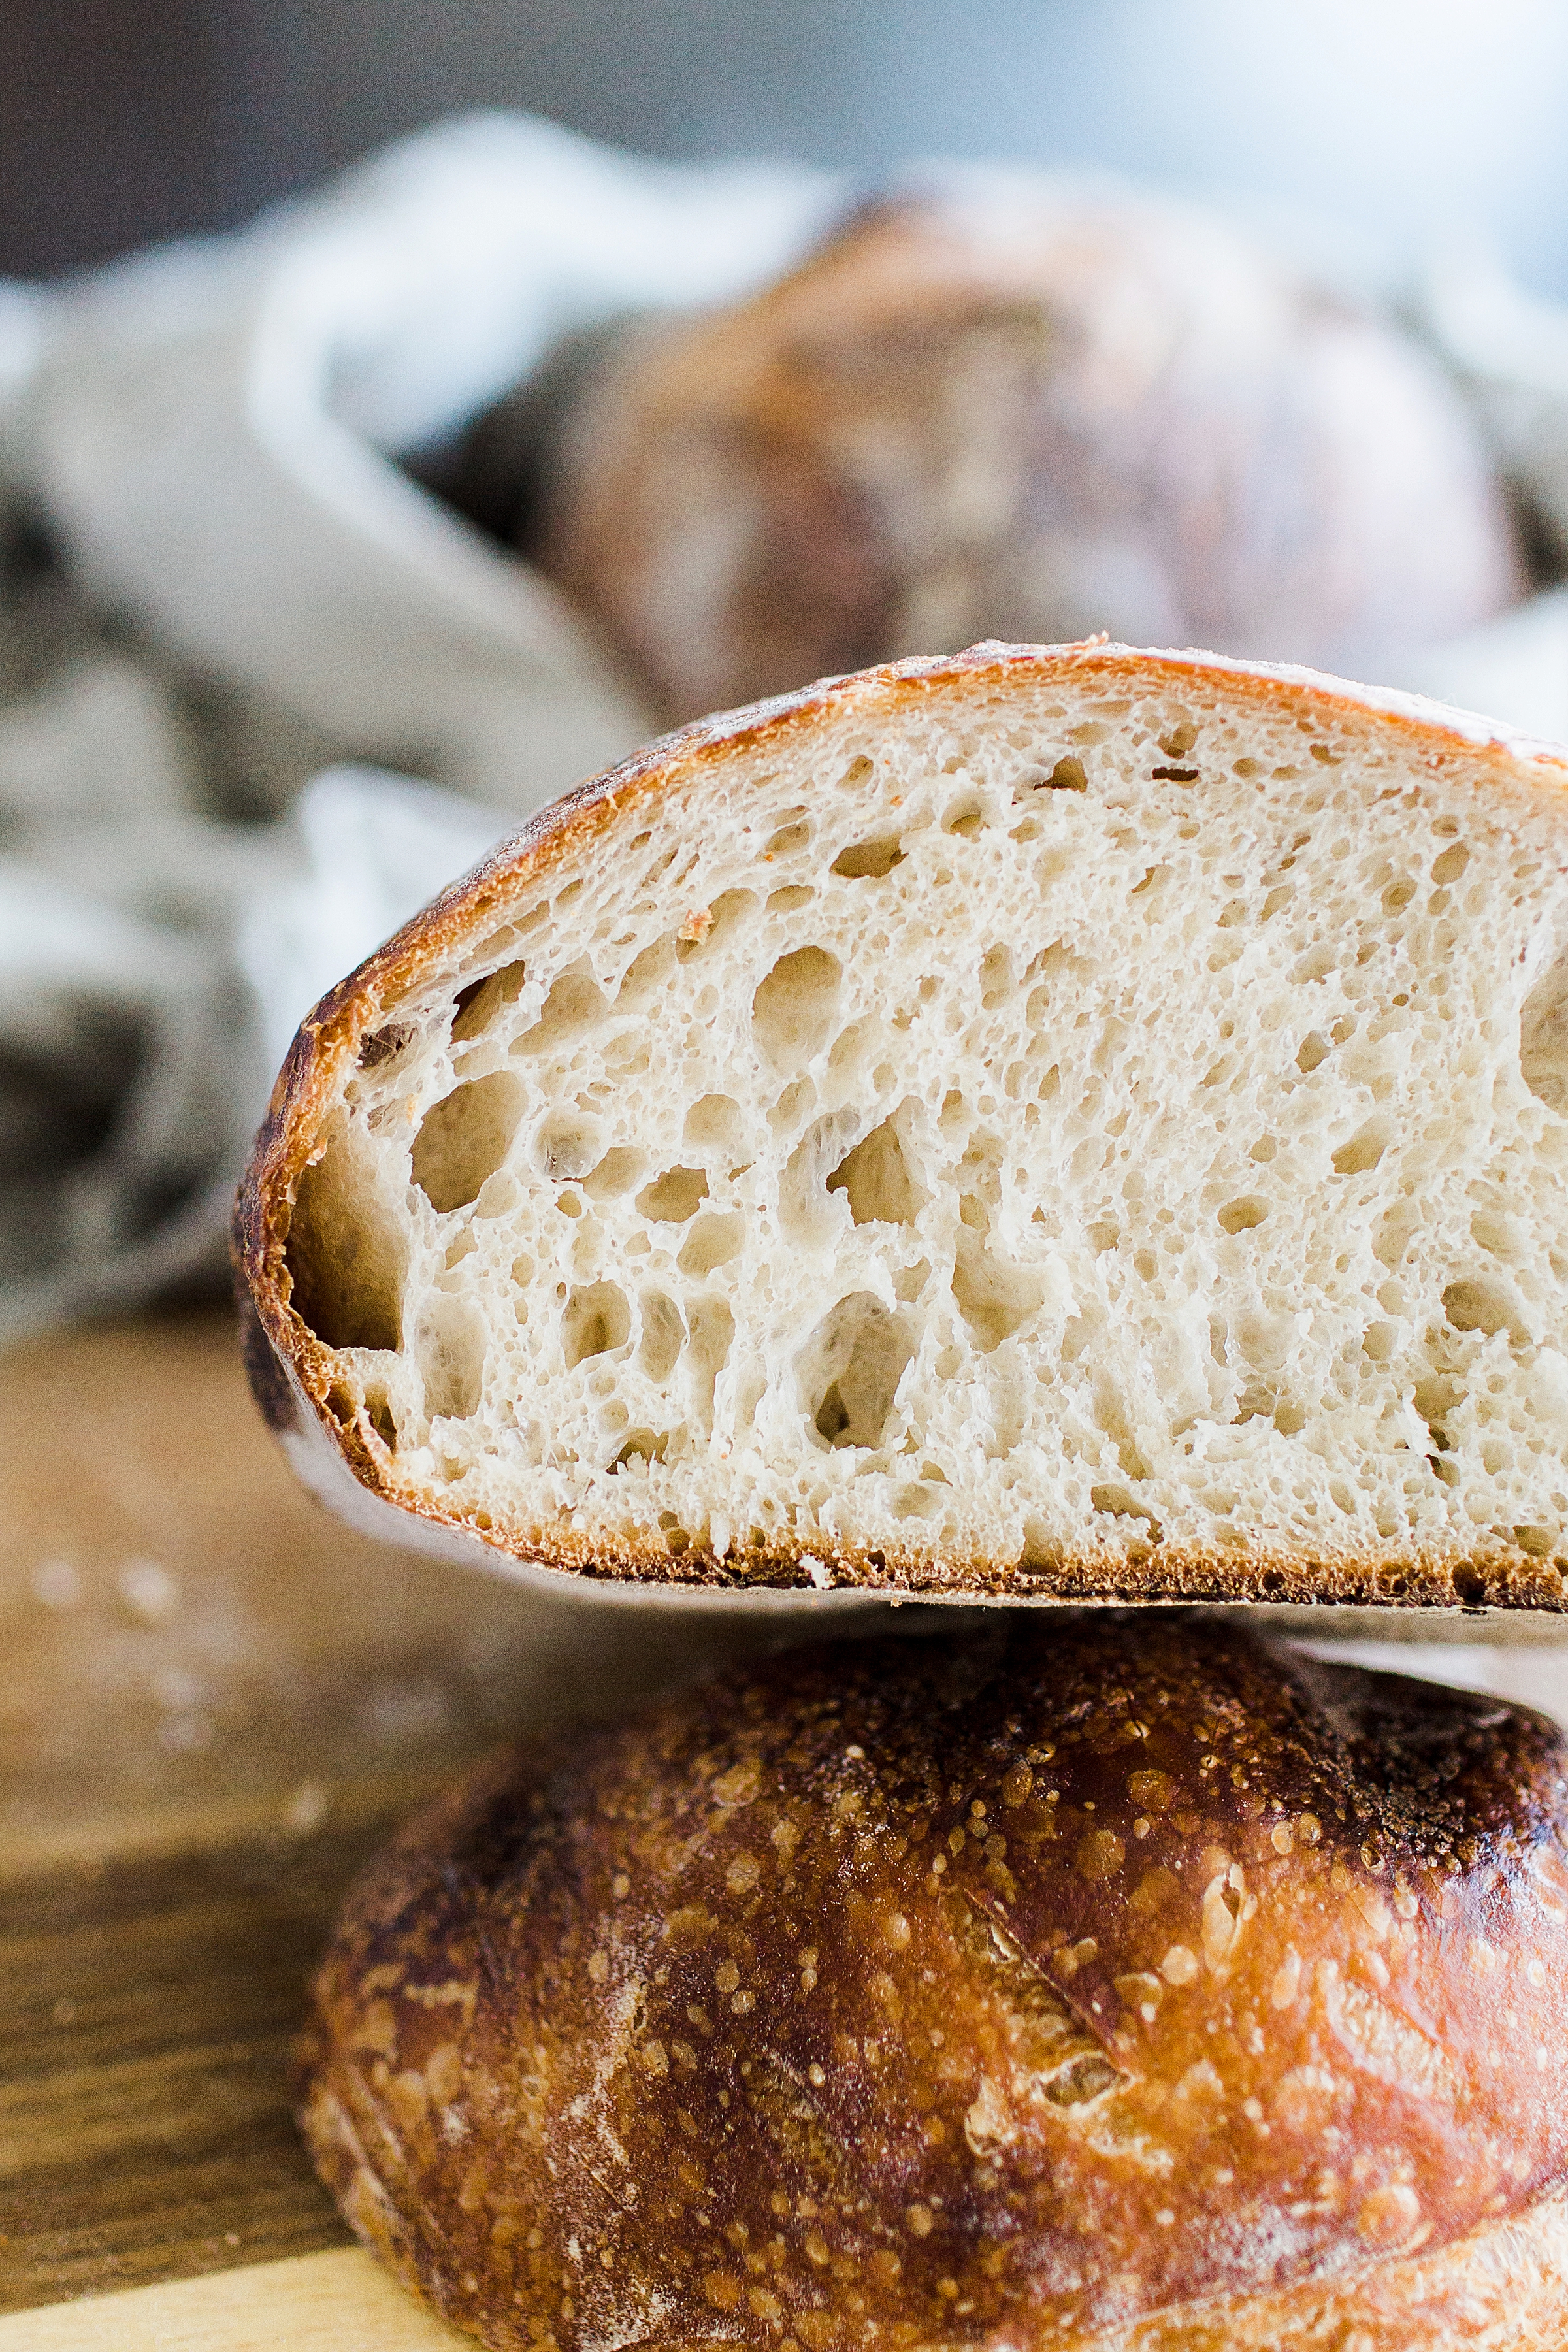
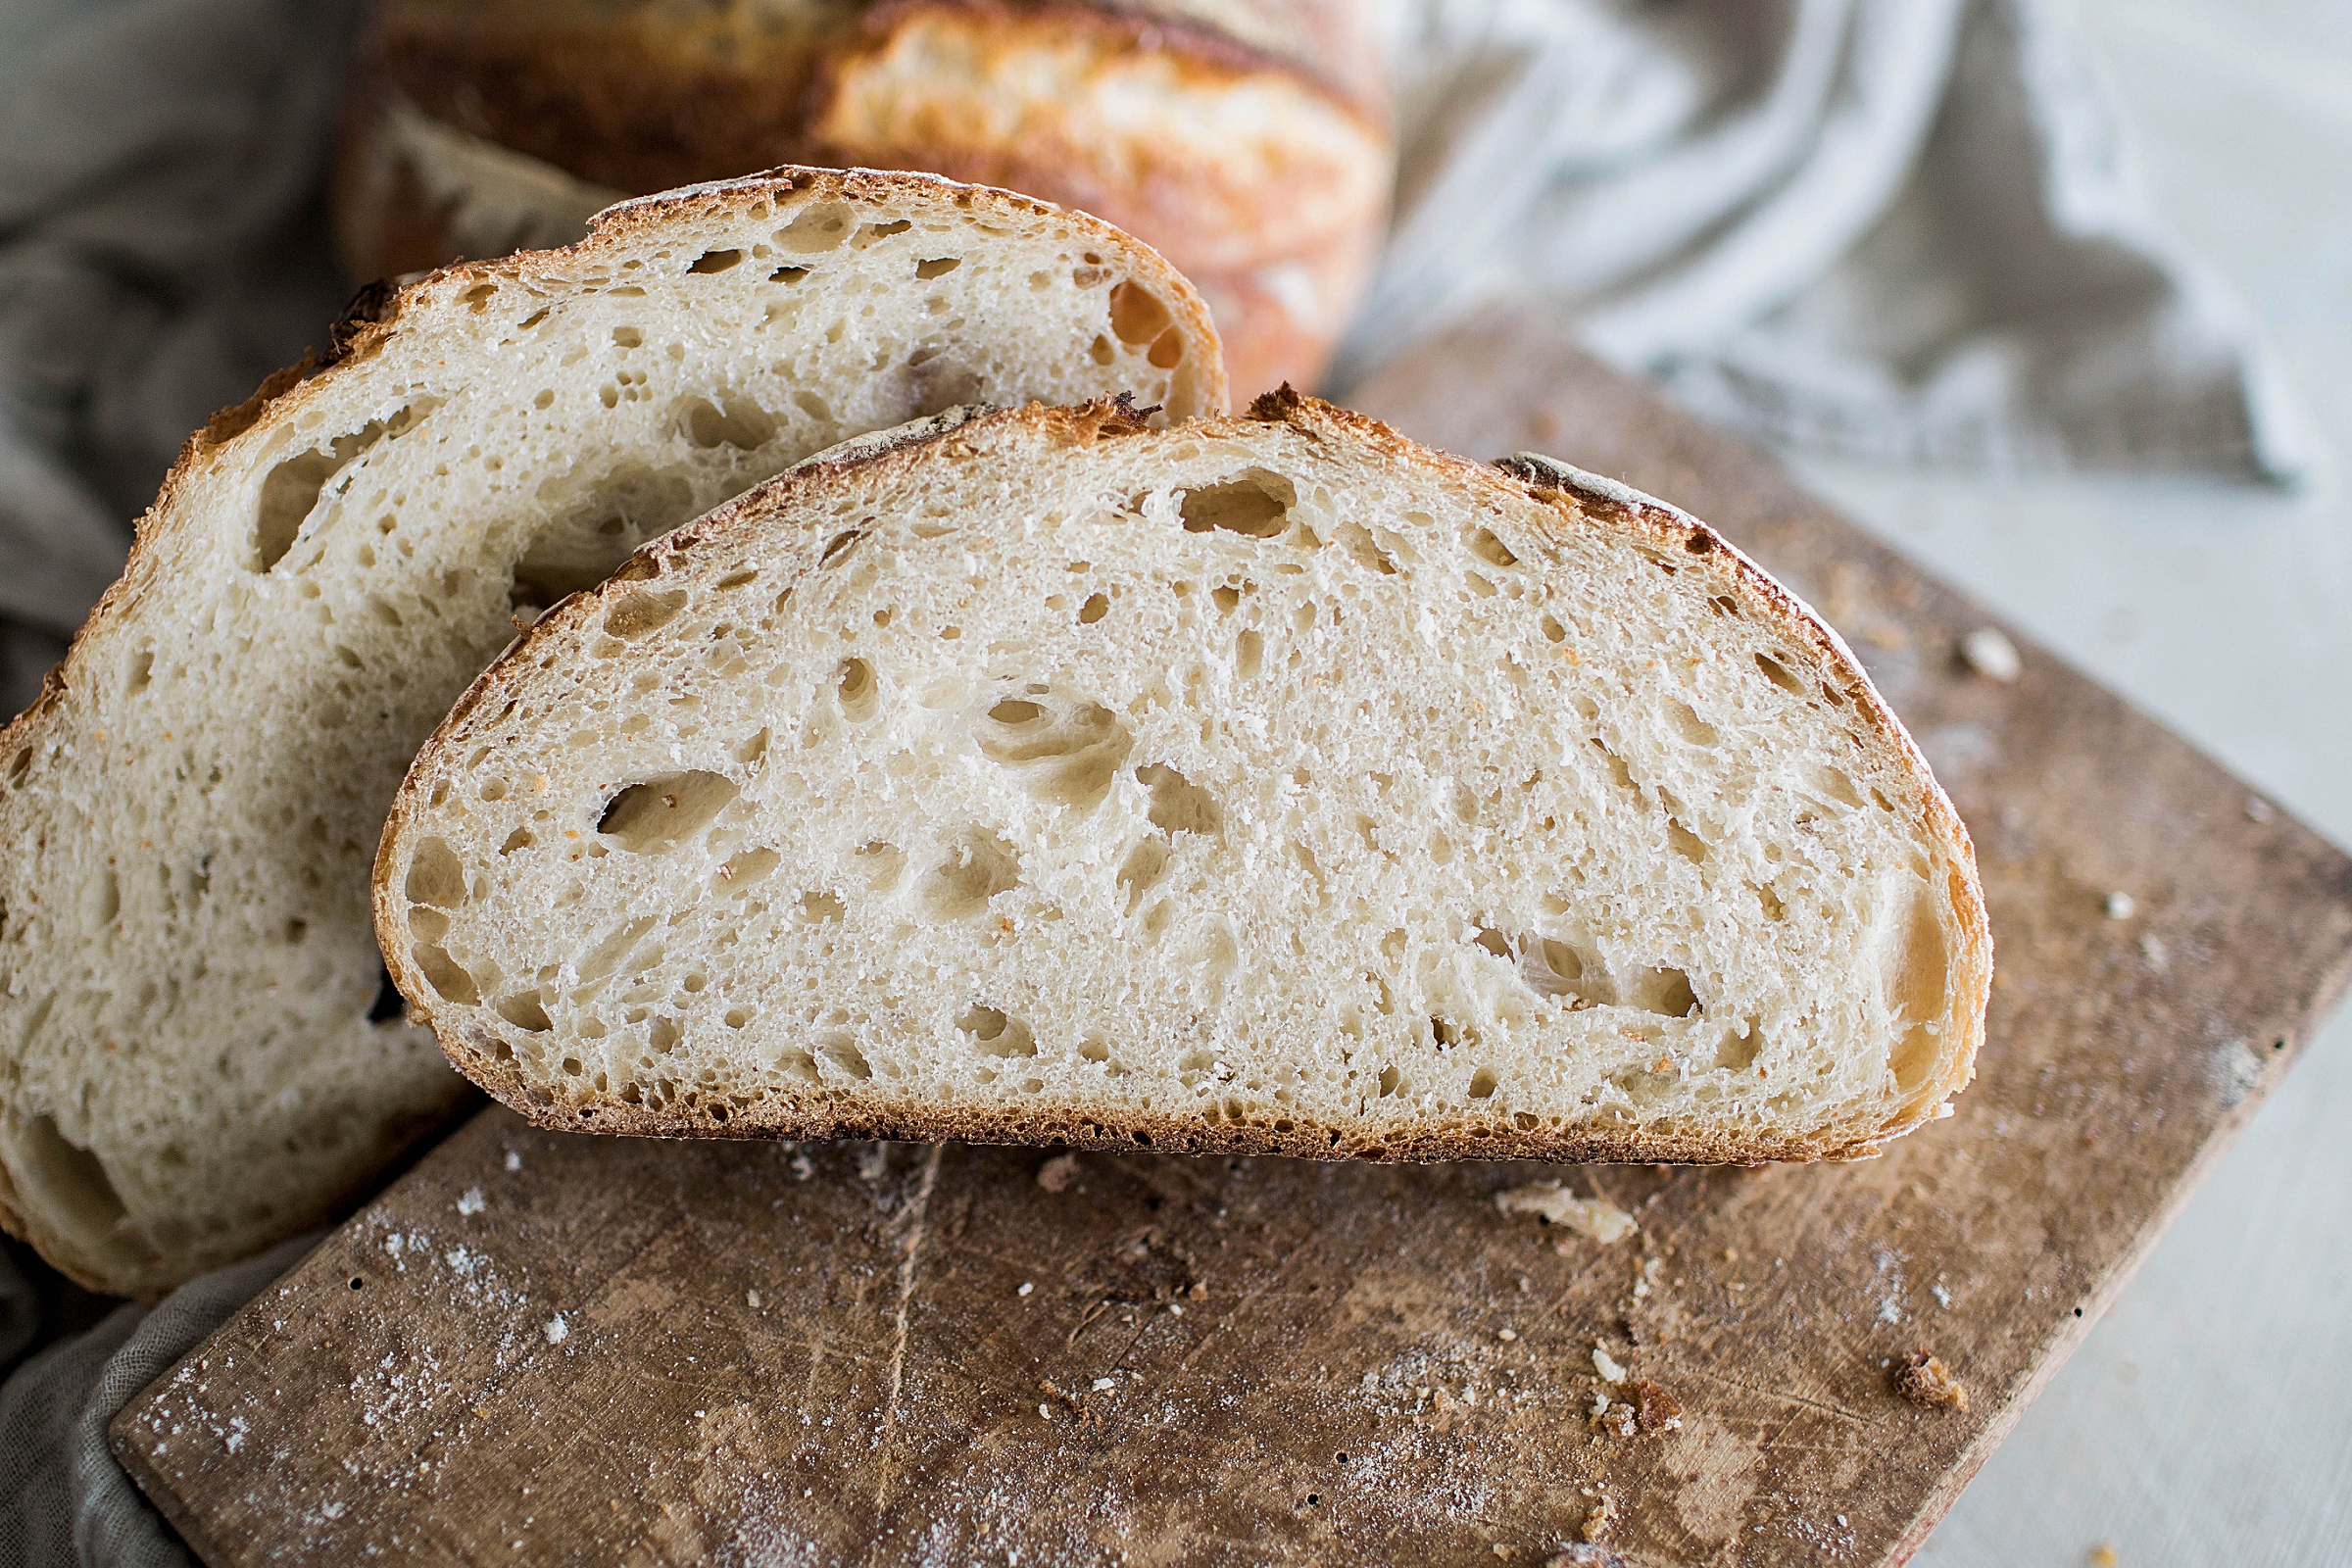
Baking a chewy, airy, flavorful loaf of sourdough bread is a must-do accomplishment for every home baker! Maybe you’ve been scared to jump into the long baking process in the past or you didn’t think you had the time to babysit a sourdough yeast monster. It may seem like a long and tedious process but actually, it’s just a bunch of waiting. To get the fluffy sourdough interior and strong flavor, you need to give it lots of time. I’ve actually timed this whole process out from start to finish so many times that I have a fresh, out of the oven, 6 PM dinner serving time if I start the autolyse step at 7:30 AM. You will need to be around for the whole day (about 10.5 hours) to do the various dough folds and processes but once you’ve created your first loaf and you’ve tasted the deliciousness of your own fresh sourdough, you’ll make room for it in your routine baking schedule!
Makes: 2 Loaves
Total time: Leaven 12 hours + 10.5 hours
Recipe Ingredients:
2 heaping Tbs Active Sourdough Starter
1/2 Cup Bread Flour
1/3 Cup Water
–
2 Cups Water
5 1/2 Cups Bread Flour
1 Tbl Salt dissolved in 1/4 Cup Warm Water
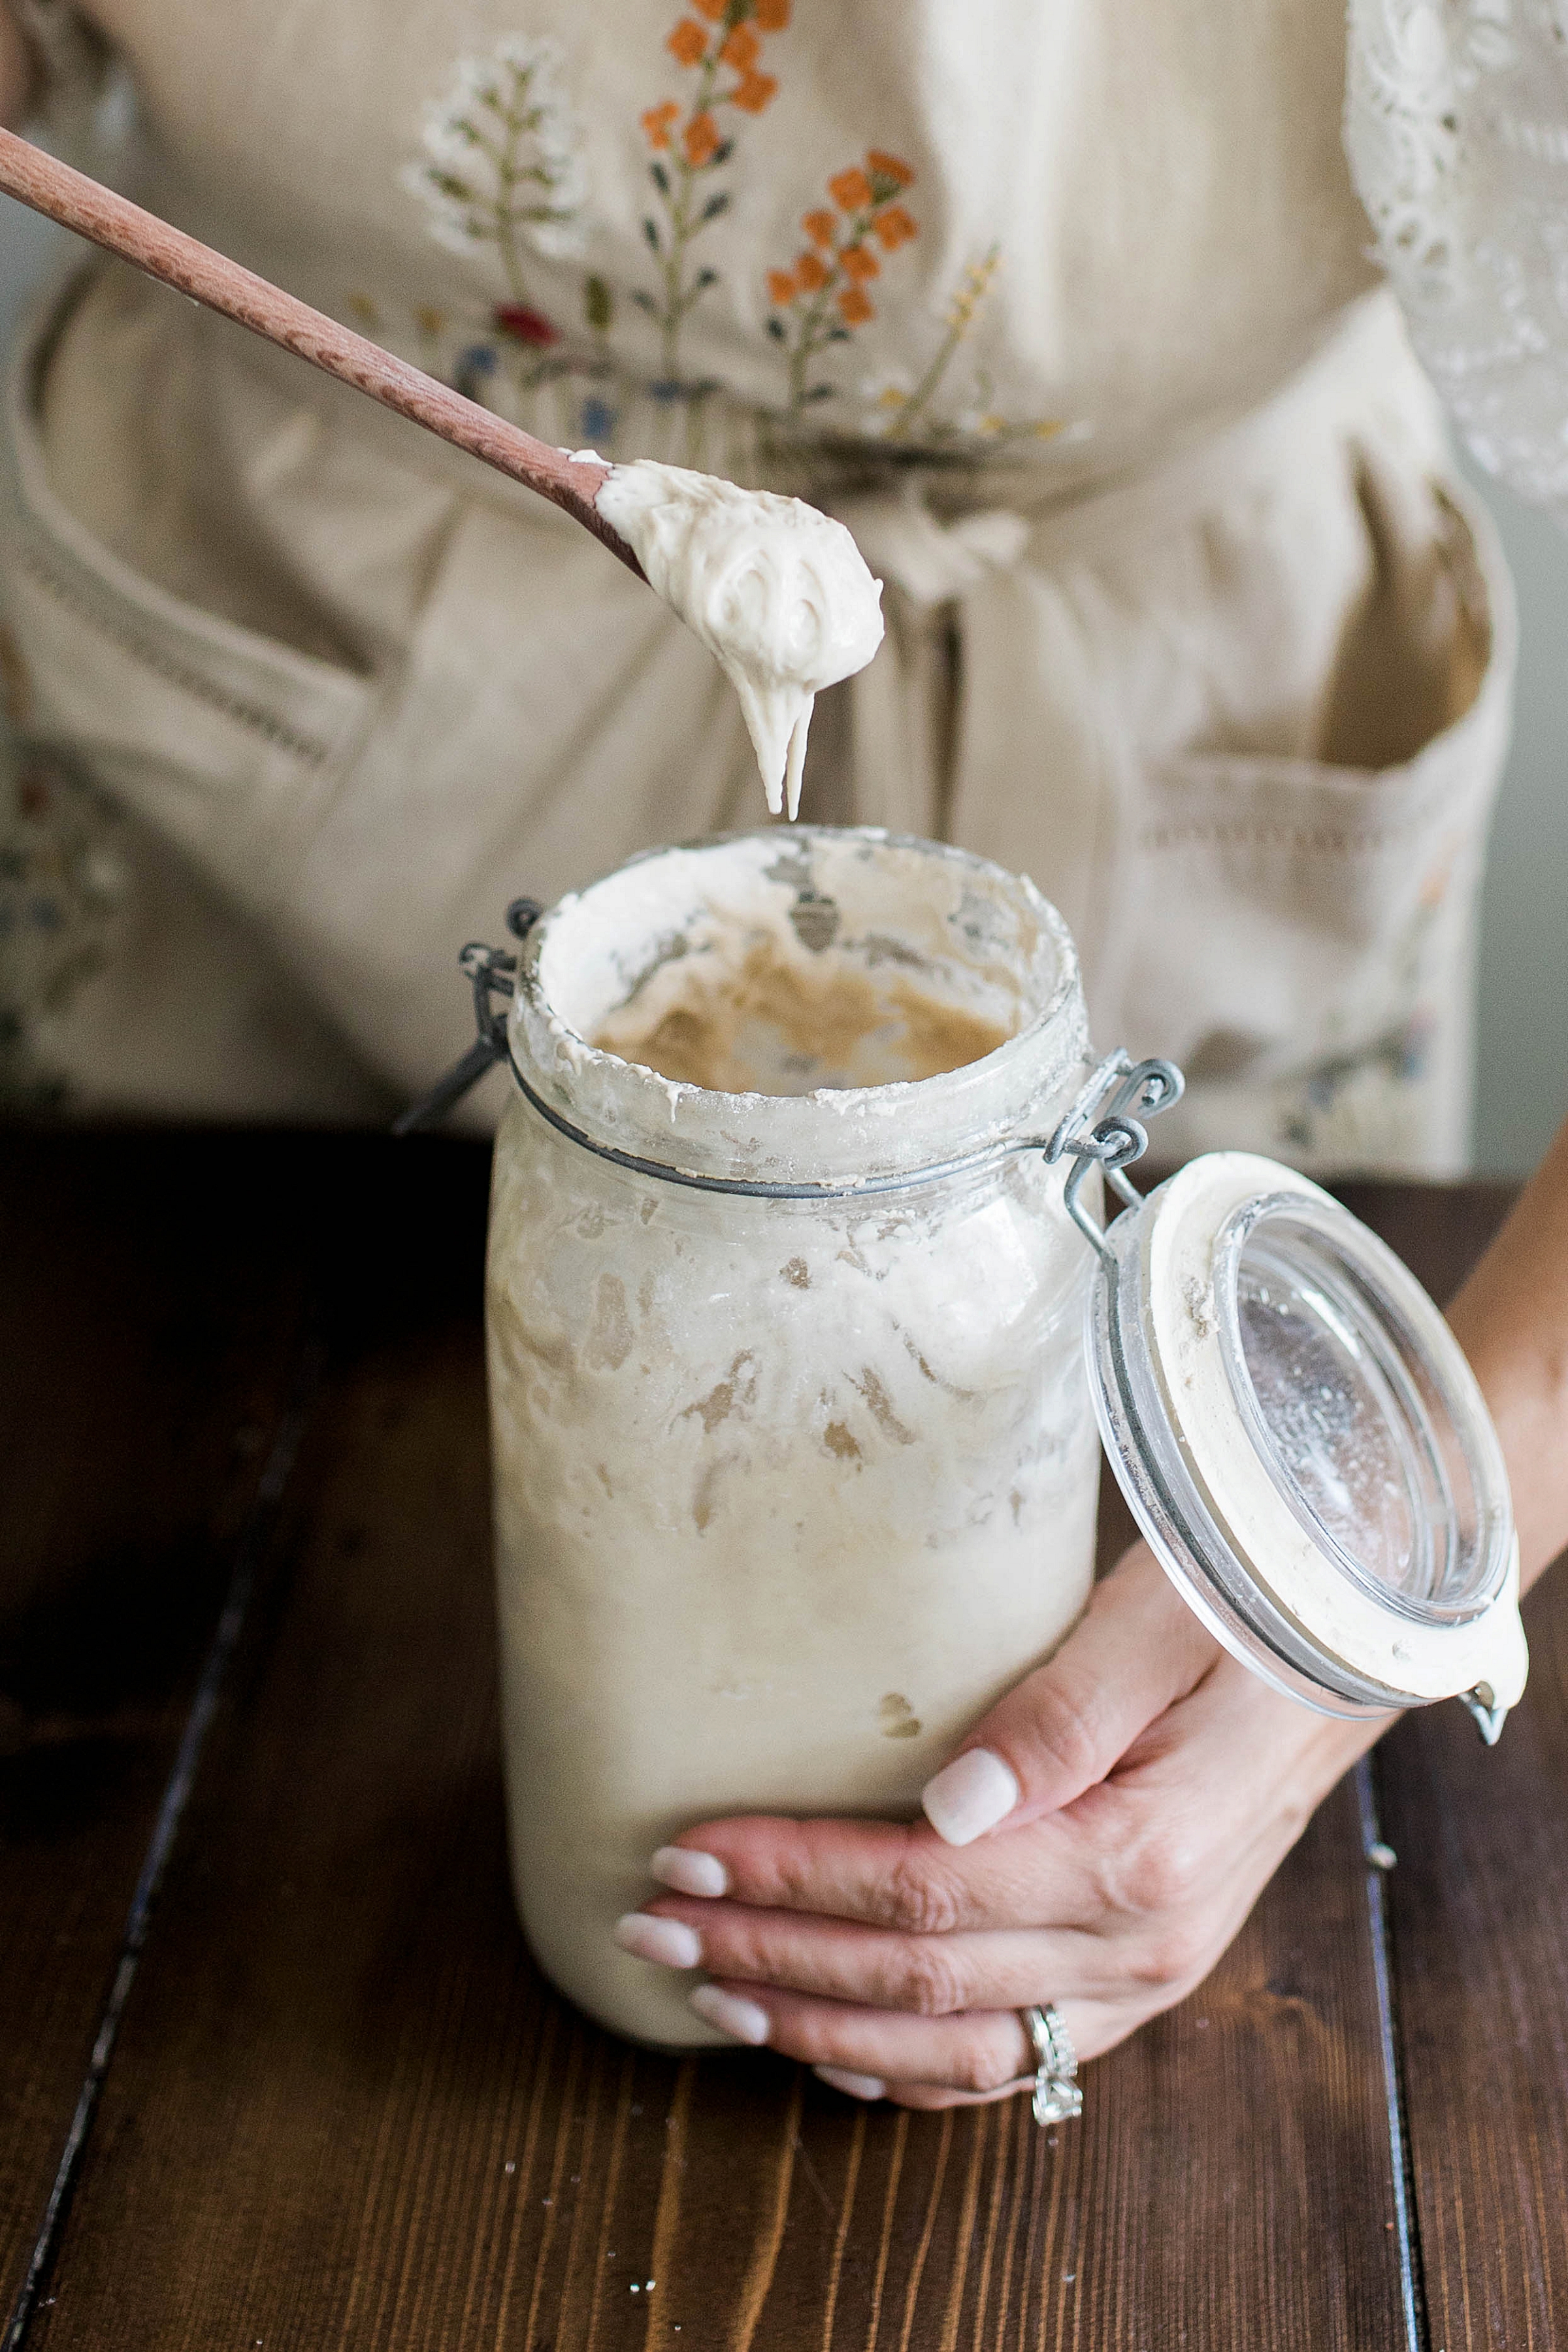
Sourdough Starter. See this post in Part I to learn how to make and keep a sourdough starter! Make it once and store it in your refrigerator for all your recipe needs. Contrary to popular belief, it’s super easy to make and HARD TO KILL even with extreme neglect. So don’t be afraid to get started!
**The following recipe guide is my favorite way to make sourdough bread with a lengthy folding process and a dutch oven. I learned this method from thekitchn.com and altered it with additional notes over the years…
The Leaven. 12 hours (overnight)
2 heaping Tbs Active Sourdough Starter
1/2 Cup Bread Flour
1/3 Cup Water
Take your sourdough starter out a few days before you plan to use it and feed it twice daily to make sure it’s nice and strong. The night before you want to make a loaf of bread, create the leaven before you feed and store your starter. In a large mixing bowl, take 2 heaping tablespoons of your stirred down, unfed active starter and mix it with 1/2 cup bread flour and 1/3 cup water. Stir it together with a rubber spatula until there are no more bits of flour on the bowl and let it sit overnight at room temperature covered with a tea towel.
The Autolyse. 3 hours
2 Cups Water
5 1/2 Cups Bread Flour
1 Tbl Salt dissolved in 1/4 Cup Warm Water
Add 2 cups of water to the leaven and work the water in with your hands until it’s mostly mixed together. Add 5 1/2 cups of bread flour and stir with a spatula and/or your hands until a rough and shaggy dough forms and all the flour is at least incorporated. Cover the dough bowl with a tea towel and let rest for 3 hours. While it rests, add the salt to the 1/4 cup warm water and stir occasionally to dissolve. At the end of the 3 hours, add the saltwater to the dough with your hands by squeezing and pulling the dough until the water is incorporated.
Folding The Dough. 2.5 hours
Grab the dough at the top side edge, lift it up and fold it over on top of itself, pressing it into the center of the dough so that it sticks to itself. Fold the dough like this for a total of four times, moving clockwise from the top of the bowl. It’s like folding an envelope. Let the dough rest 30 minutes and then repeat the folds. Do this a total of 5 times, every 30 minutes for a total of 2 hours. And then let the dough rise undisturbed for an additional 30 minutes. The dough will start out very loose and wet and will become tight and rubbery by the end of the 2.5 hours.
Proofing. 4 hours (or 12-15 hours in the refrigerator overnight)
Divide the dough into two equal parts using a pastry knife on a floured surface. Shape the dough roughly into two rounds using your hands by gently cupping the dough as you turn it. Let the two dough balls rest for 30 minutes covered with a kitchen towel. If you haven’t before, prepare two proofing baskets by spritzing them with water and then rubbing a generous layer of rice flour into the liner. You don’t need to clean the fabric after you use them once. The more use and flour build up, the better over time. If you do get a stuck piece of dough on the fabric, you will need to clean the fabric to prevent bacteria. If you don’t have proofing baskets or rice flour, you can use mixing bowls lined with a linen cloth. GENEROUSLY press flour into and all over the fabric so that your dough won’t stick during the proofing stage.
Gently flip or roll a dough ball upside down with a pastry scraper. Grab the lip of the dough at the top, pull it gently up with a little wiggle, then fold it over onto the center of the dough and push down with your fingers to secure it. Repeat with the right, left, and bottom sides of the dough like you are creating an envelope (just the same as the folding process). Then fold in an additional four corners like you are stitching the dough sealed into a ball shape. This creates tension on the top of the dough (the other side) without breaking the surface. Gently roll the dough right-side up. Cup your palms around the dough and rotate it against the counter to give it any last shaping. Sprinkle some flour on the top surface, and place into the flour-lined proofing basket upside down (the shaping seams will be what you can see when you look in the basket). Repeat with the 2nd dough ball, cover with a tea towel, and let both rise covered with a towel for 2+ hours or 12-15 hours in the refrigerator overnight. NOTE: You may live in a different climate than I do here in Florida. Due to temperature and humidity conditions, you may need to let your dough rise for a longer time period. The dough should rise some but not double in size. You don’t want to under or overproof your dough, this is something that just has to be learned with experience. So try 4 hours, and mend your timeframe depending on your outcome. If it’s under-proofed, the surface tension will be loose and difficult to score. If it’s over-proofed, it’ll bake a bit flat and dense.
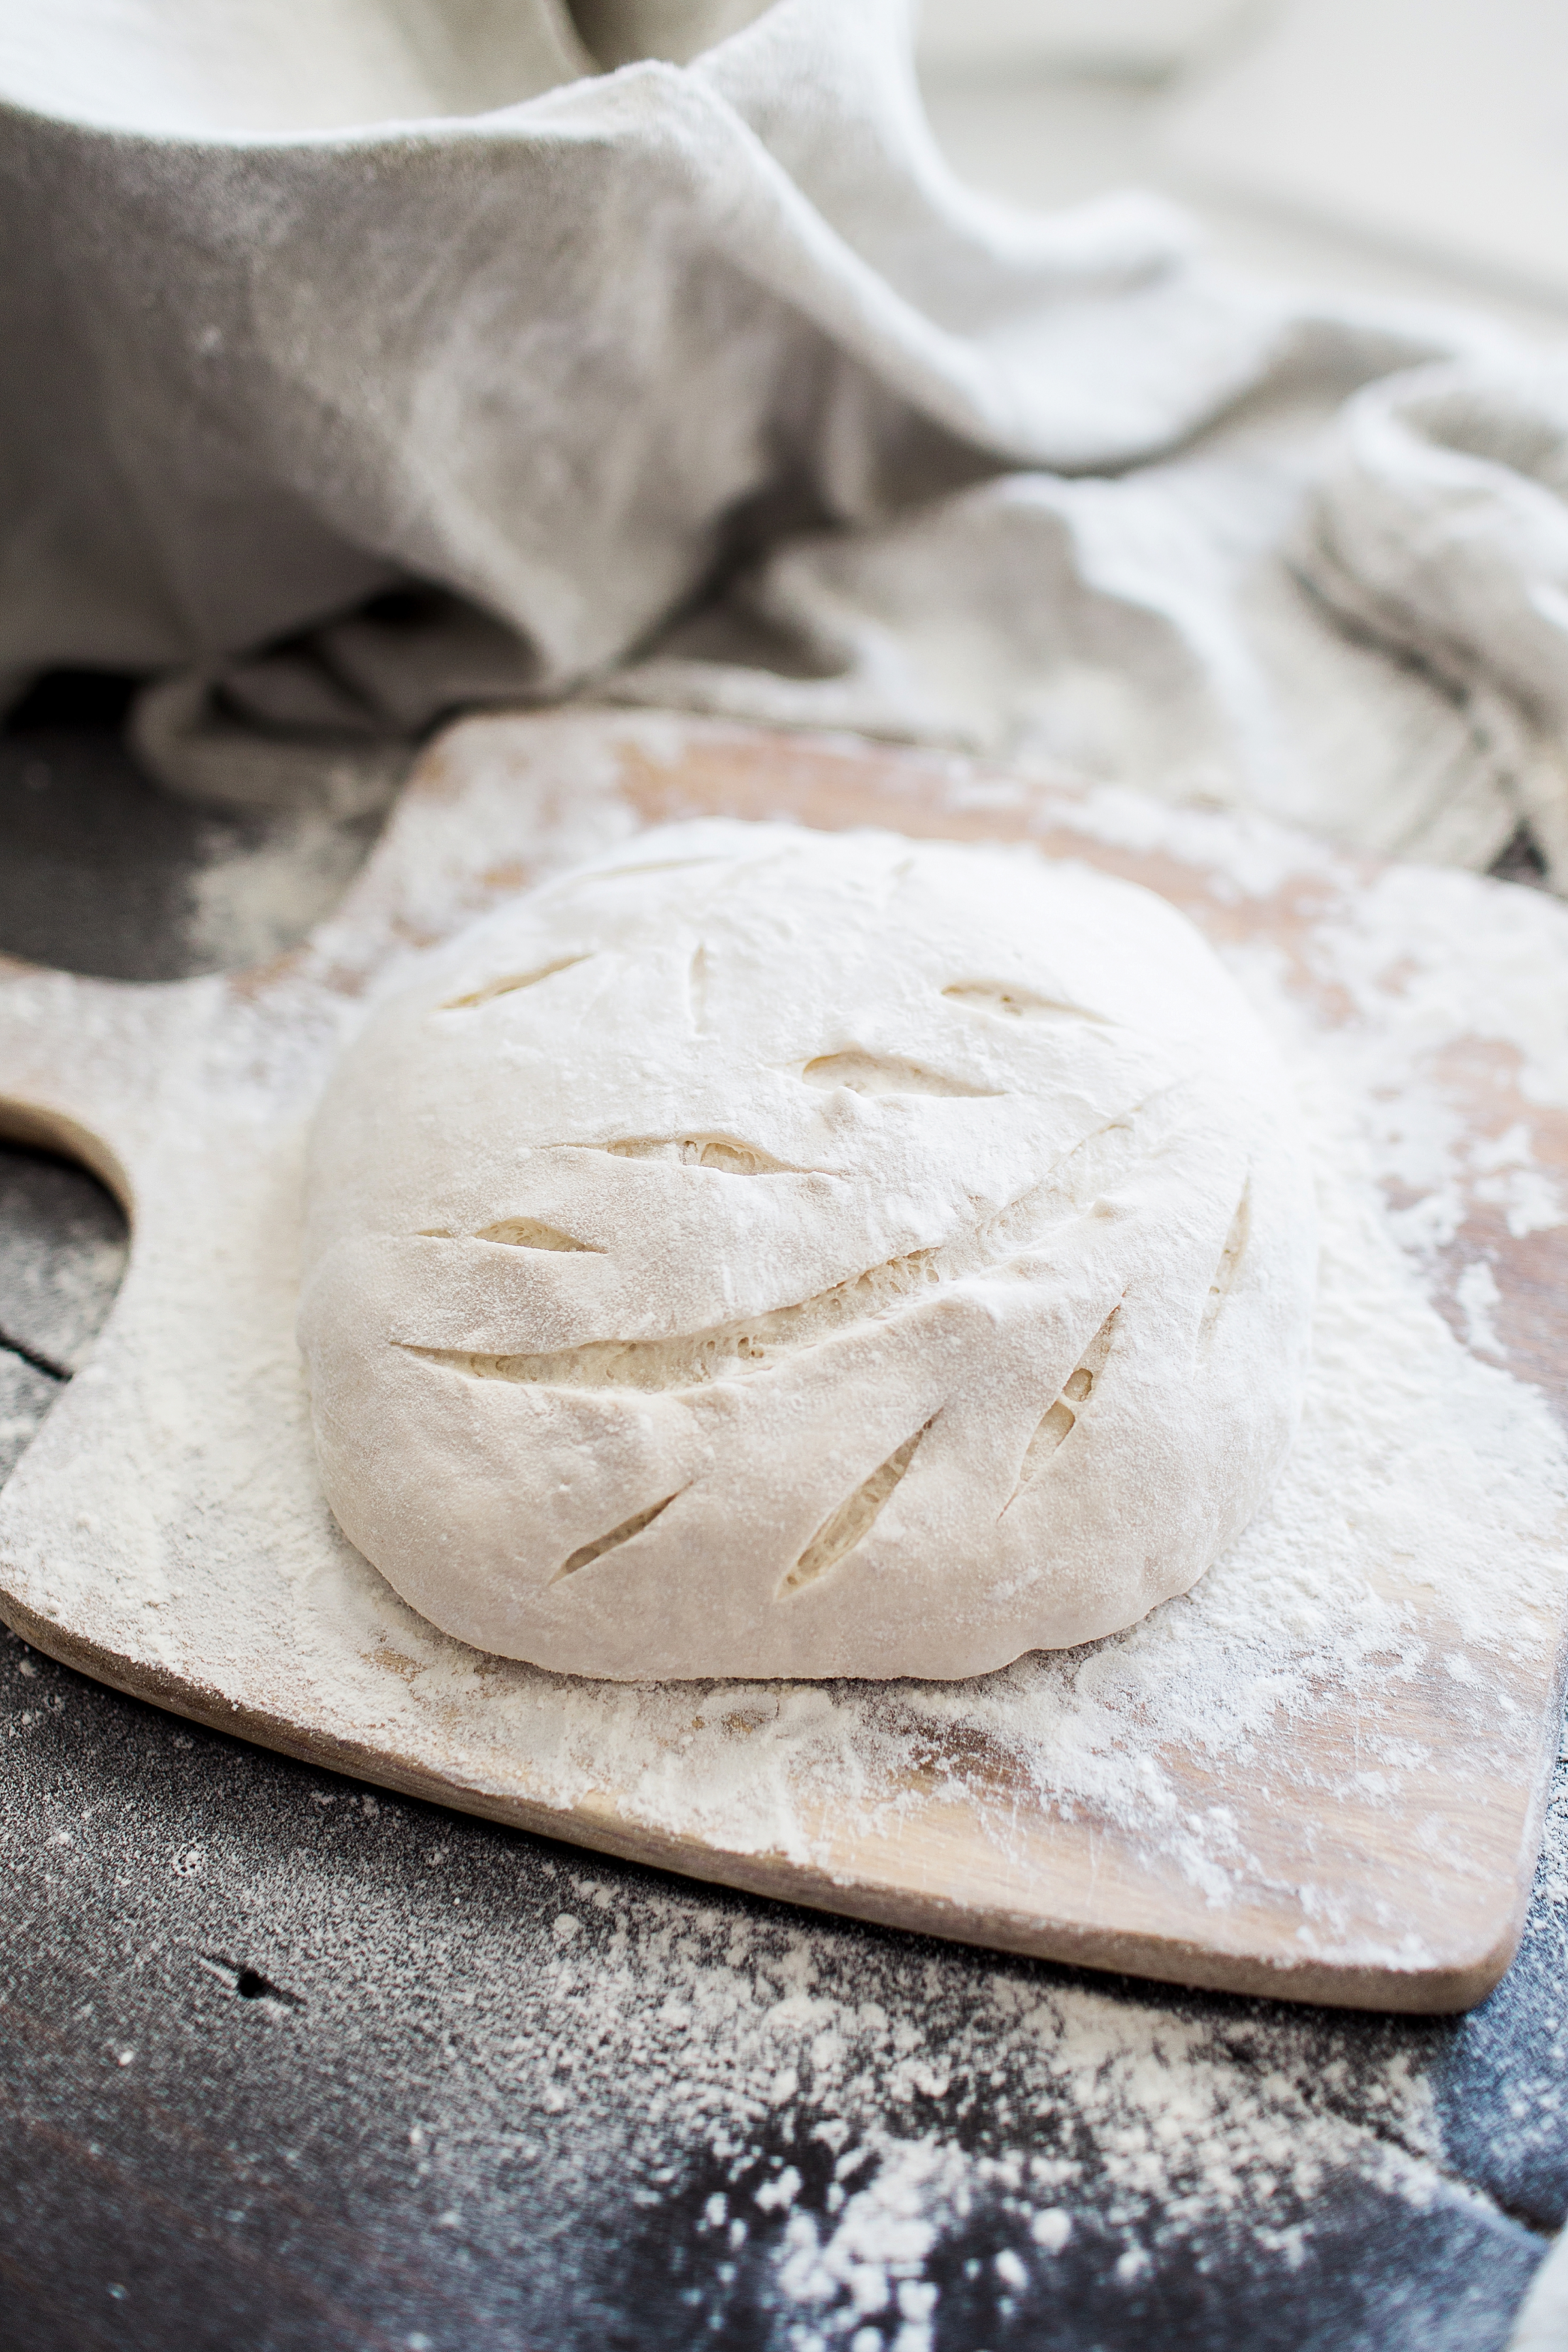
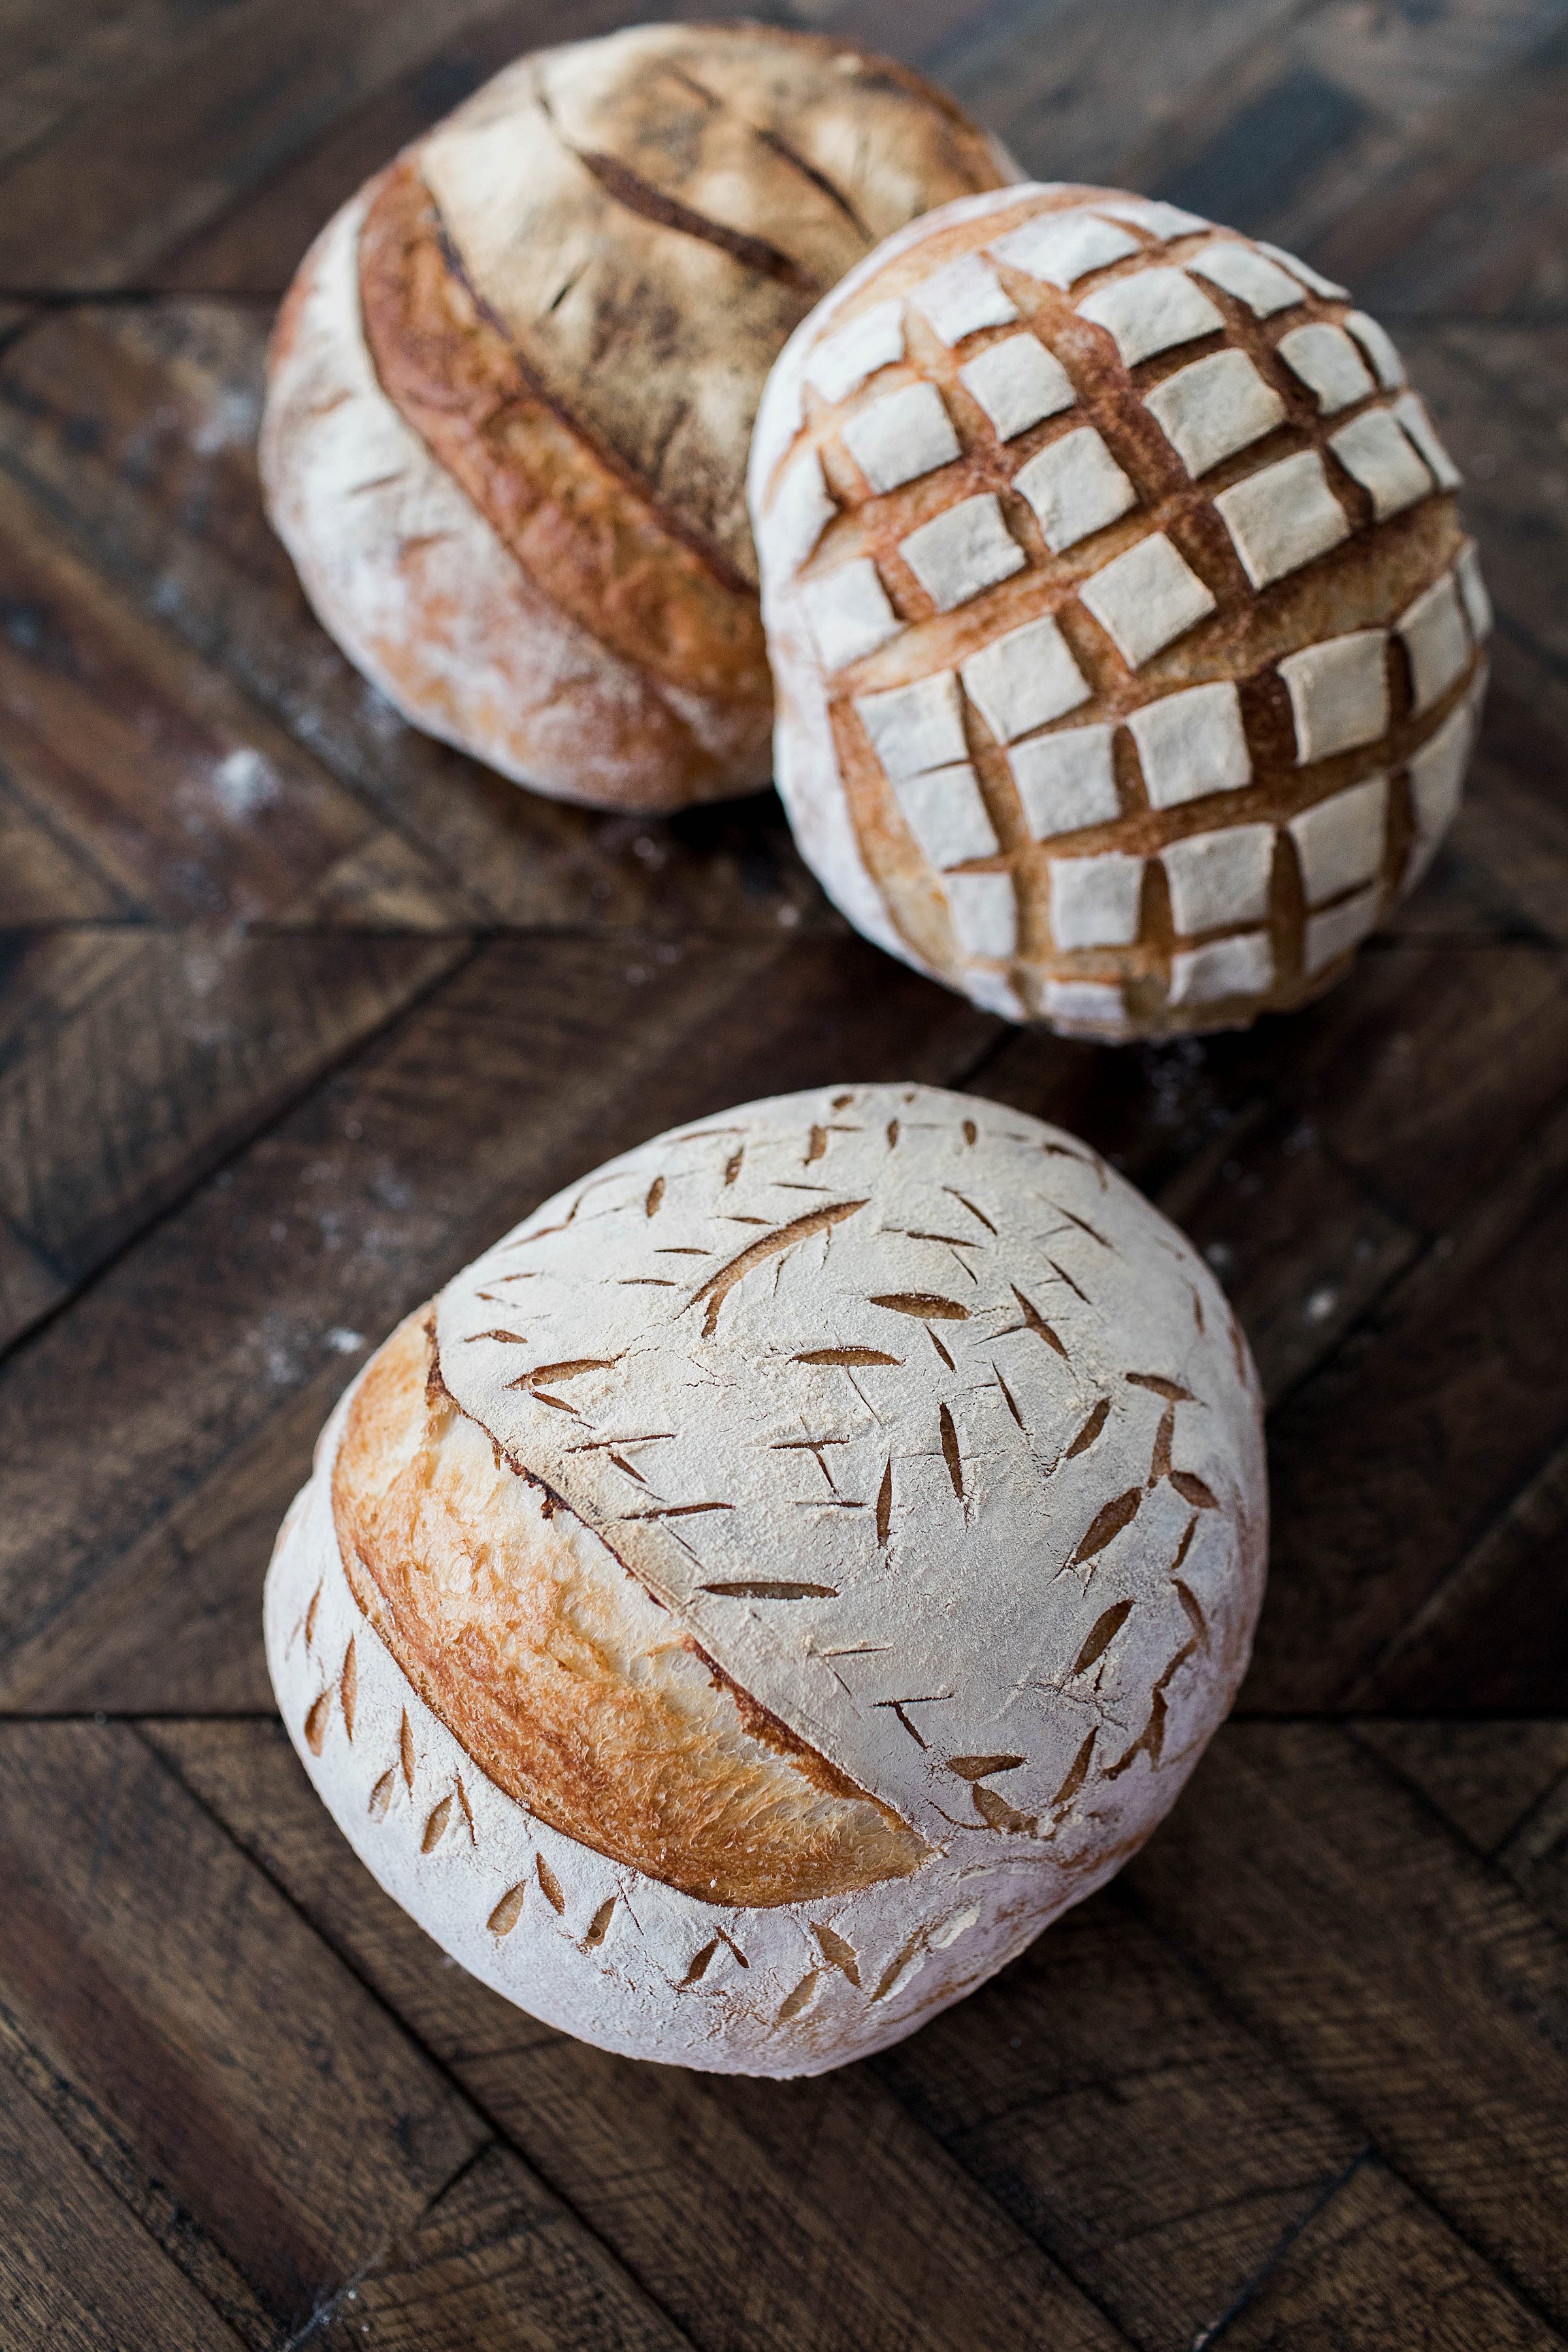
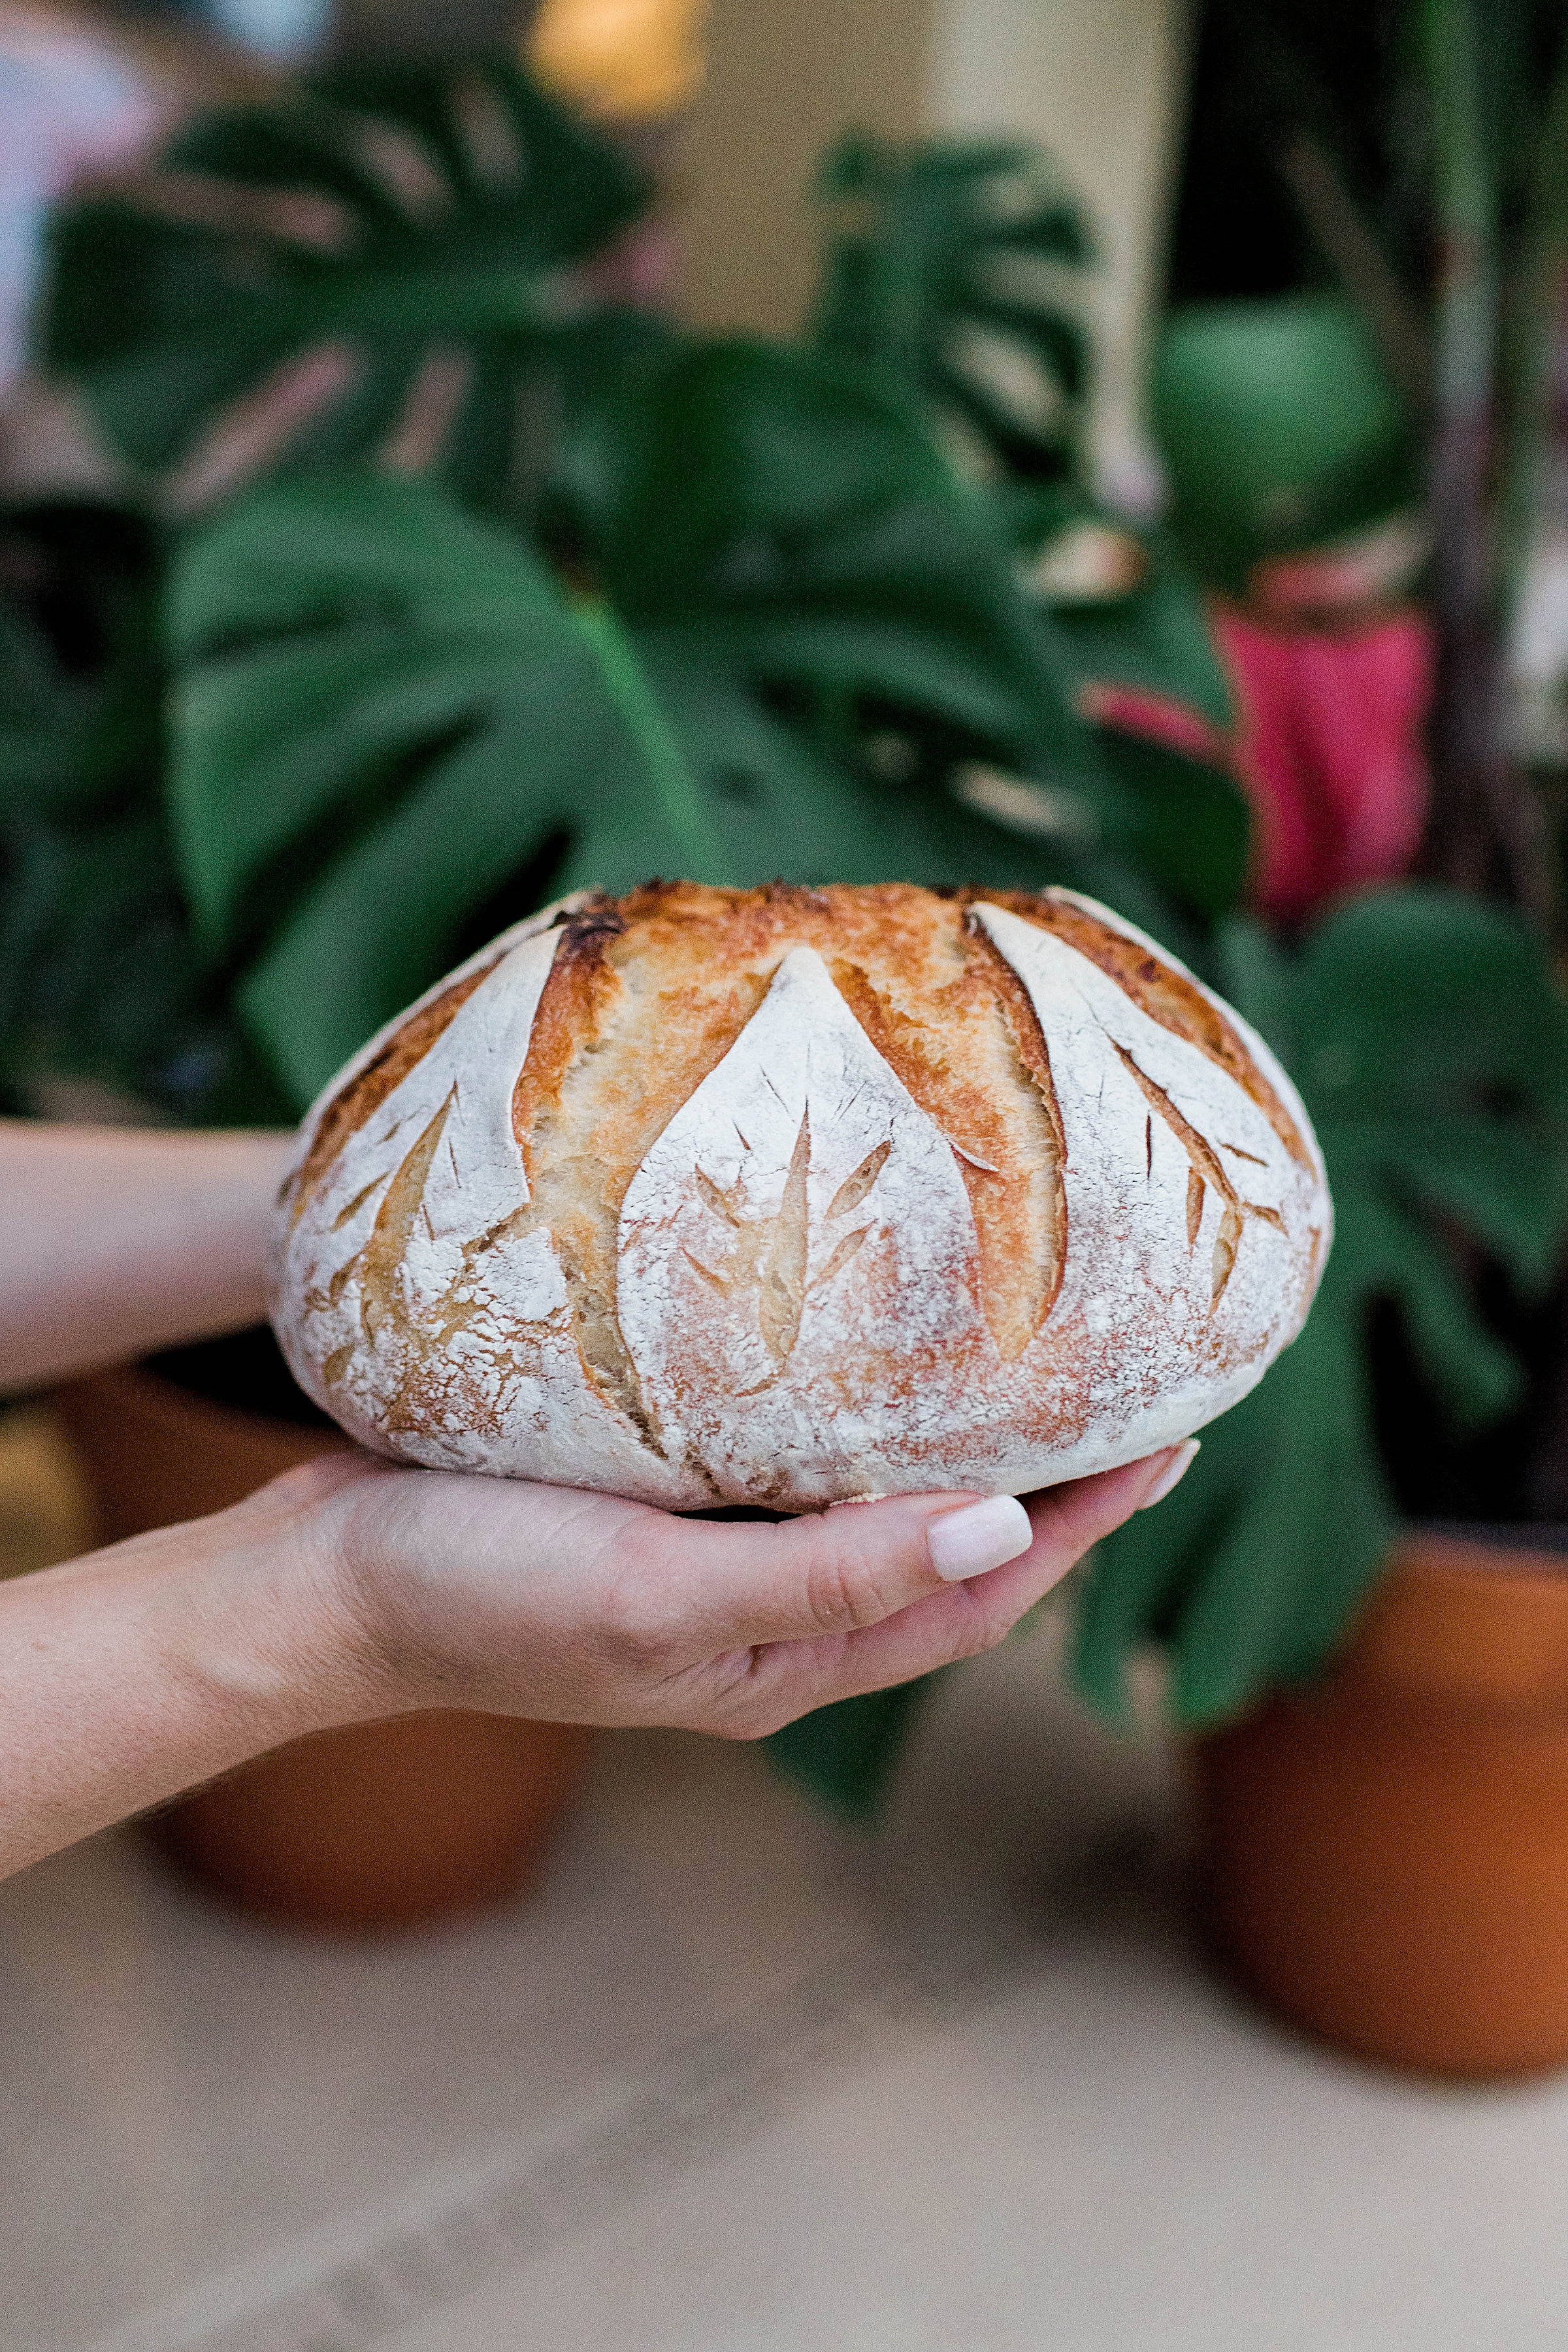
Score & Bake. 45+ Minutes
Preheat a dutch oven with the lid on in the oven at 500F. A dutch oven is crucial to this step. Try very very hard not to skip it! Gently flip a proofed dough on to a piece of parchment paper using a baking sheet as an aid. Powder with a thin coat of flour using your hand to evenly spread a thin layer on the surface, and score a design of your choice to the surface of the loaf using a sharp razor blade (scoring lame). The layer of flour is what will remain white in your design after it bakes! I like to run my lame over my deeper cuts and lines that I want to fully separate an extra time for a deeper cut. Carefully remove the lid to your preheated pot and transfer the dough to the pot using the parchment paper edges as a transport. Replace the lid (it’s ok if the paper sticks out) and bake UNDISTURBED for 20 minutes. Reduce the temperature to 450F and bake for another 10 minutes. Do not open the oven during this entire time. Remove the lid and continue baking for an additional 10 minutes or until the crust is browned. You’ll want to keep an eye on it during this last part of the baking process! Remove from pot with wooden spatulas (or the edges of the parchment paper if you can) and cool. Repeat with the 2nd loaf OR if you have two dutch ovens and double ovens, you can do them at the same time!
Serving & Storing.
Cut with a bread knife and serve right away for the best experience! You won’t regret it!! Store in a paper bag for up to 3 days. Never wrap in plastic wrap or cloth. You want the exterior to remain extra crisp. I like to pop it back in the oven or sliced in the toaster for a crisp re-warming on the following days. Perfect by itself, with some butter, or as a sandwich. So many options for days of fresh bread recipes! Search the archives for all of my sourdough recipes if you need some inspiration!