Making & Keeping A Sourdough Starter
Making & Keeping A Sourdough Starter
So you want to make your very own sourdough starter! You’ve come to the right place and guess what, it’s super easy! This is a beginner’s guide using the King Arthur’s Flour method with a few of my own tips and tricks. So if you are creating one for the very first time or you’ve managed to kill one and you need a to re-start (virtual hugs) this recipe will get you all set up with a strong, bubbly, aroma filled yeast blob. My yeast monster, as I call it, lives happily in the back of my refrigerator for months between feedings and comes back to life to produce a beautiful sourdough flavor every time I use it. In fact, I think the more I neglect it, the stronger the flavor and aroma from that extra fermentation. So don’t be afraid of the upkeep either. You can totally abuse it and it may actually work in your favor!
Creating a sourdough starter is a 5-14+ day process so you’ll need to make sure you have a few minutes in the morning and evening for about a week or two to tend to your growing yeast project. After your little science experiment, you’ll be ready to bake your very own loaf of sourdough bread! Check out my complete recipe and guide to making a perfect loaf of sourdough bread here. Keep in mind that you are growing bacteria. Bacteria like warm, moist conditions to grow. It will also die in high heat. So if you struggle to get that bubbly, think about the temperature and dryness of your home and the temperature of the water you are using during feedings. If all else fails, those are most likely the culprits. The #1 question I get on my blog is “did I kill my starter?” The only time it’s truly dead is if it has mold growing on it. Otherwise, you just need to keep feeding it twice daily, be patient, and try stimulating it with optimal environmental conditions.
Ingredients
Whole wheat flour
Unbleached All-Purpose Flour
Water
Instructions
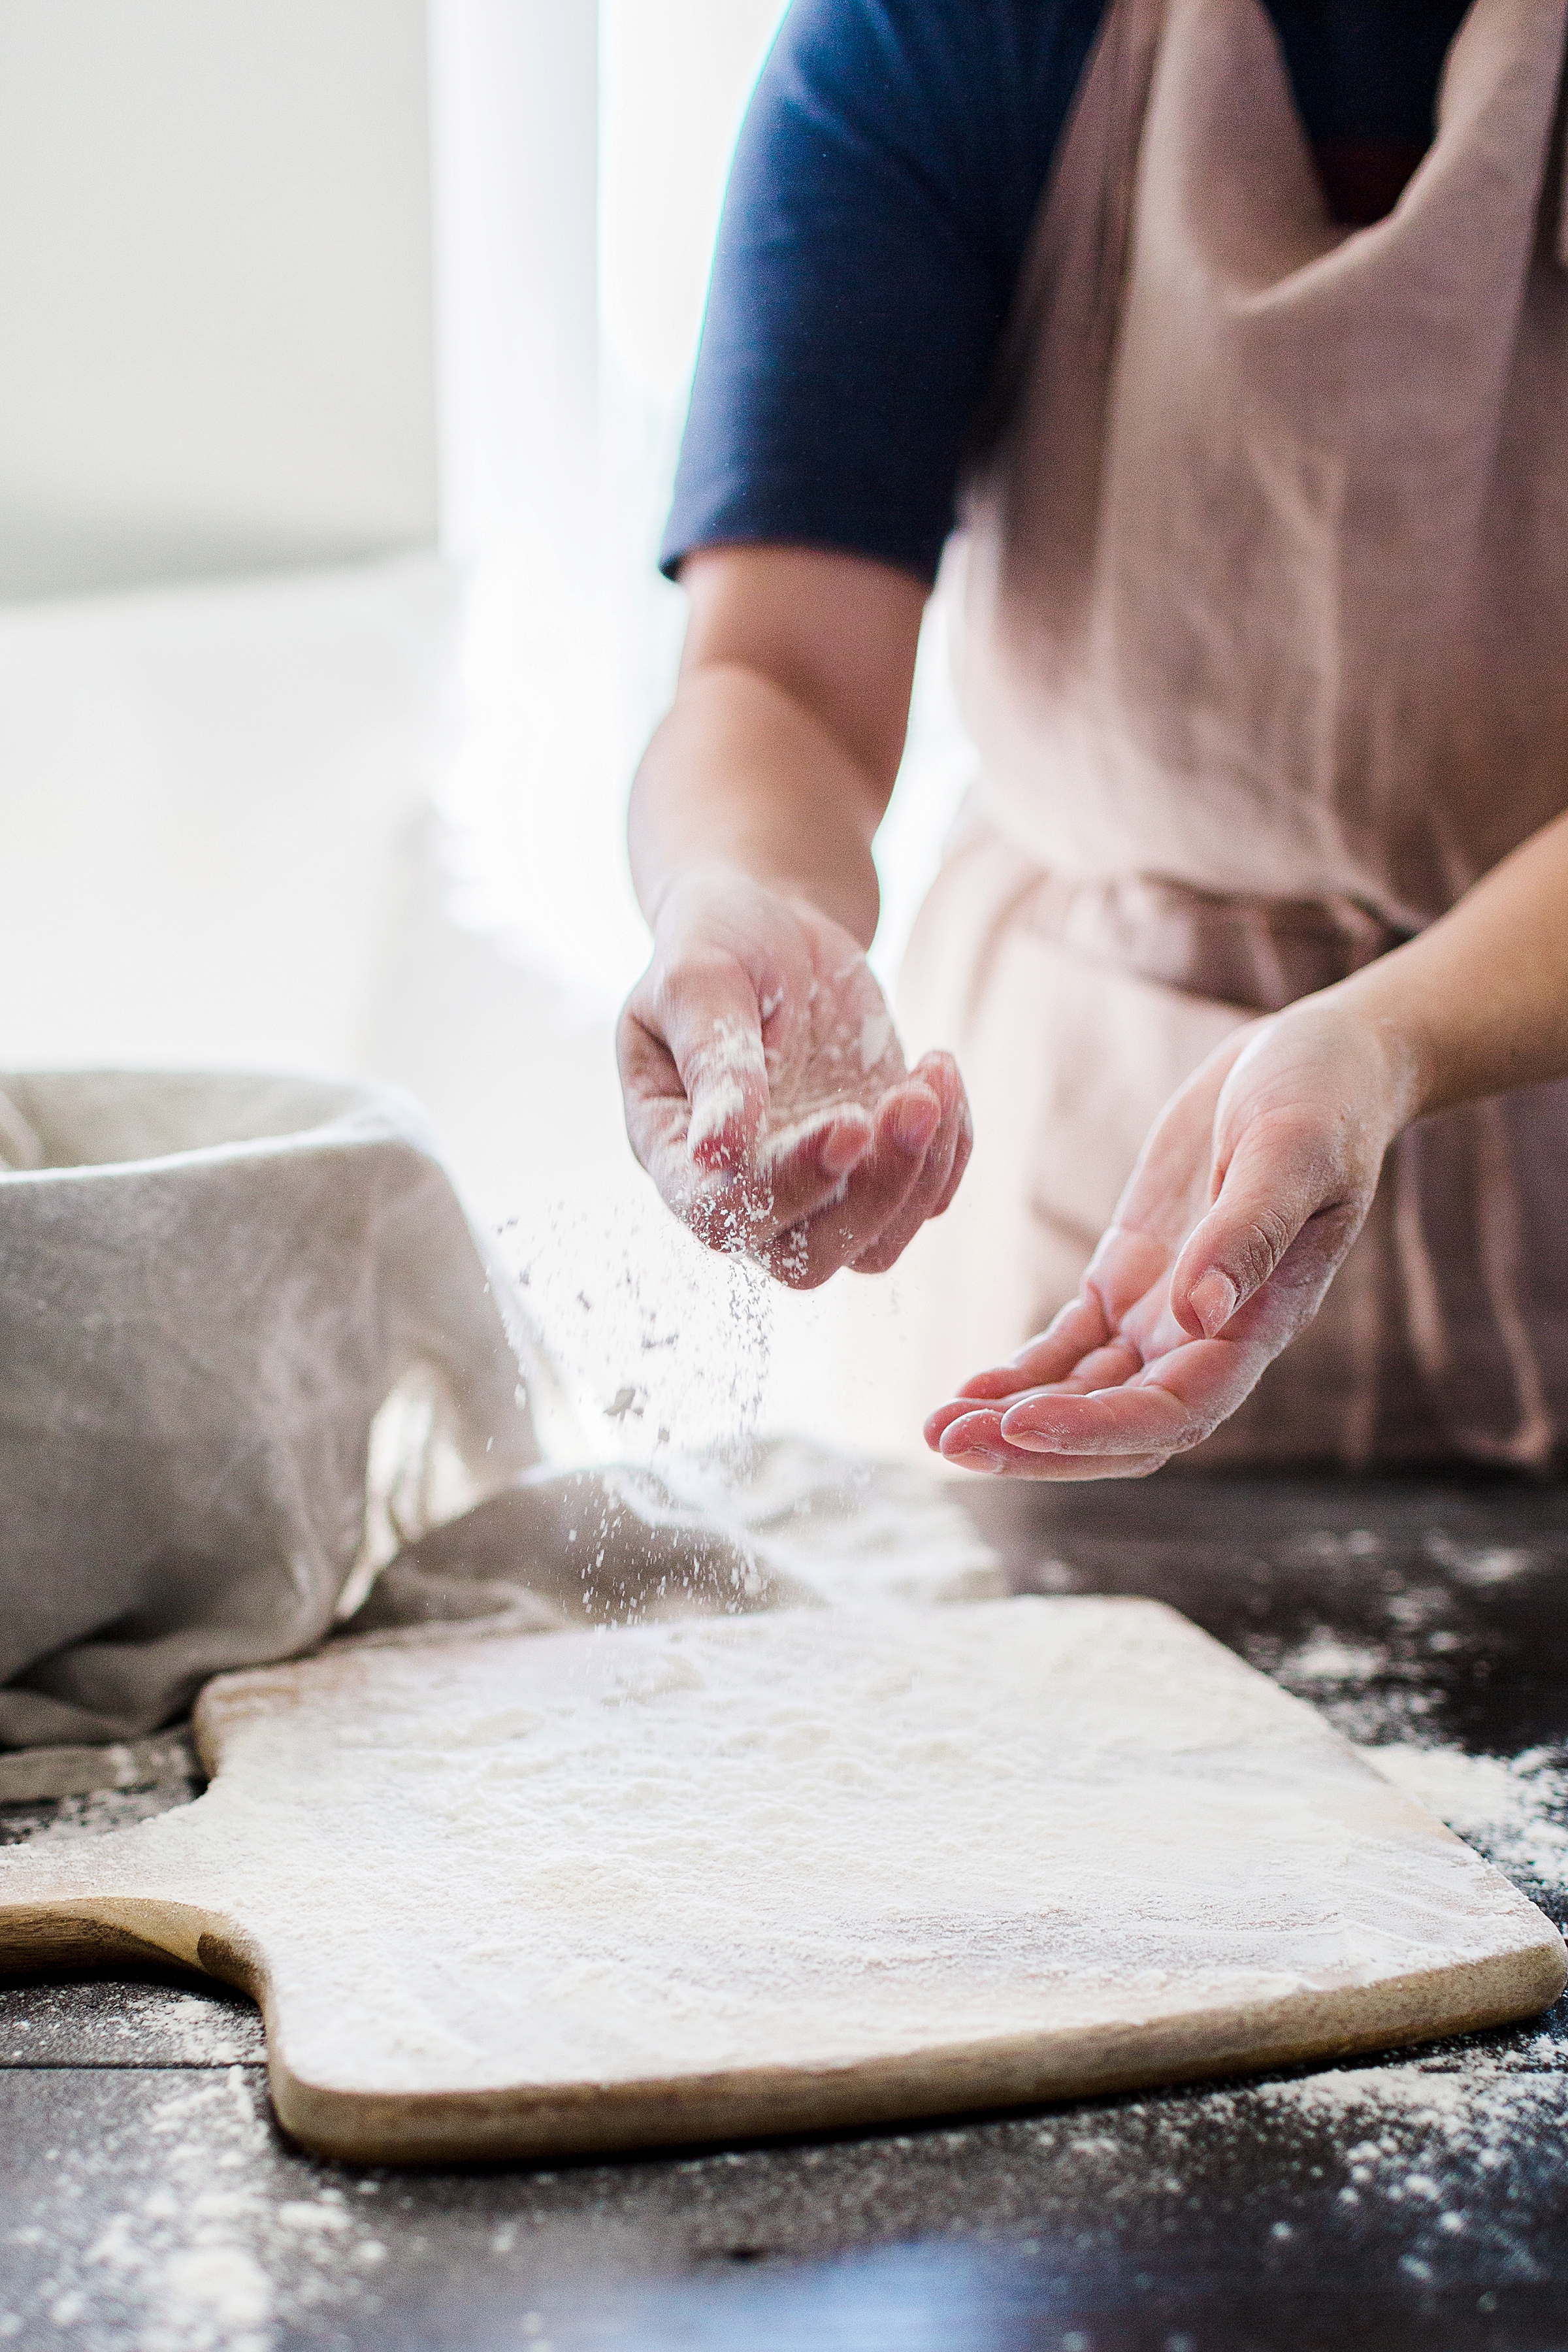
Day 1: (Morning) Combine 1 Cup Whole Wheat Flour with 1/2 Cup room temperature water in a large glass bowl. You’ll need a bowl large enough for the entire process from start to finish so keep in mind that the yeast will grow over the course of the next few days. Stir everything together with a rubber spatula and make sure there’s no more dry flour around the edges and everything is well mixed. Cover the bowl loosely with plastic wrap and let the mixture sit at warm room temperature for a full 24 hours.
Extra notes: If you don’t have whole wheat flour, you can start with unbleached all-purpose flour. Wild yeast is found in whole wheat flour giving it a great starting boost. Unbleached flour is your best bet for no chemicals like bleach that might slow or kill your growing yeast. That said, I’ve created a starter only using bleached all-purpose flour for the sake of science and it did remarkably well. I did have to amend the amount of water I added to keep the mixture tacky and not watery with the junkier flours.
Day 2: (Morning) You most likely will not see any activity after the first 24 hours. You’ll probably see a dry wheat flour puck. Discard half and add 1 cup Unbleached All-Purpose Flour, and 1/2 cup water to the remainder. Mix well, cover, and rest at room temperature for 24 hours just like on day 1.
***If by the end of Day 2, your mixture is still looking very dry, give it a moisture boost! Cover your glass bowl with a loose-fitting piece of plastic wrap and spritz the starter with lukewarm water. This will create a humid environment inside your bowl. You can also try placing the bowl on top of a warm appliance like your refrigerator and/or next to a humidifier.
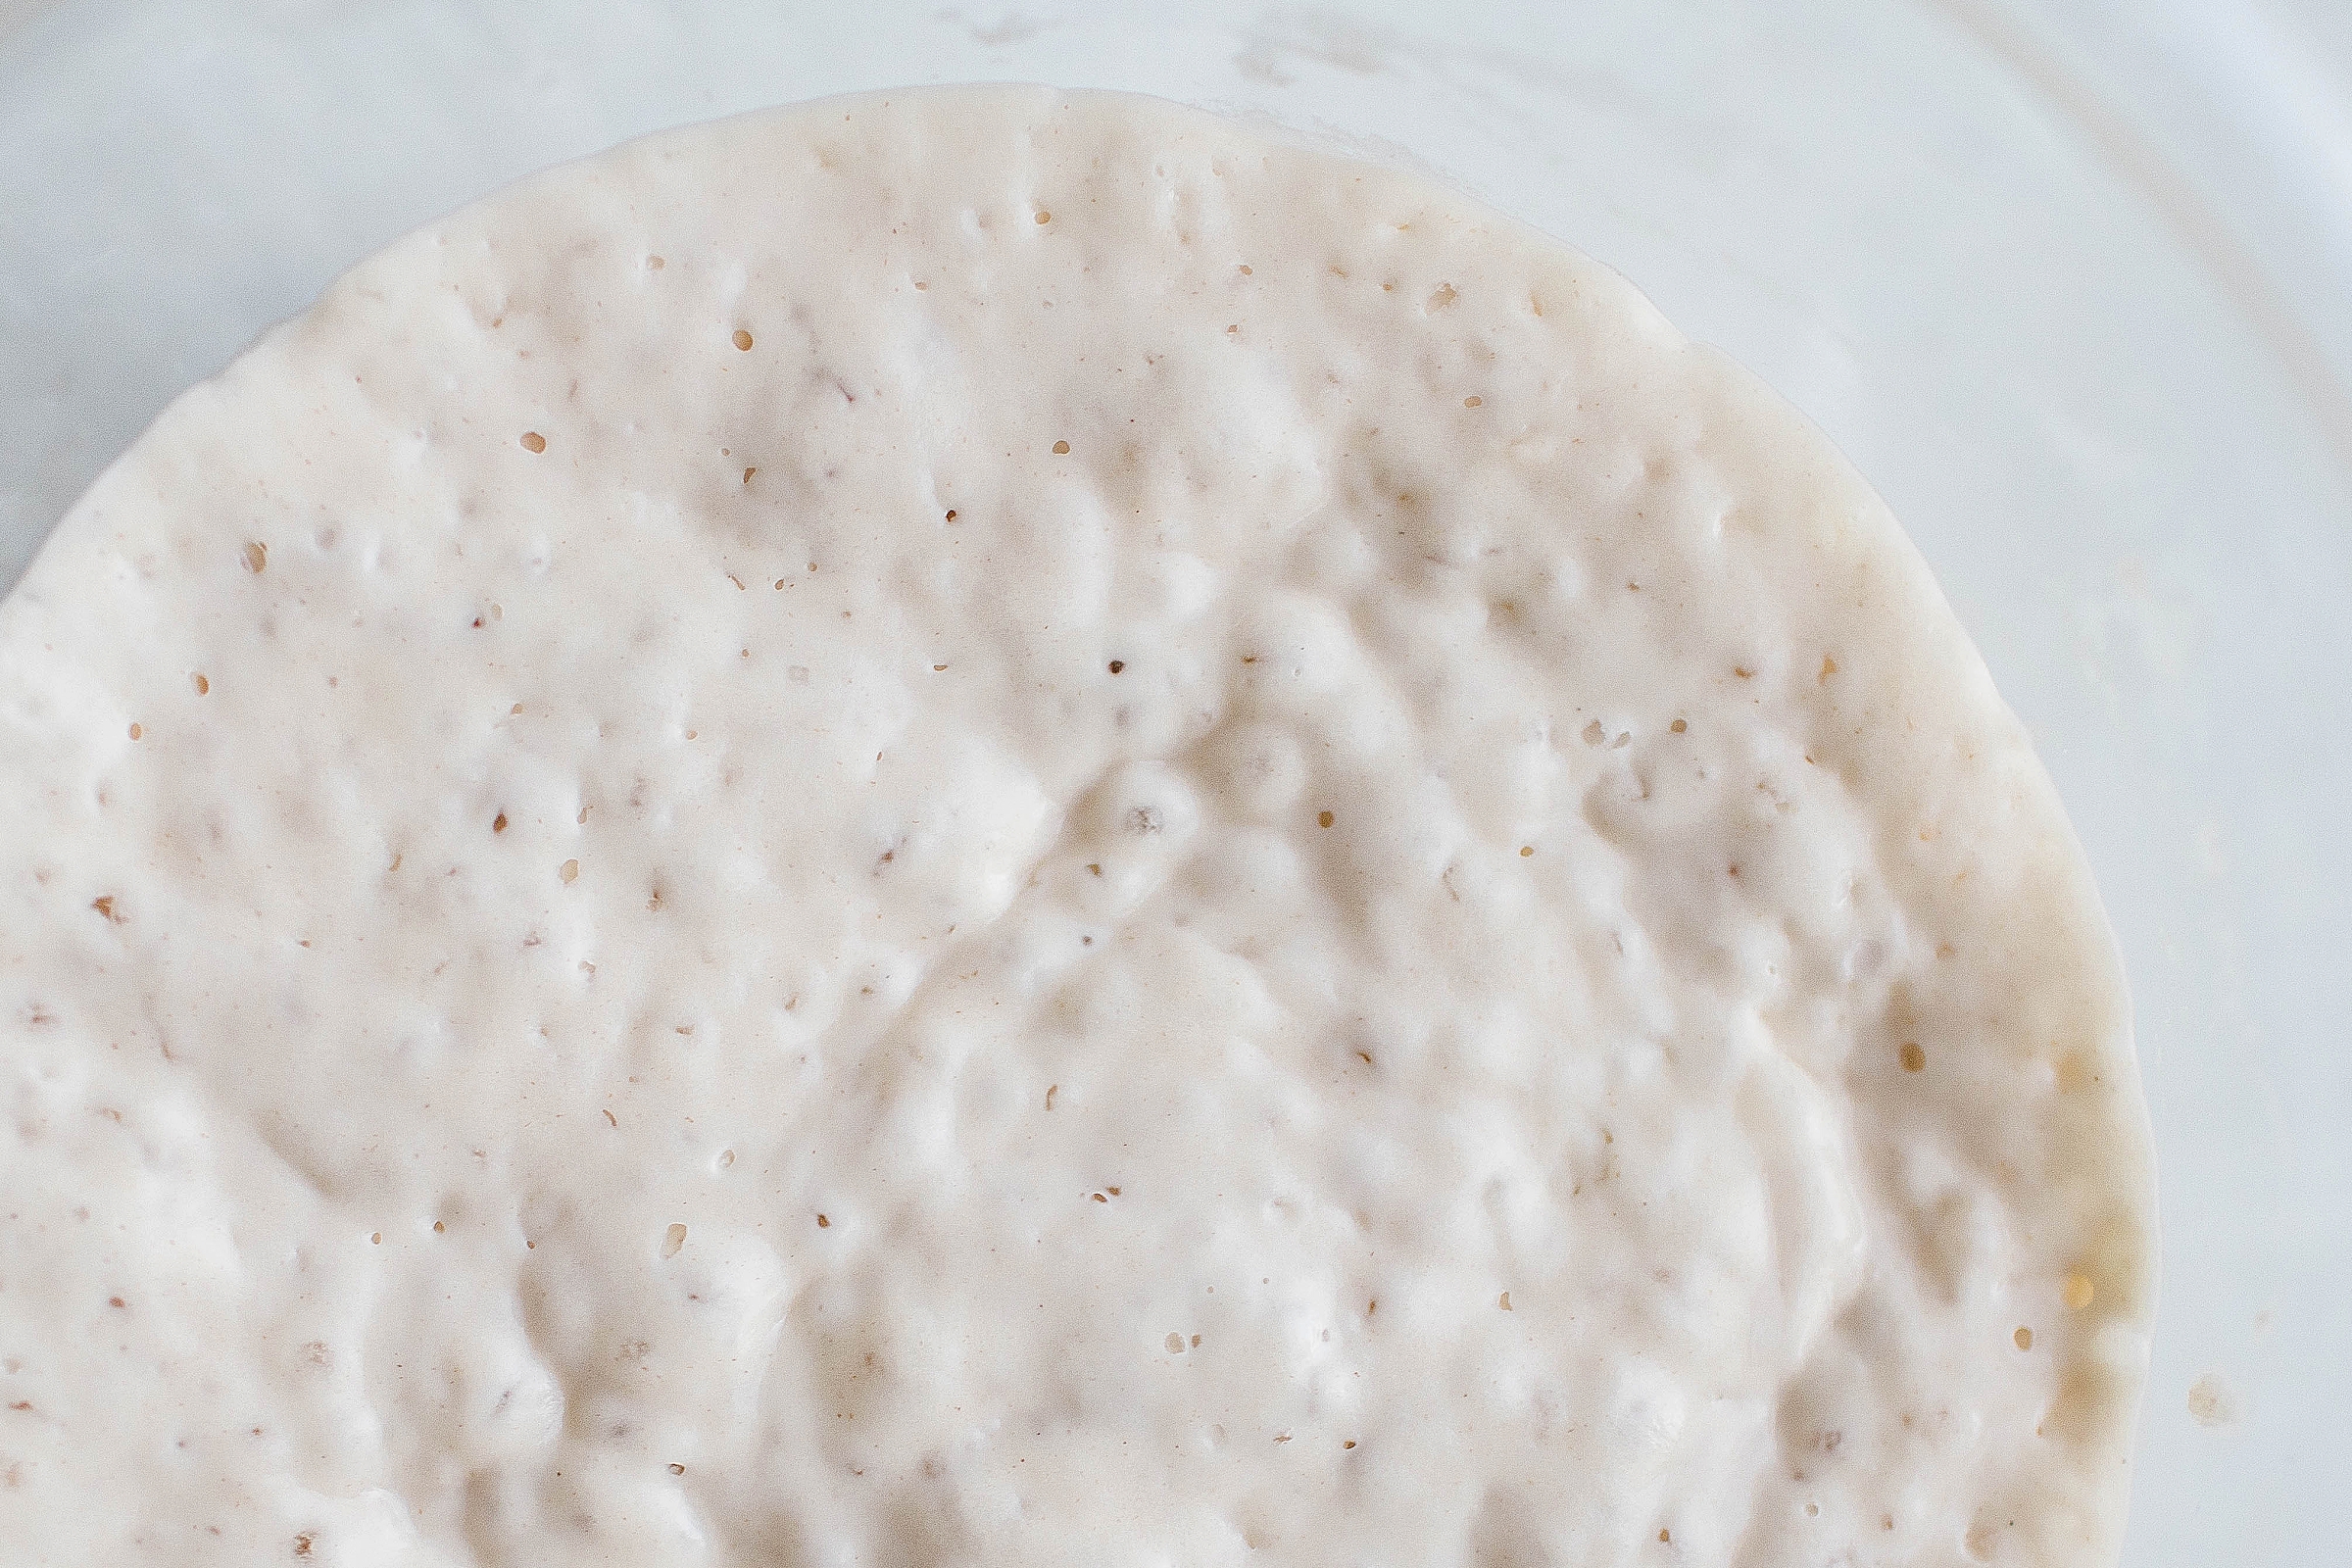
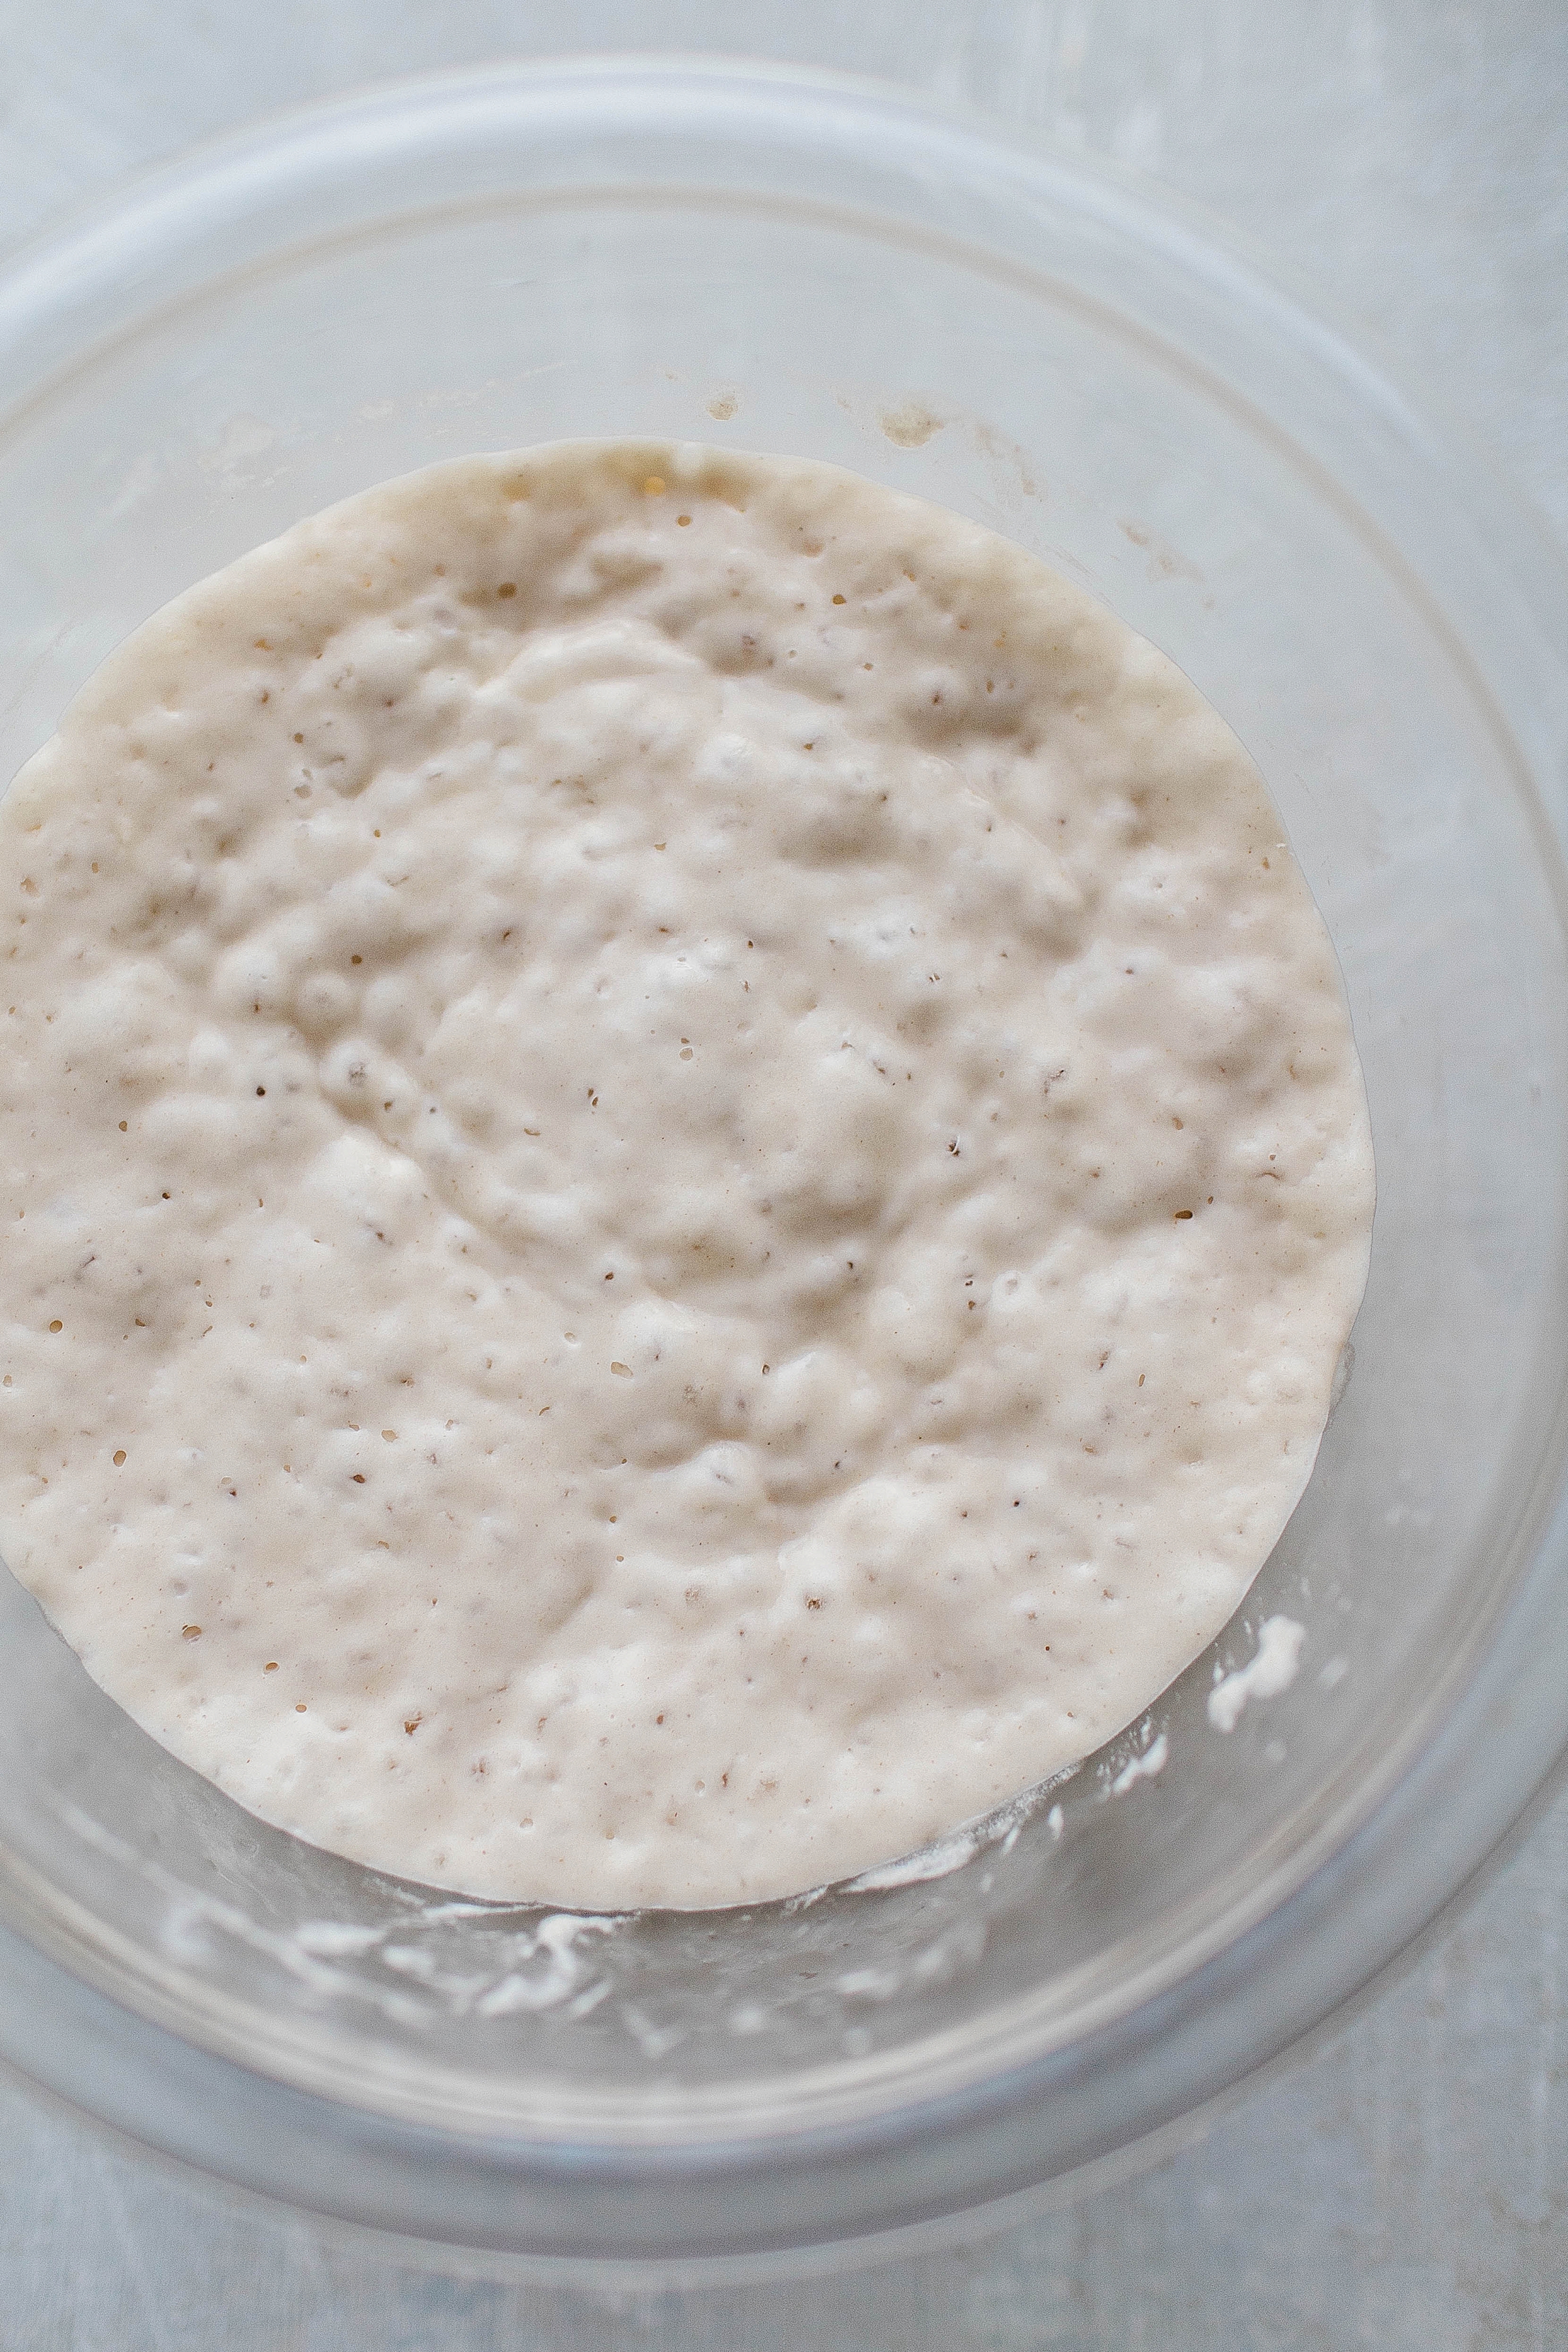
Day 5: By the end of day 5, the starter may have at least doubled in volume. You might see lots of bubbles and it might smell of a tangy aroma. If your starter hasn’t risen much and isn’t showing lots of bubbles, repeat discarding and feeding every 12 hours for as many days as it takes. AND I MEAN THAT. Patience will win this battle. Once the starter is vigorously bubby, it’s ready and you can move on to a recipe or storage! See the instructions below…
Preparing For A Recipe
Remove the necessary amount for your recipe. If your recipe calls for less than your usual discard amount (for example, my bread recipe only calls for 2 TBL), feed your starter as usual and store (see “storing & maintaining instructions in next step). If your recipe calls for more than 1 Cup or if your starter gets a little small, skip the discard step and feed, as usual, to add volume to your starter. Likewise, if your starter gets too large, you can discard a little extra before feeding. I love to give my discards to my baking friends as yeast gifts or use discard in other recipes!
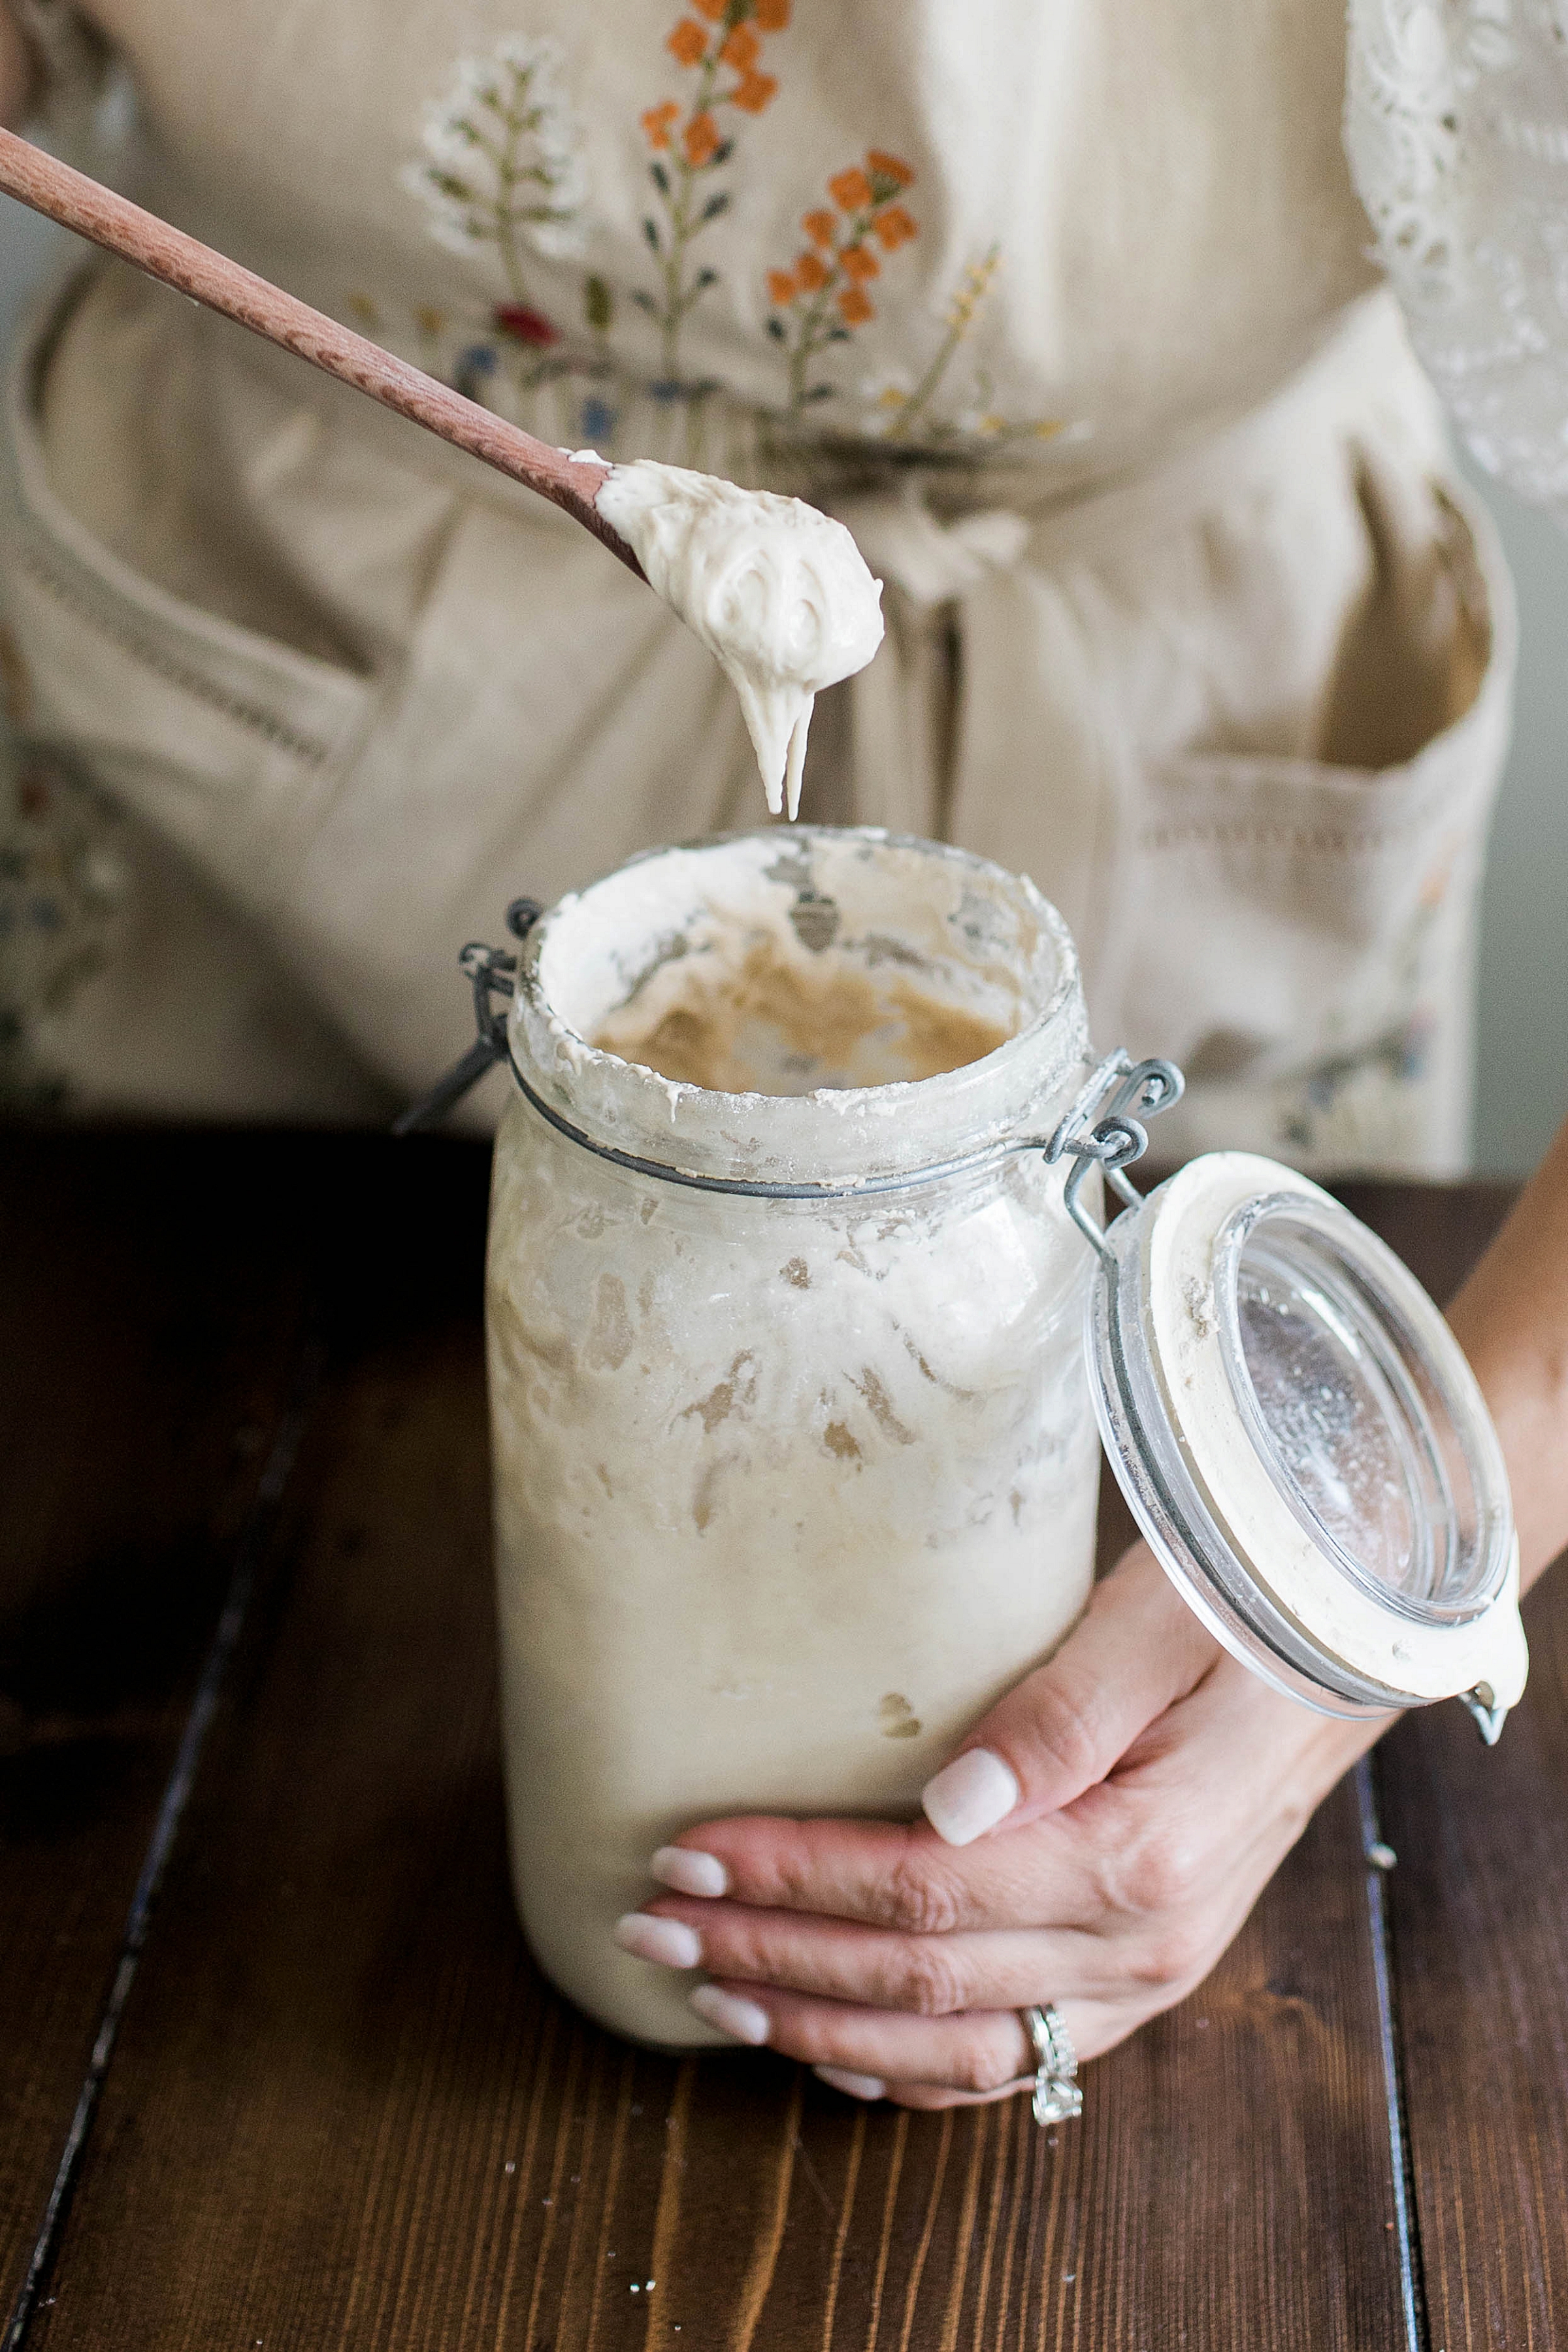
Storing & Maintaining (Feeding) Your Starter
Transfer your remaining starter to a glass jar with a lid for long-term housing. Keep it in the refrigerator and feed it occasionally. Bring it out a few days before you plan to use it and feed it every 12 hours to bring it back to life. When you aren’t using it, most websites recommend feeding it regularly once a week but I have left mine for months unattended and it’s popped back to life without a problem. If you leave it for a while, it may get a liquidy top (alcohol from fermentation) which you can just pour off before your discard and feeding process. It may smell really strong but I assure you, all that bacteria is totally awesome and makes for an even stronger sourdough flavor.