How to Watercolor Easter Eggs
How to Watercolor Easter Eggs
There are so many ways to dye Easter Eggs but this has to be my favorite way! See my other ideas for Easter Egg decorating here. For this project, you will need a high-quality set of watercolor paints to get that vibrant color, some brushes, a cup of water, a paint palette, and eggs. Here’s a list of my favorites:
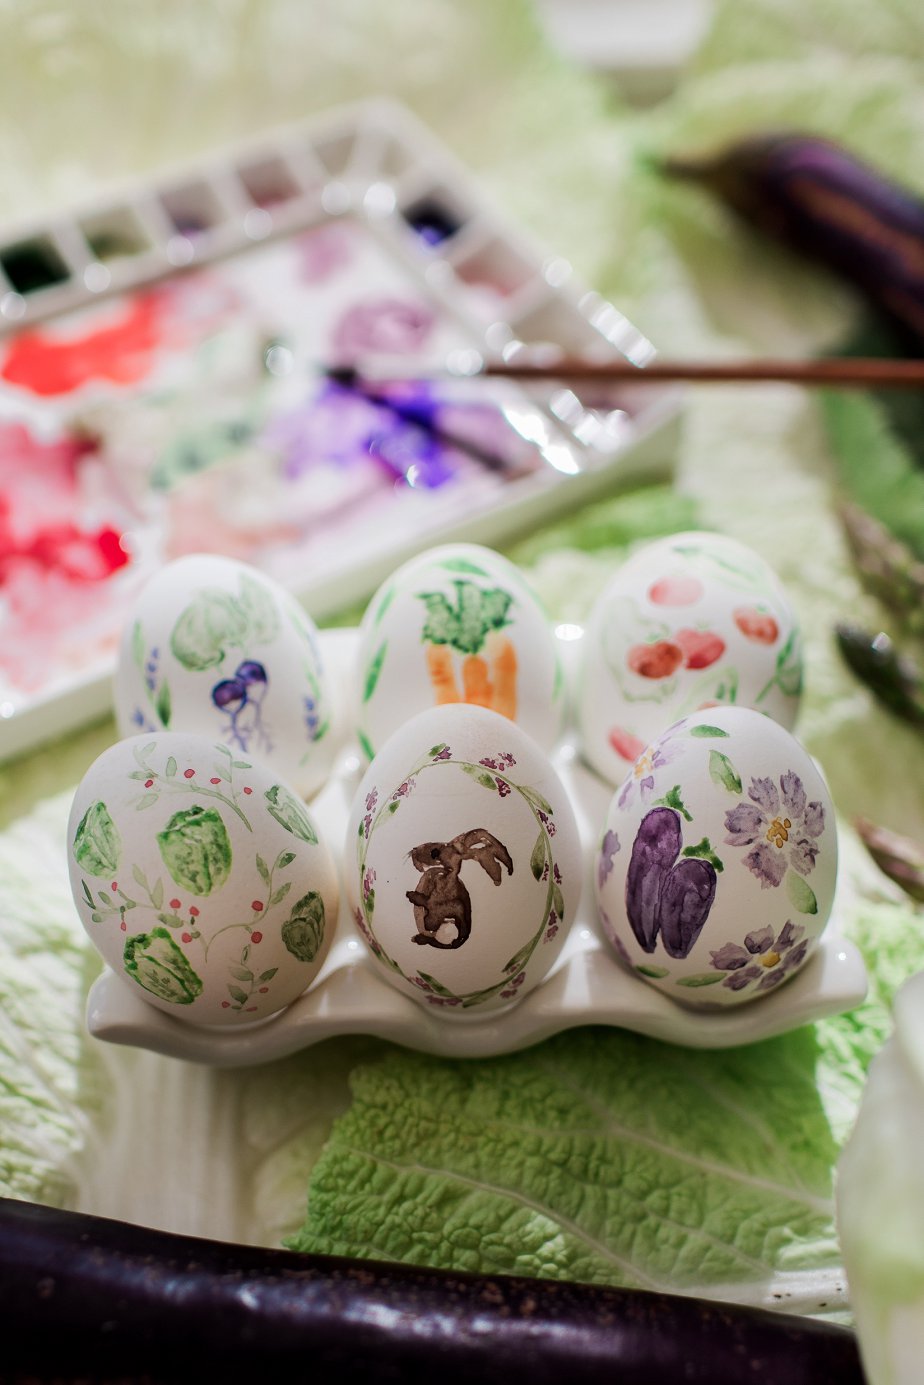
I used traditional hard-boiled eggs, but you can use craft eggs (no plastic or wood) if you want to keep them. If you want them to maintain their perfectly painted look, don’t refrigerate them as the paints will run a little after condensation.
*Hard-boiled eggs should not be left out at room temperature for more than two hours so you can’t eat these if you leave them out. I did refrigerate mine, and let them completely dry from condensation before I touched them.
Peter Rabbit’s Vegetable Garden
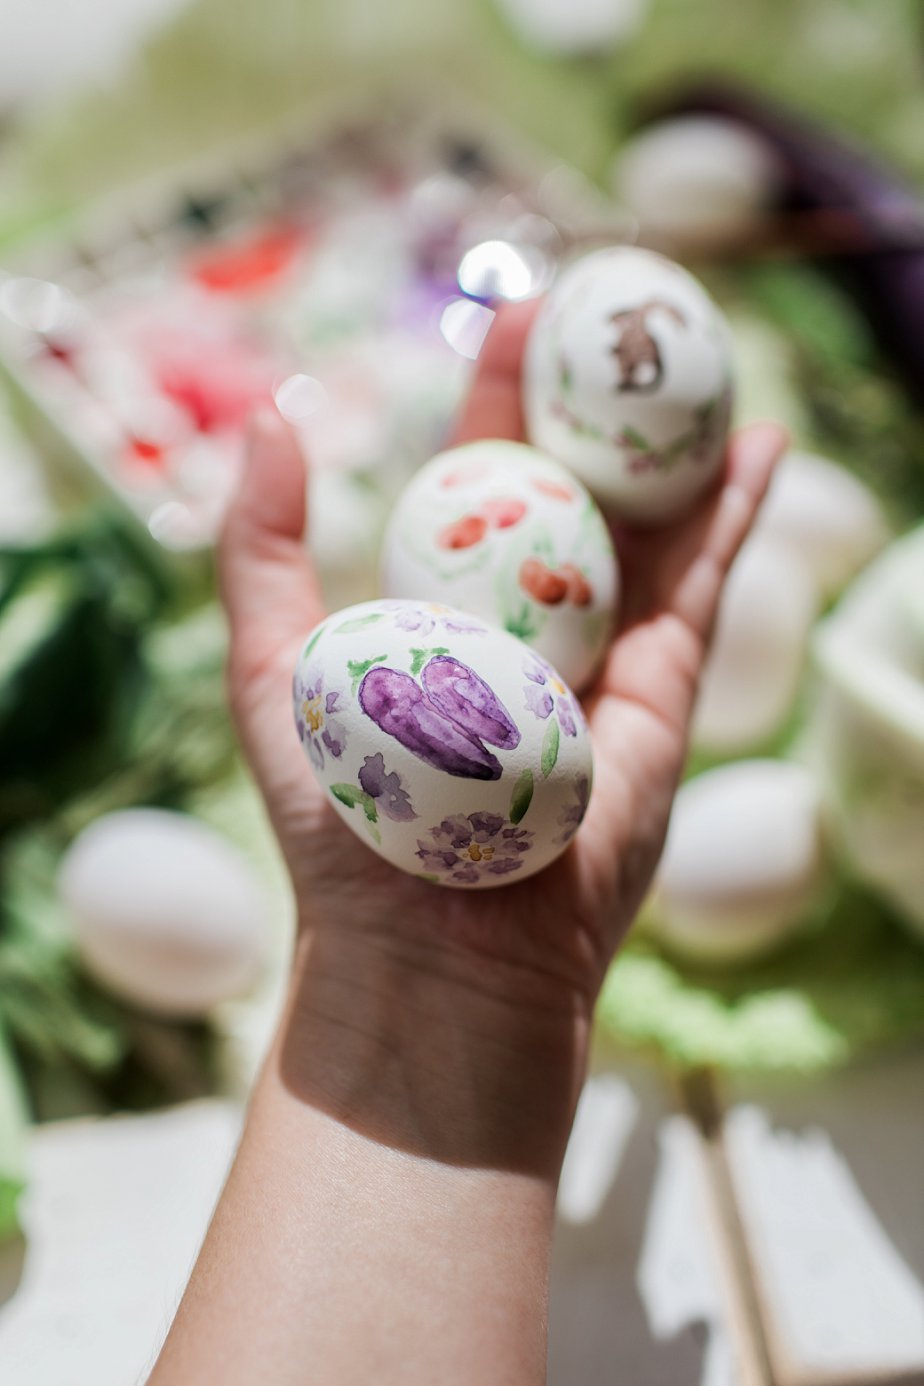
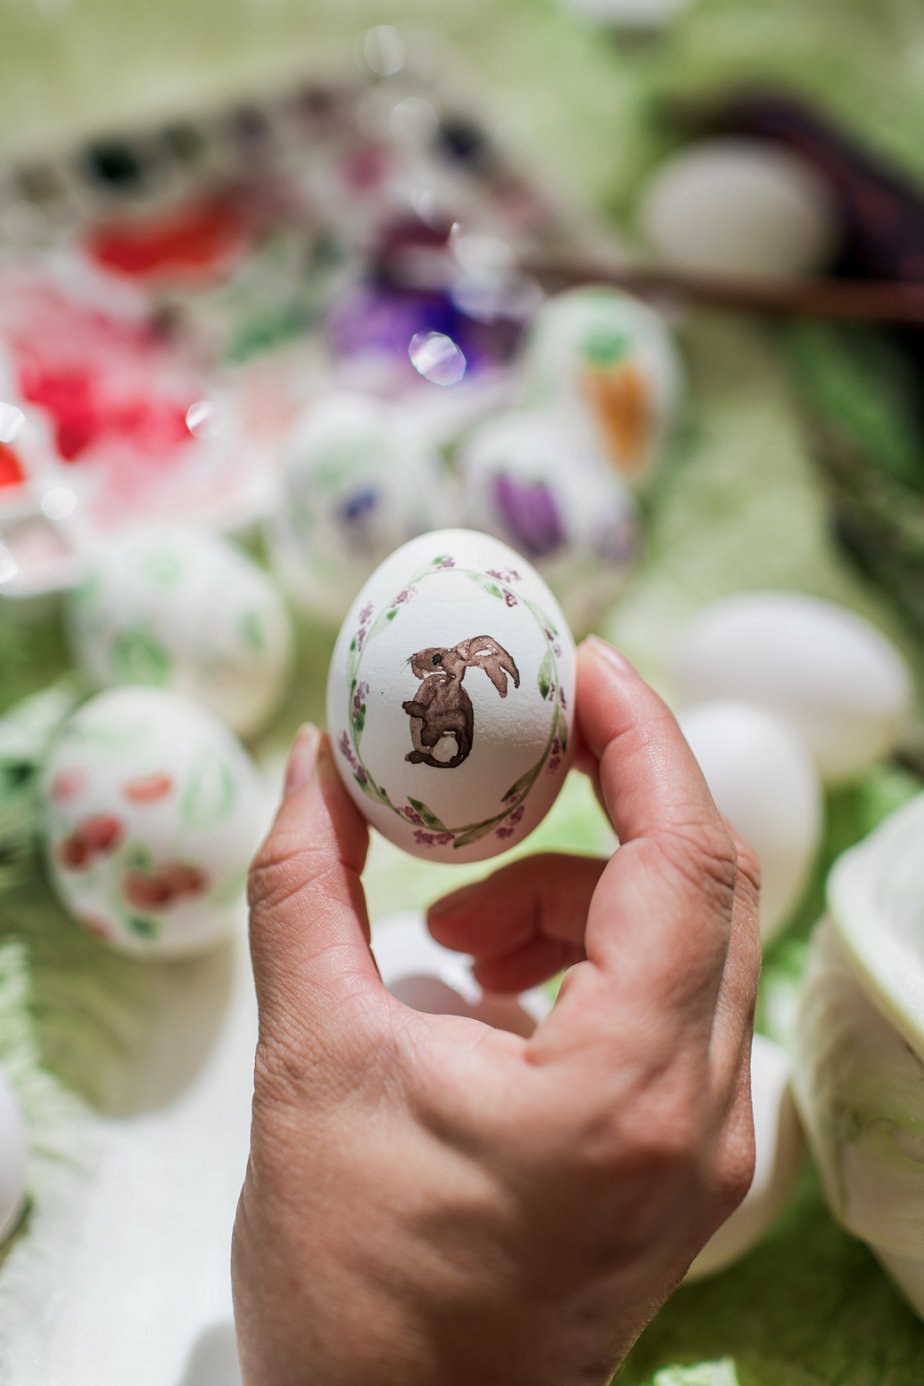
I liked the idea of a theme to keep the eggs together as a set. This year, I chose Peter Rabbit’s Vegetable Garden. Painting little vegetables, flowers, and vines is easier than you think. Most vegetables and flowers are simple shapes but if you need a guide, try sketching your design with a pencil before painting. The paint can be wiped off before dry if you make mistakes.
Extra tip: I put down a large piece of watercolor paper to catch the mess but ended up using it as a place to practice my art before I painted the actual egg.
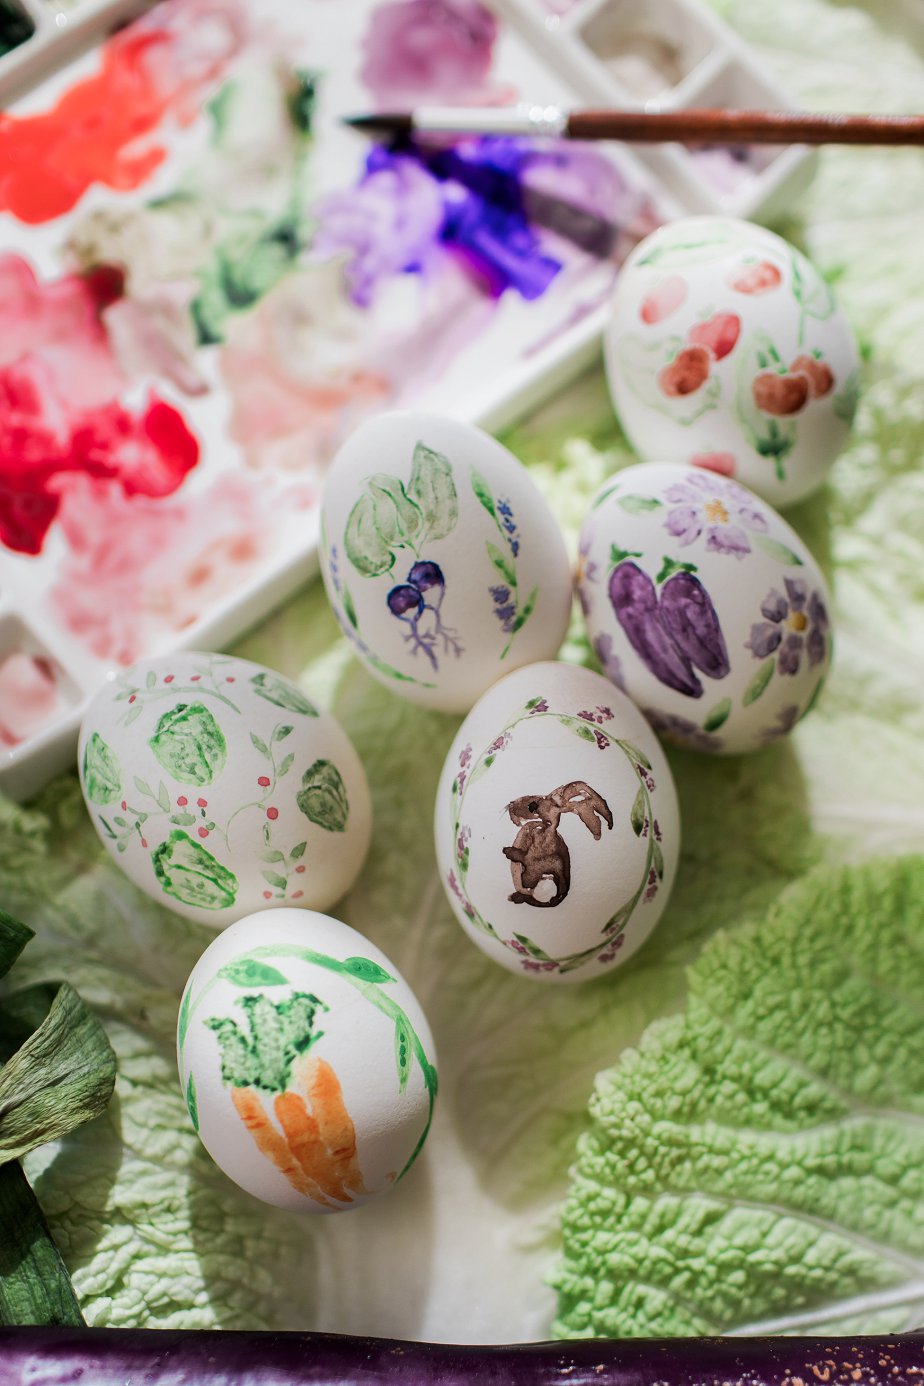
Vegetables and Flowers
I found that creating vine borders around my main pieces of art was my favorite way to decorate them. I also learned quickly that decorating the backs first and letting them dry before moving to the fronts was ideal. Also, skipping the backs is totally an option 😉