Decoupage Floral Easter Eggs
Decoupage Floral Easter Eggs
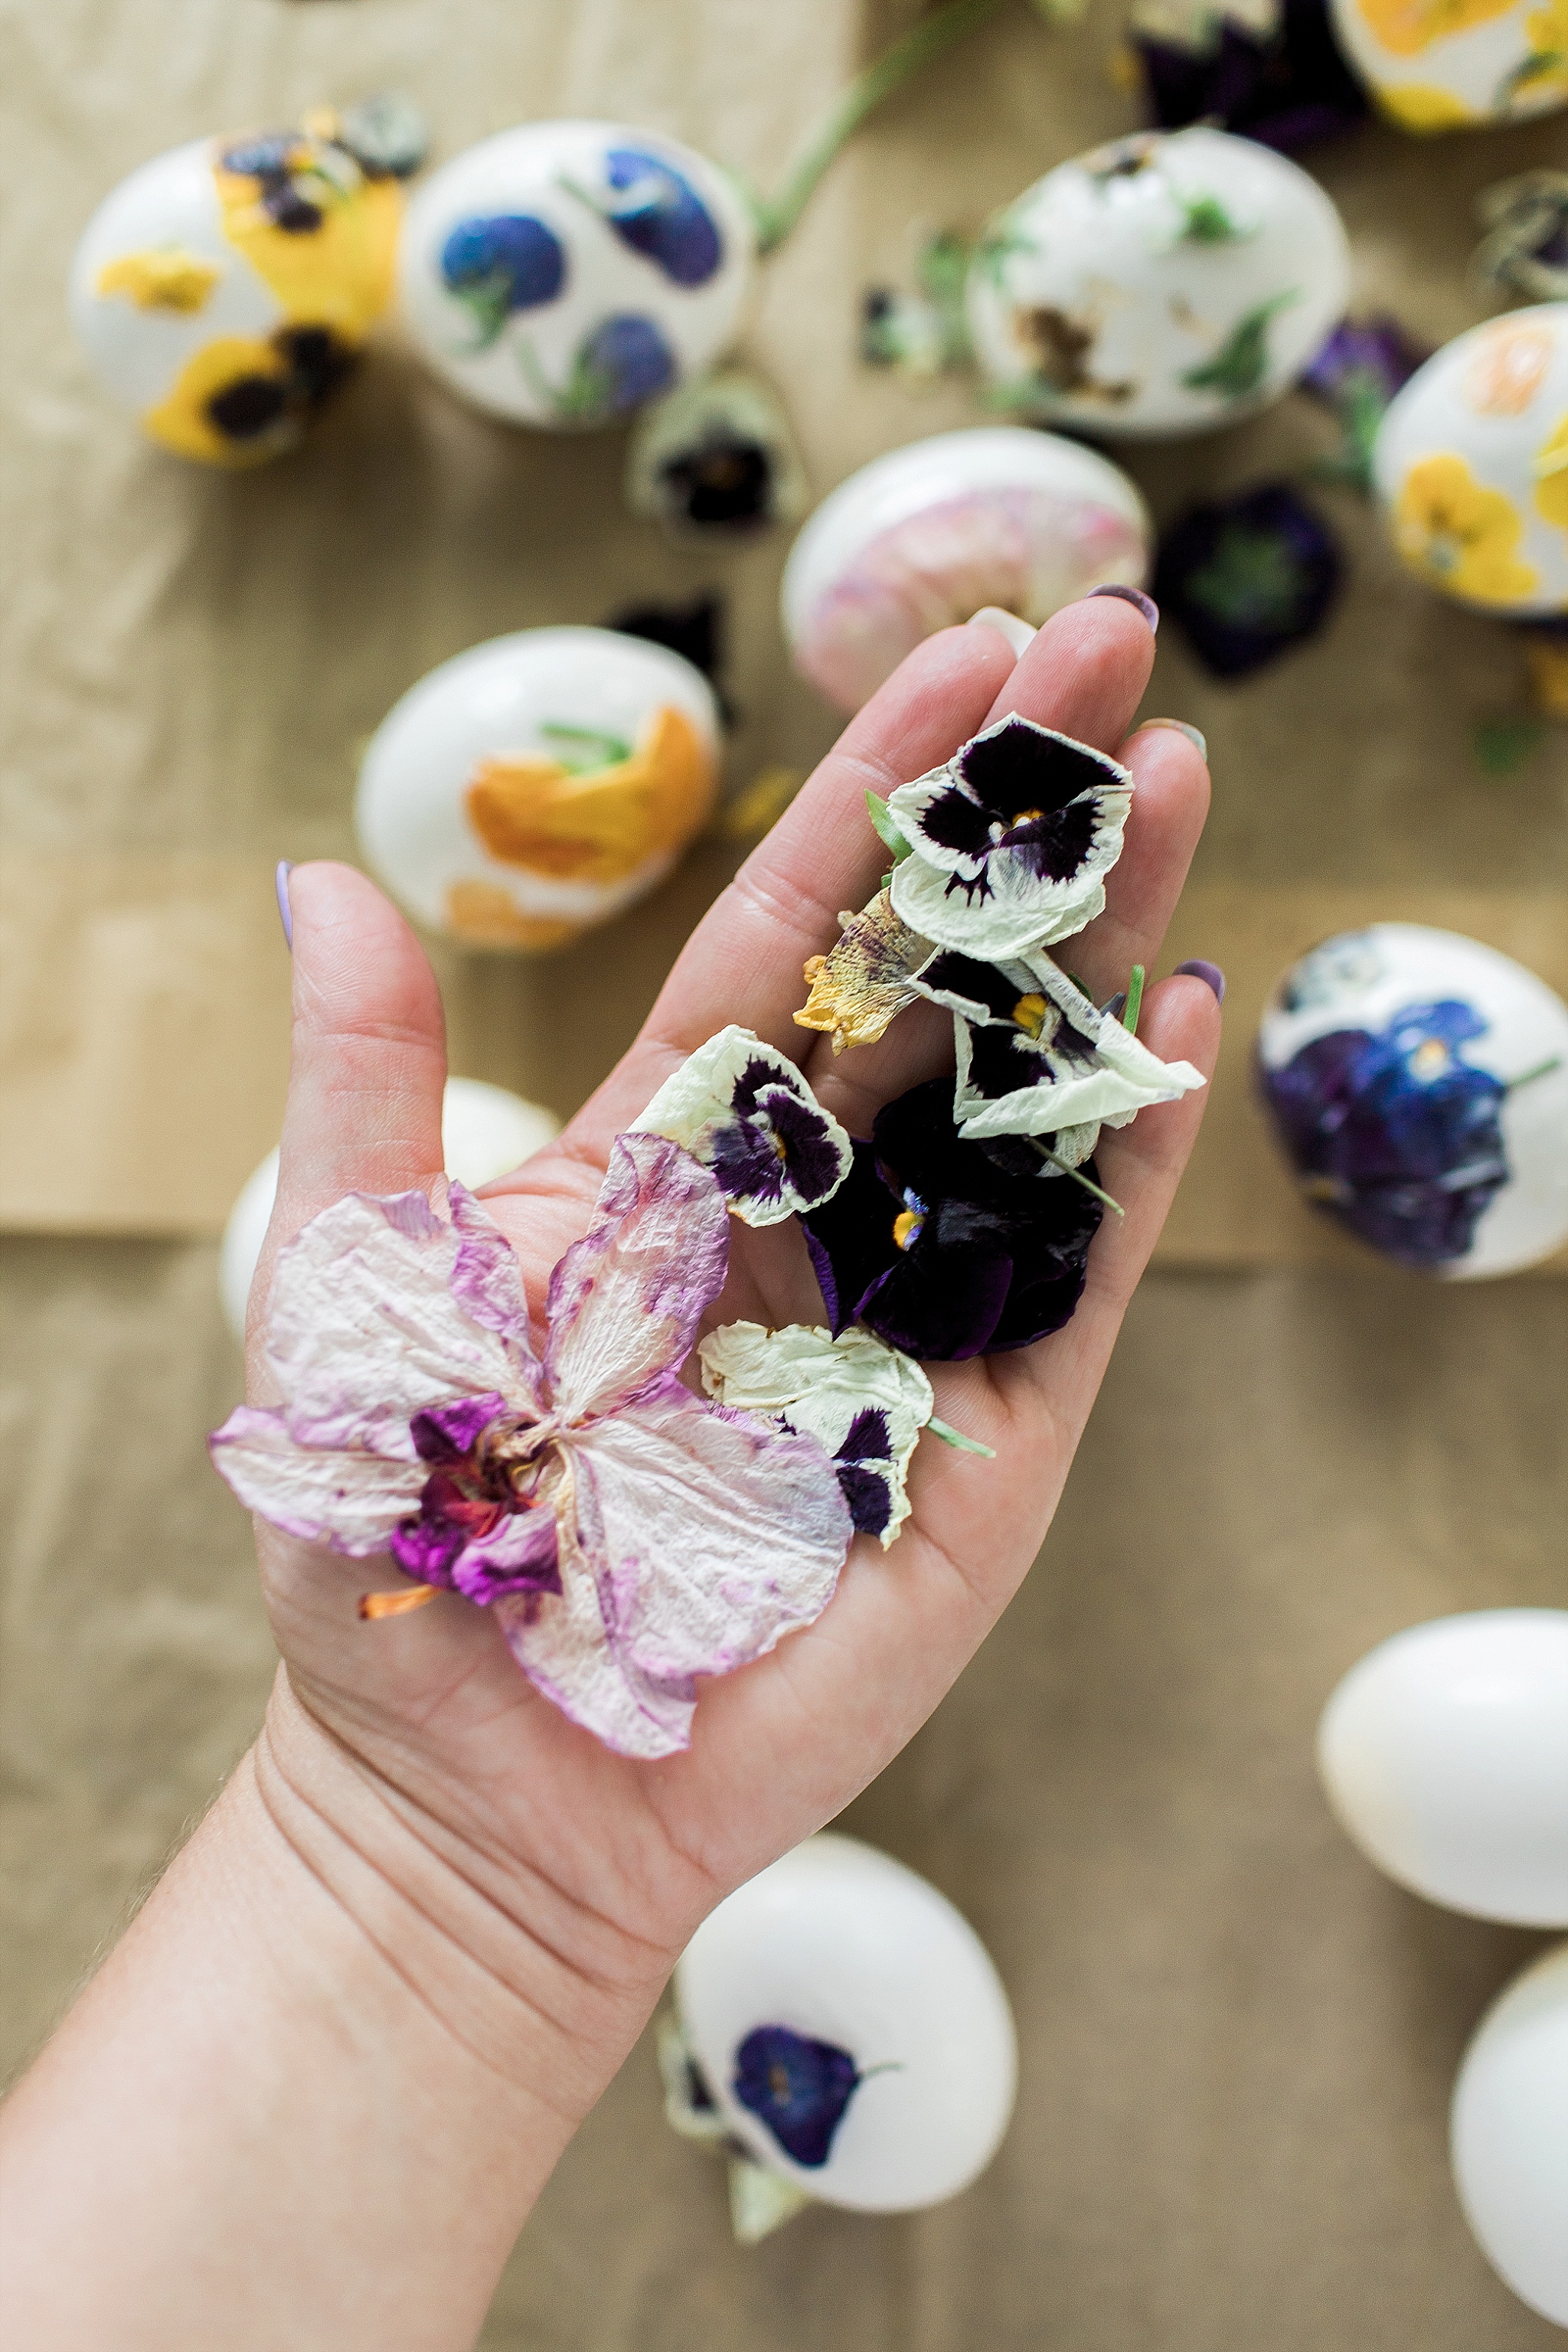
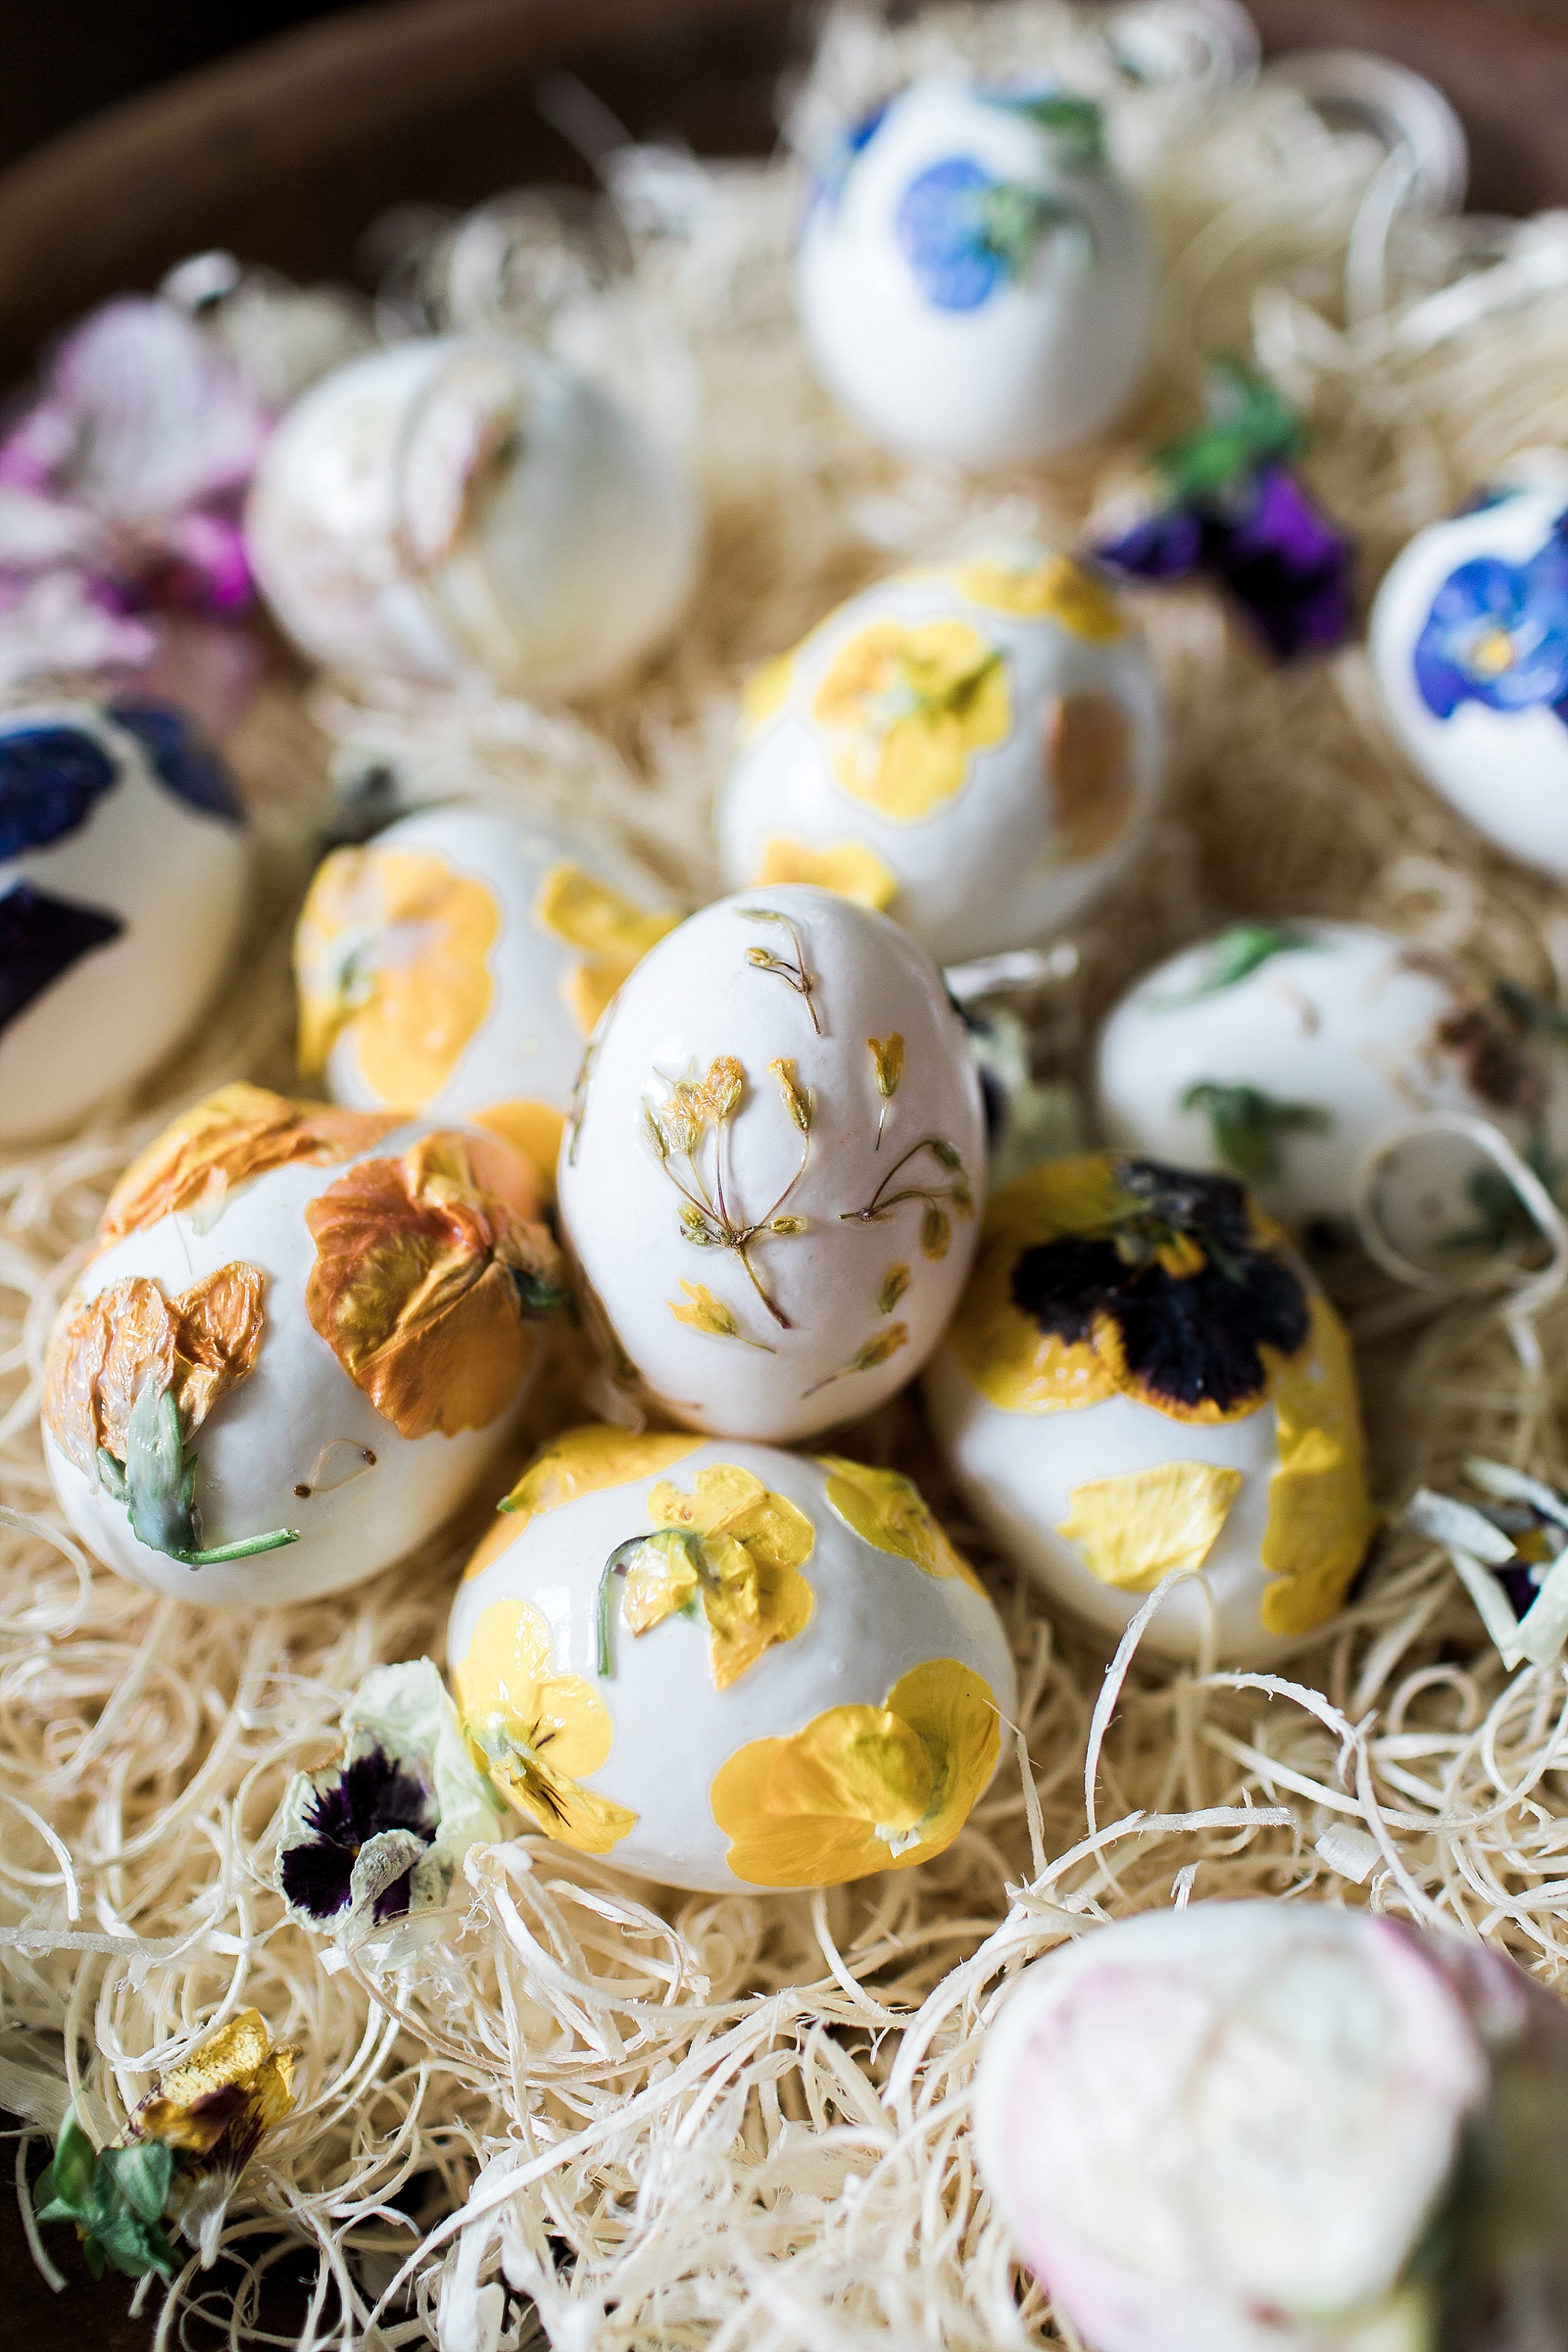
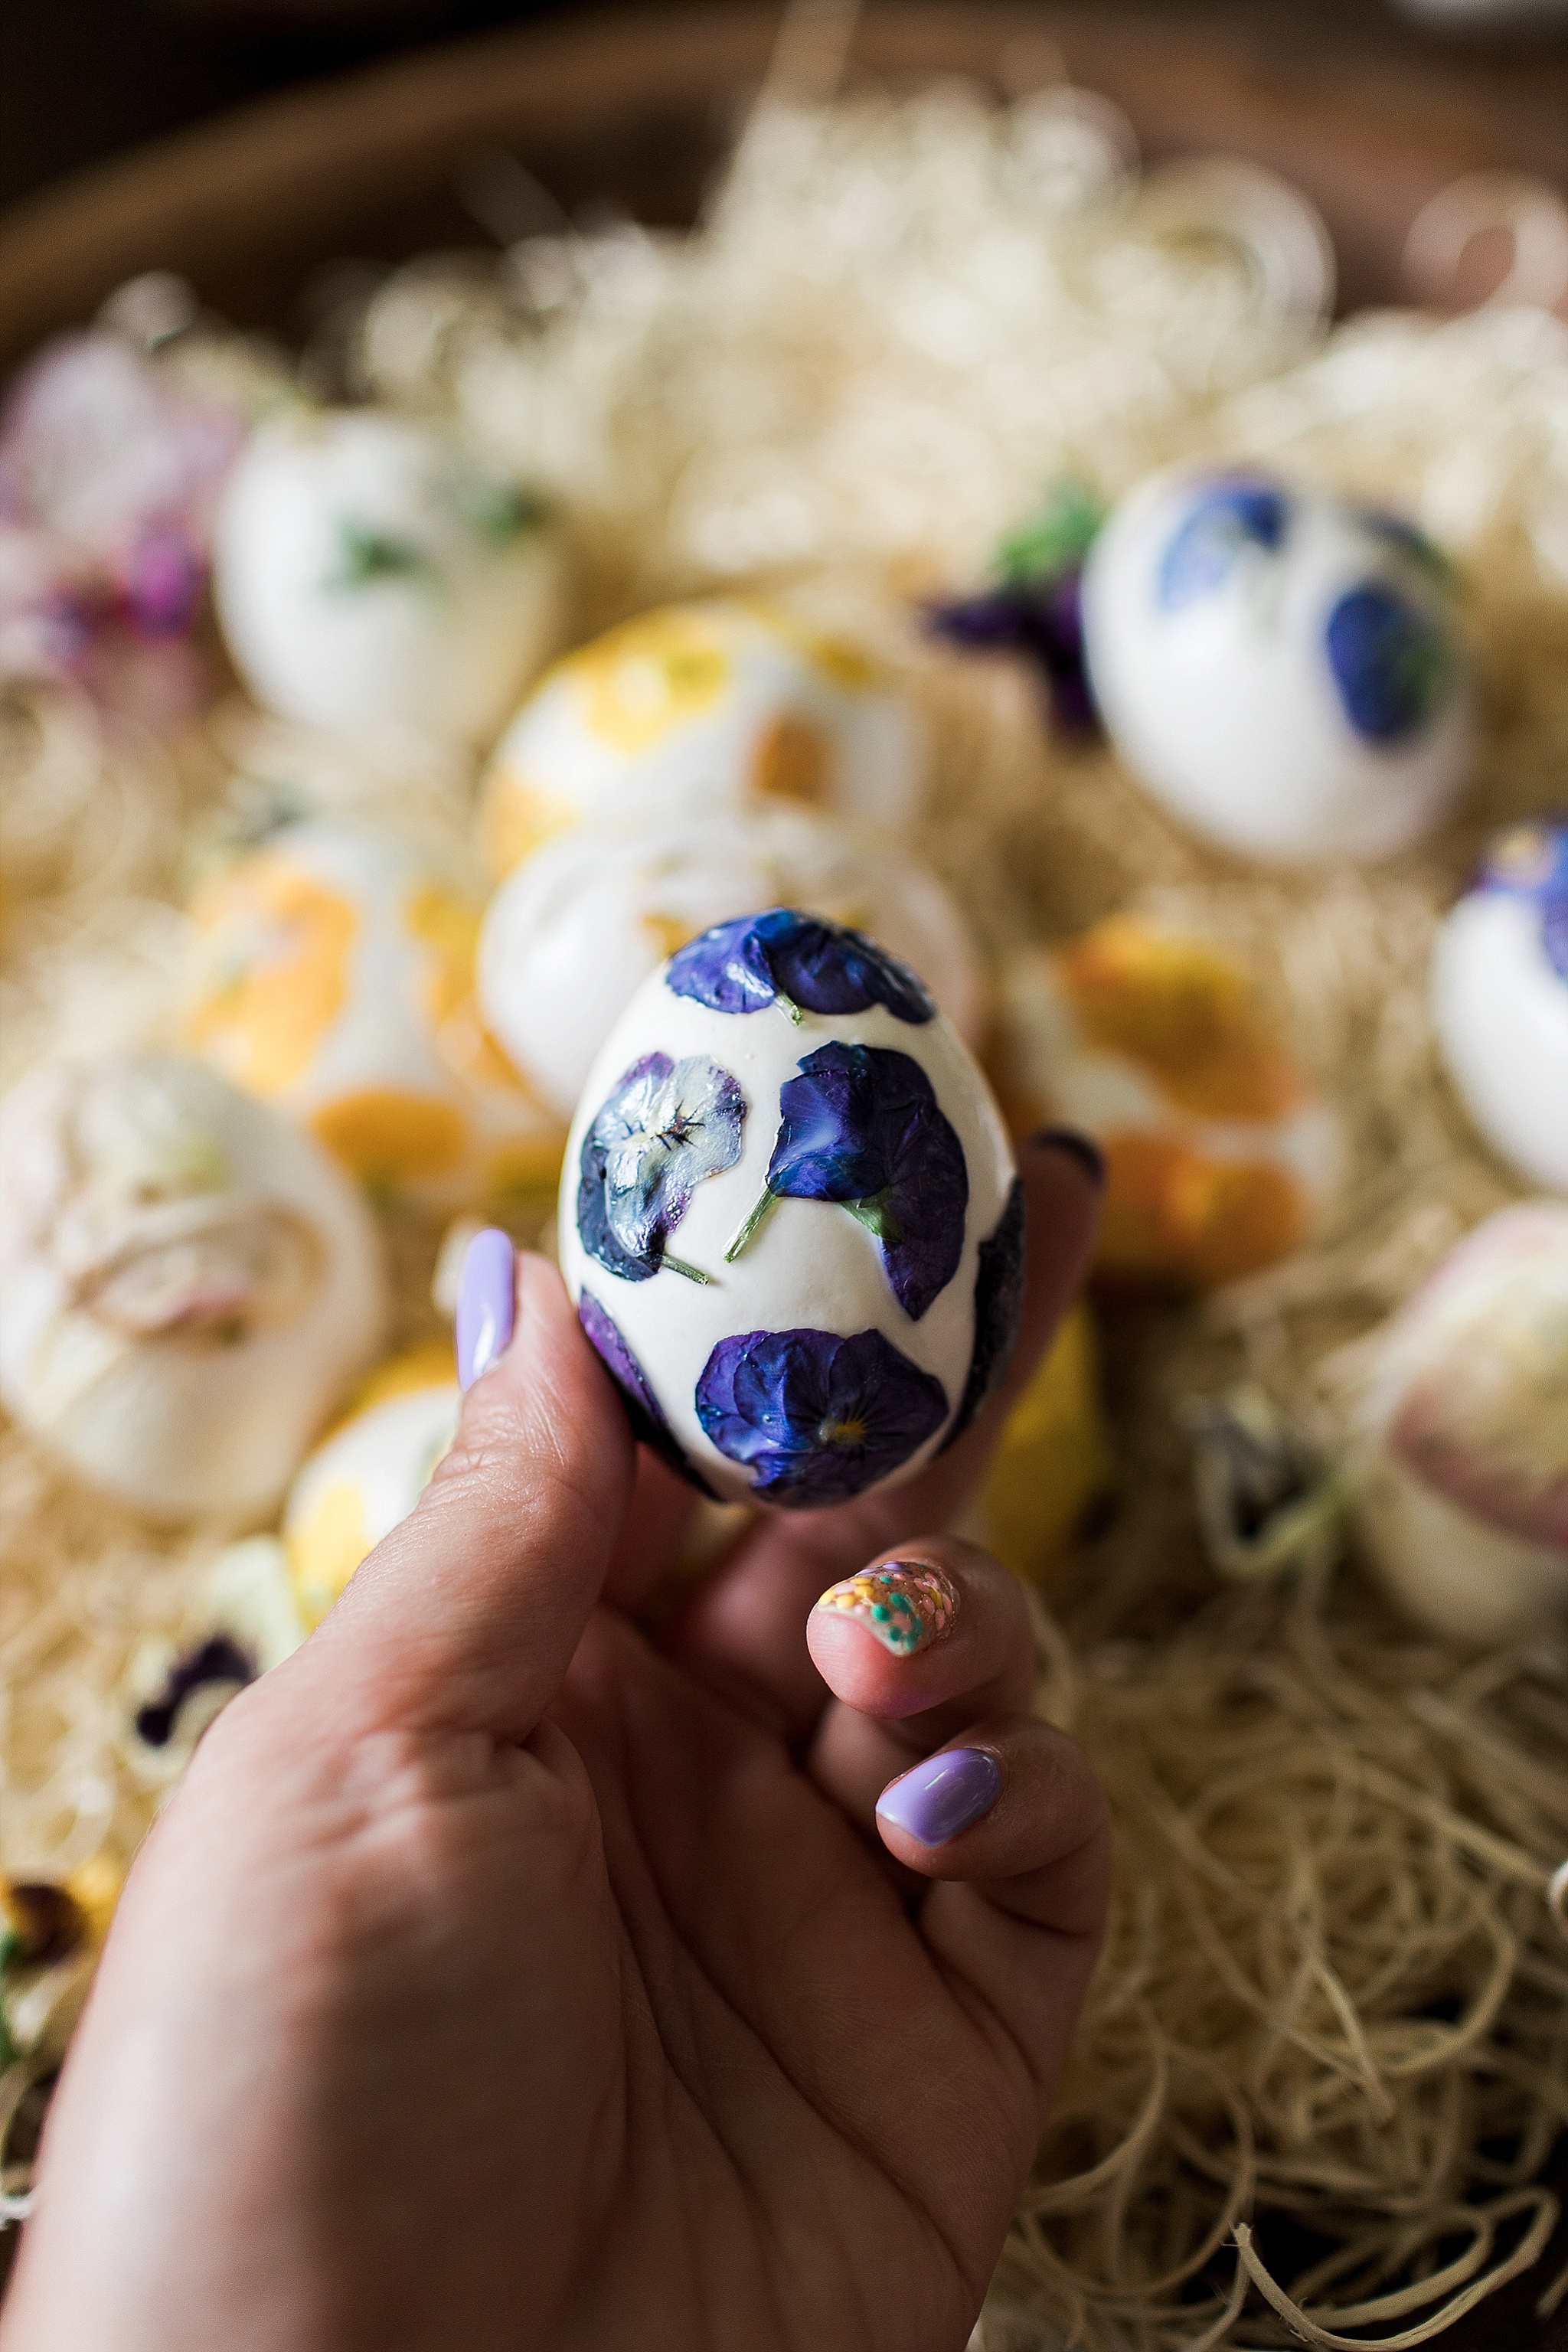
If you are looking for a pretty alternative to dying eggs, this floral decoupage project is for you! Using just a few simple materials, you can paste just about anything onto a hard-boiled egg. I first experimented with wildflowers I found in my yard. The tiny weeds that produce the most delicate flowers ended up being my favorite. I also tried freshly picked Nasturtiums and Pansies along with some larger flowers. I loved all of them however, the smaller the flower, the easier they were to work with. I also just liked the look of the tiny flowers for such a small surface. My final tip, choose flowers that have good flexibility and can lay completely flat. If the flower or leaf is too rigid, it won’t lay flat over the curved surface of the egg.
Materials List:
- Hard-Boiled Eggs
- Freshly picked flowers (Nasturtiums, Pansies, Wild Flowers)
- Wax Paper
- Mod Podge
- Small Paint Brush
Directions:
- Place your freshly-picked flowers flat between two pieces of wax paper and weigh them down with books. Leave them for about an hour to flatten.
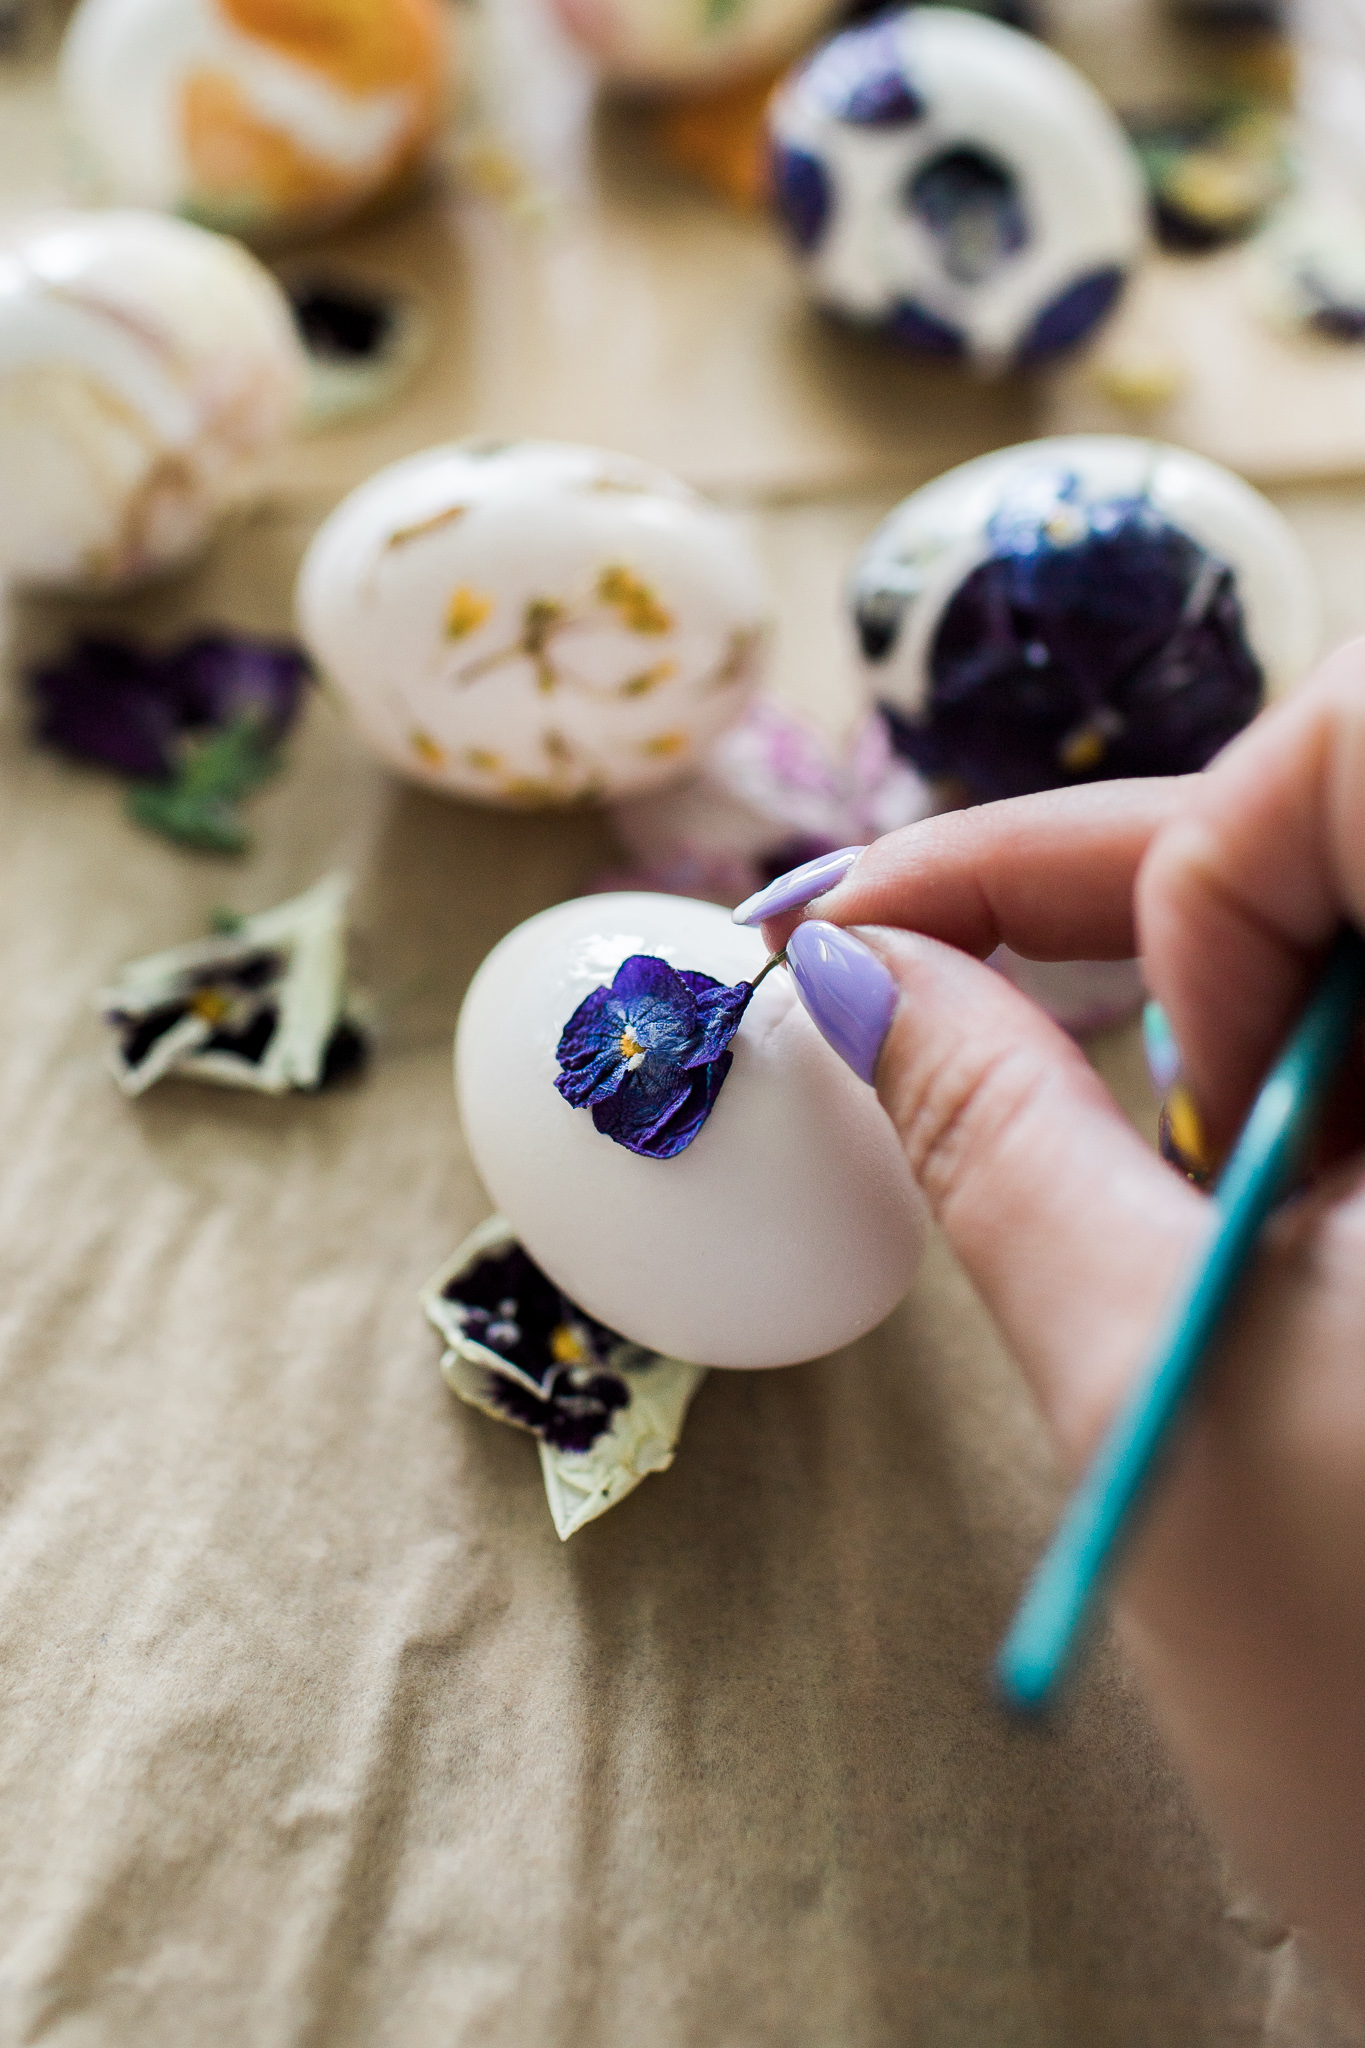
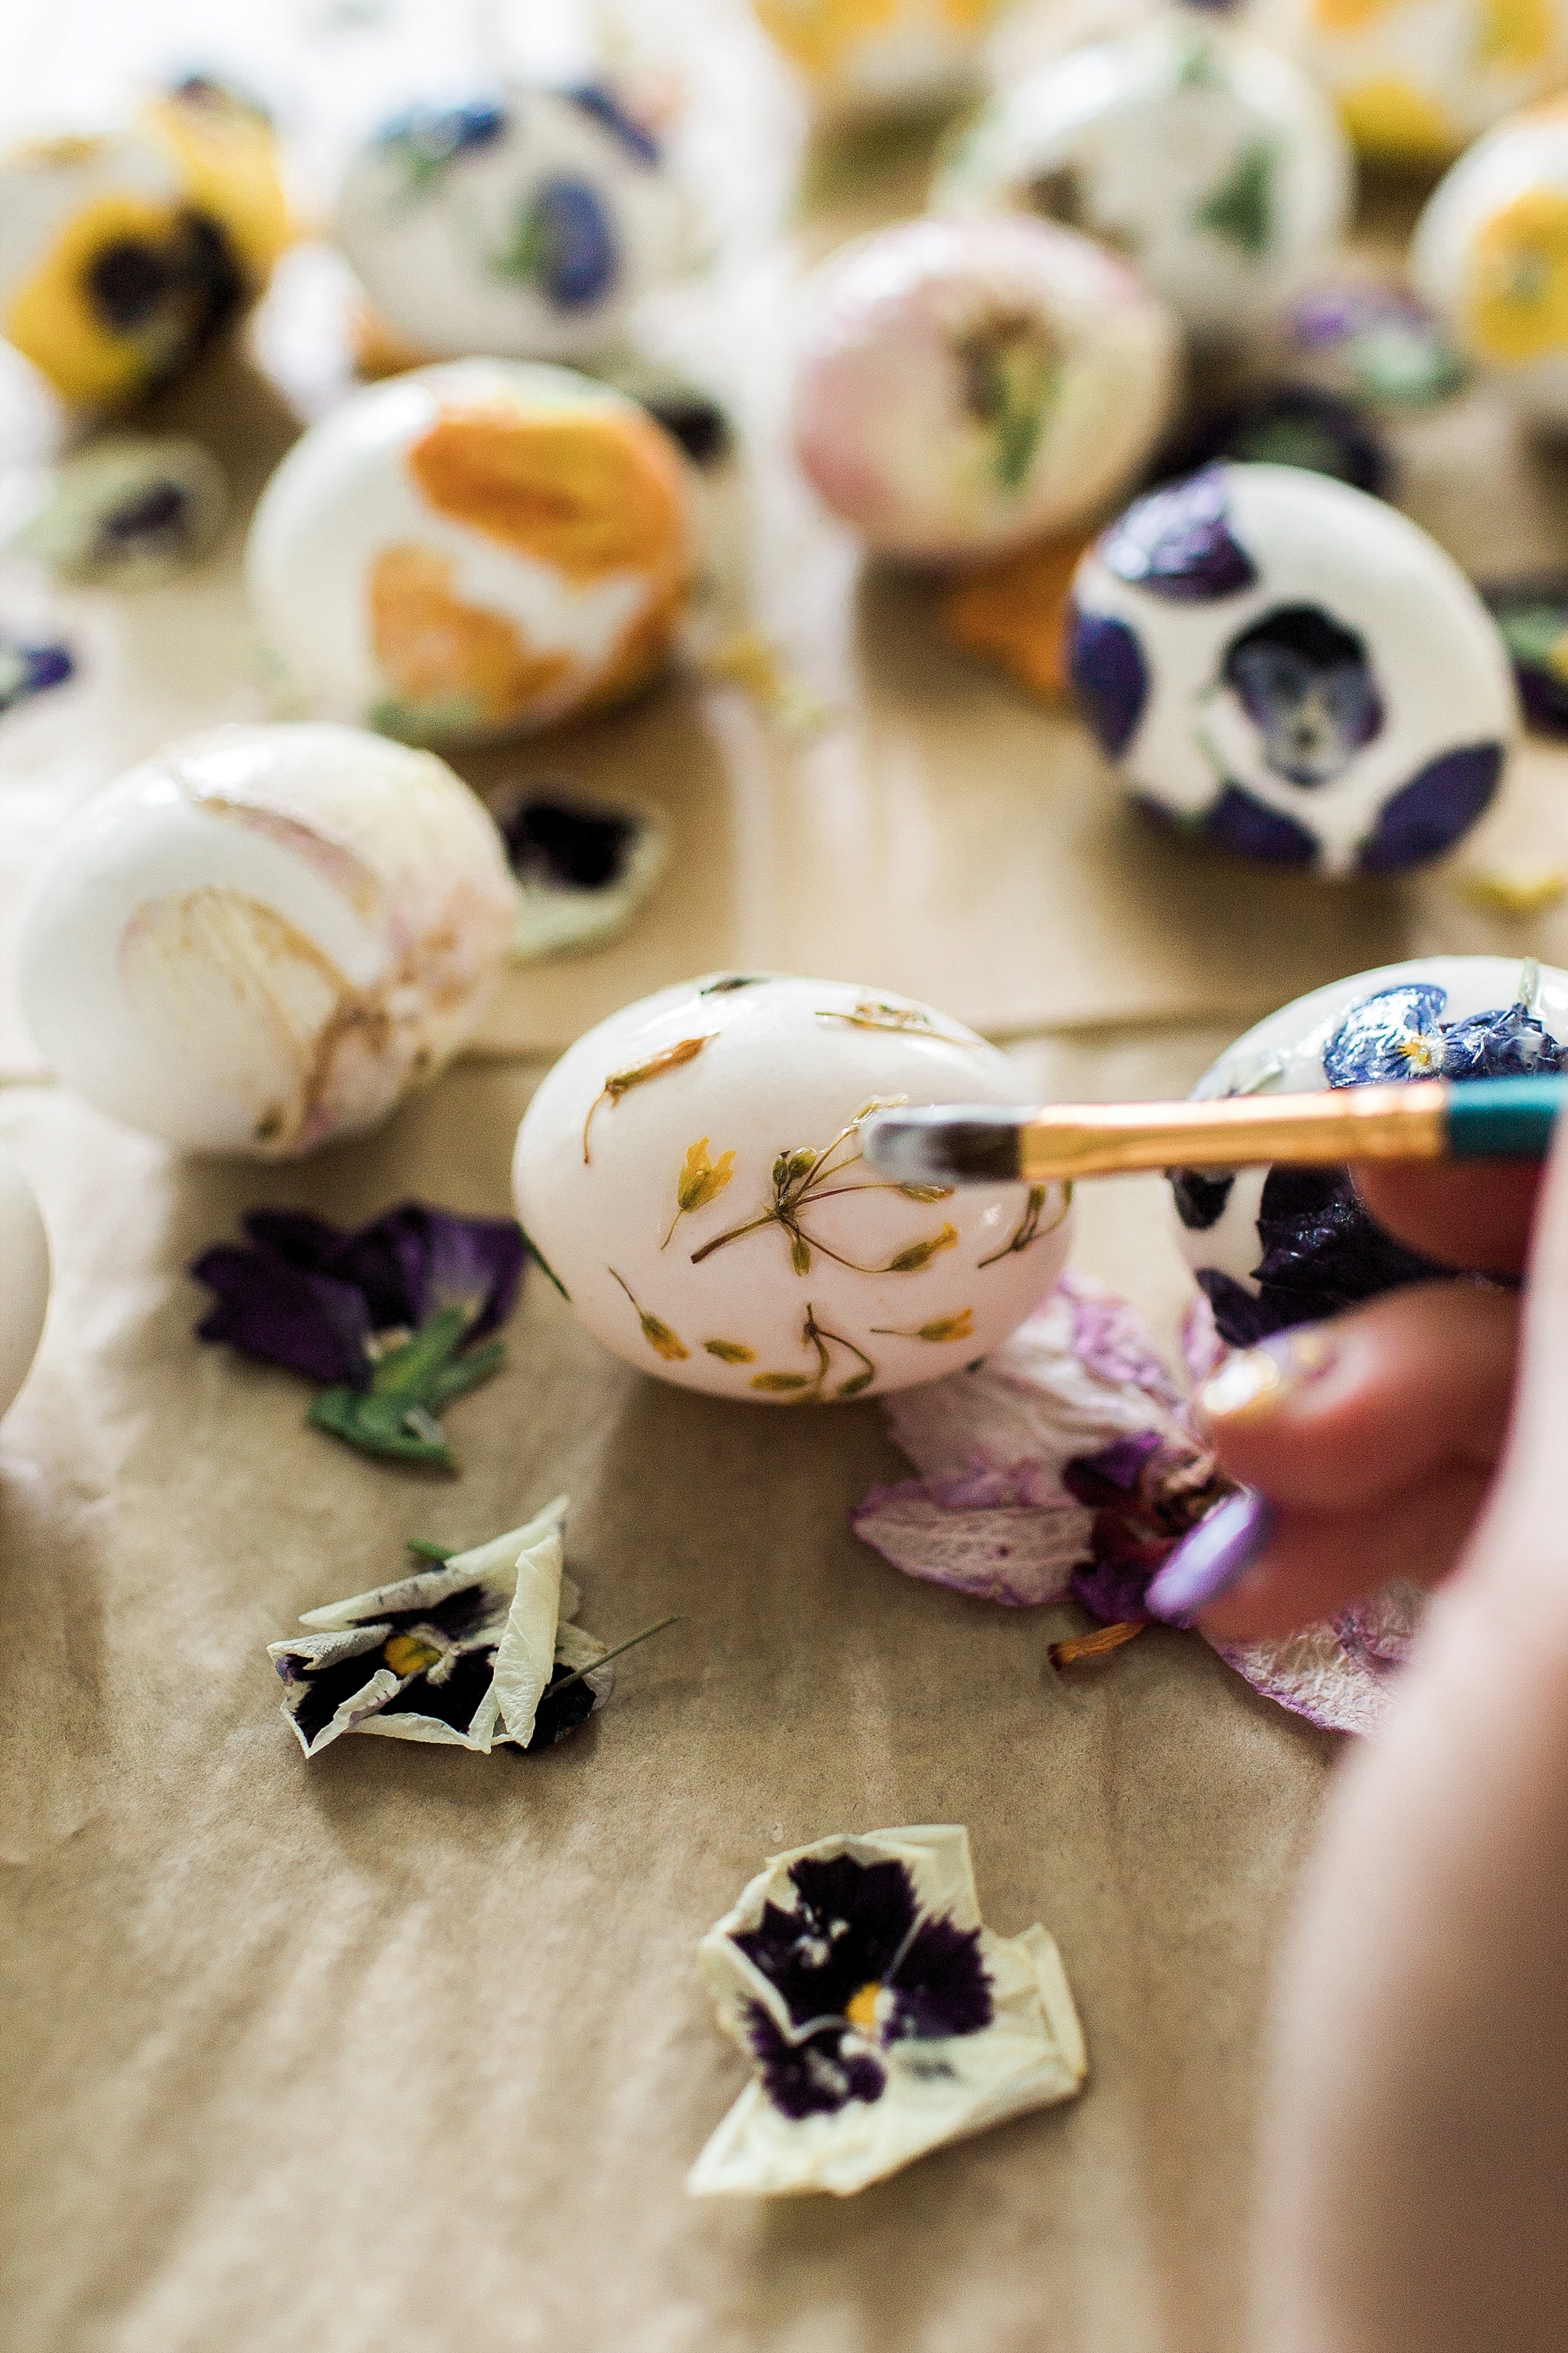
- Brush a layer of mod podge over the area of the egg where you will be placing a flower. Cover with the flower and brush more mod podge over all the edges of the flower until it’s completely covered. It will look gluey and white but dries clear.
- Work in sections, allowing each side to fully dry before moving to another area. I like to do the fronts of all my eggs all at one time before rotating.
- These can be stored in the refrigerator after they dry.