How To Make Your Own Garland!
How to Make Your Own Garland for your Holiday Spread!
Still need ideas for your holiday spread centerpiece? Look no further than our Garland tutorial with guest and Floral Professional, Julie Miner! Julie’s planning & floral business is located in the same building as mine and we’ve become good friends over the years. I have been longing to have a dinner party featuring a full, healthy greenery runner for a long time. So I begged Julie to help me create one of my own! She gave me some excellent tips to share!!
 Gorgeous, right?? Let’s begin!!
Tip 1. Start with a garland base. This one is made out of Salal which I ordered through Julie! Garland is typically sold by the foot and depending on where you are located, local greens vs shipped greens will vary in cost. 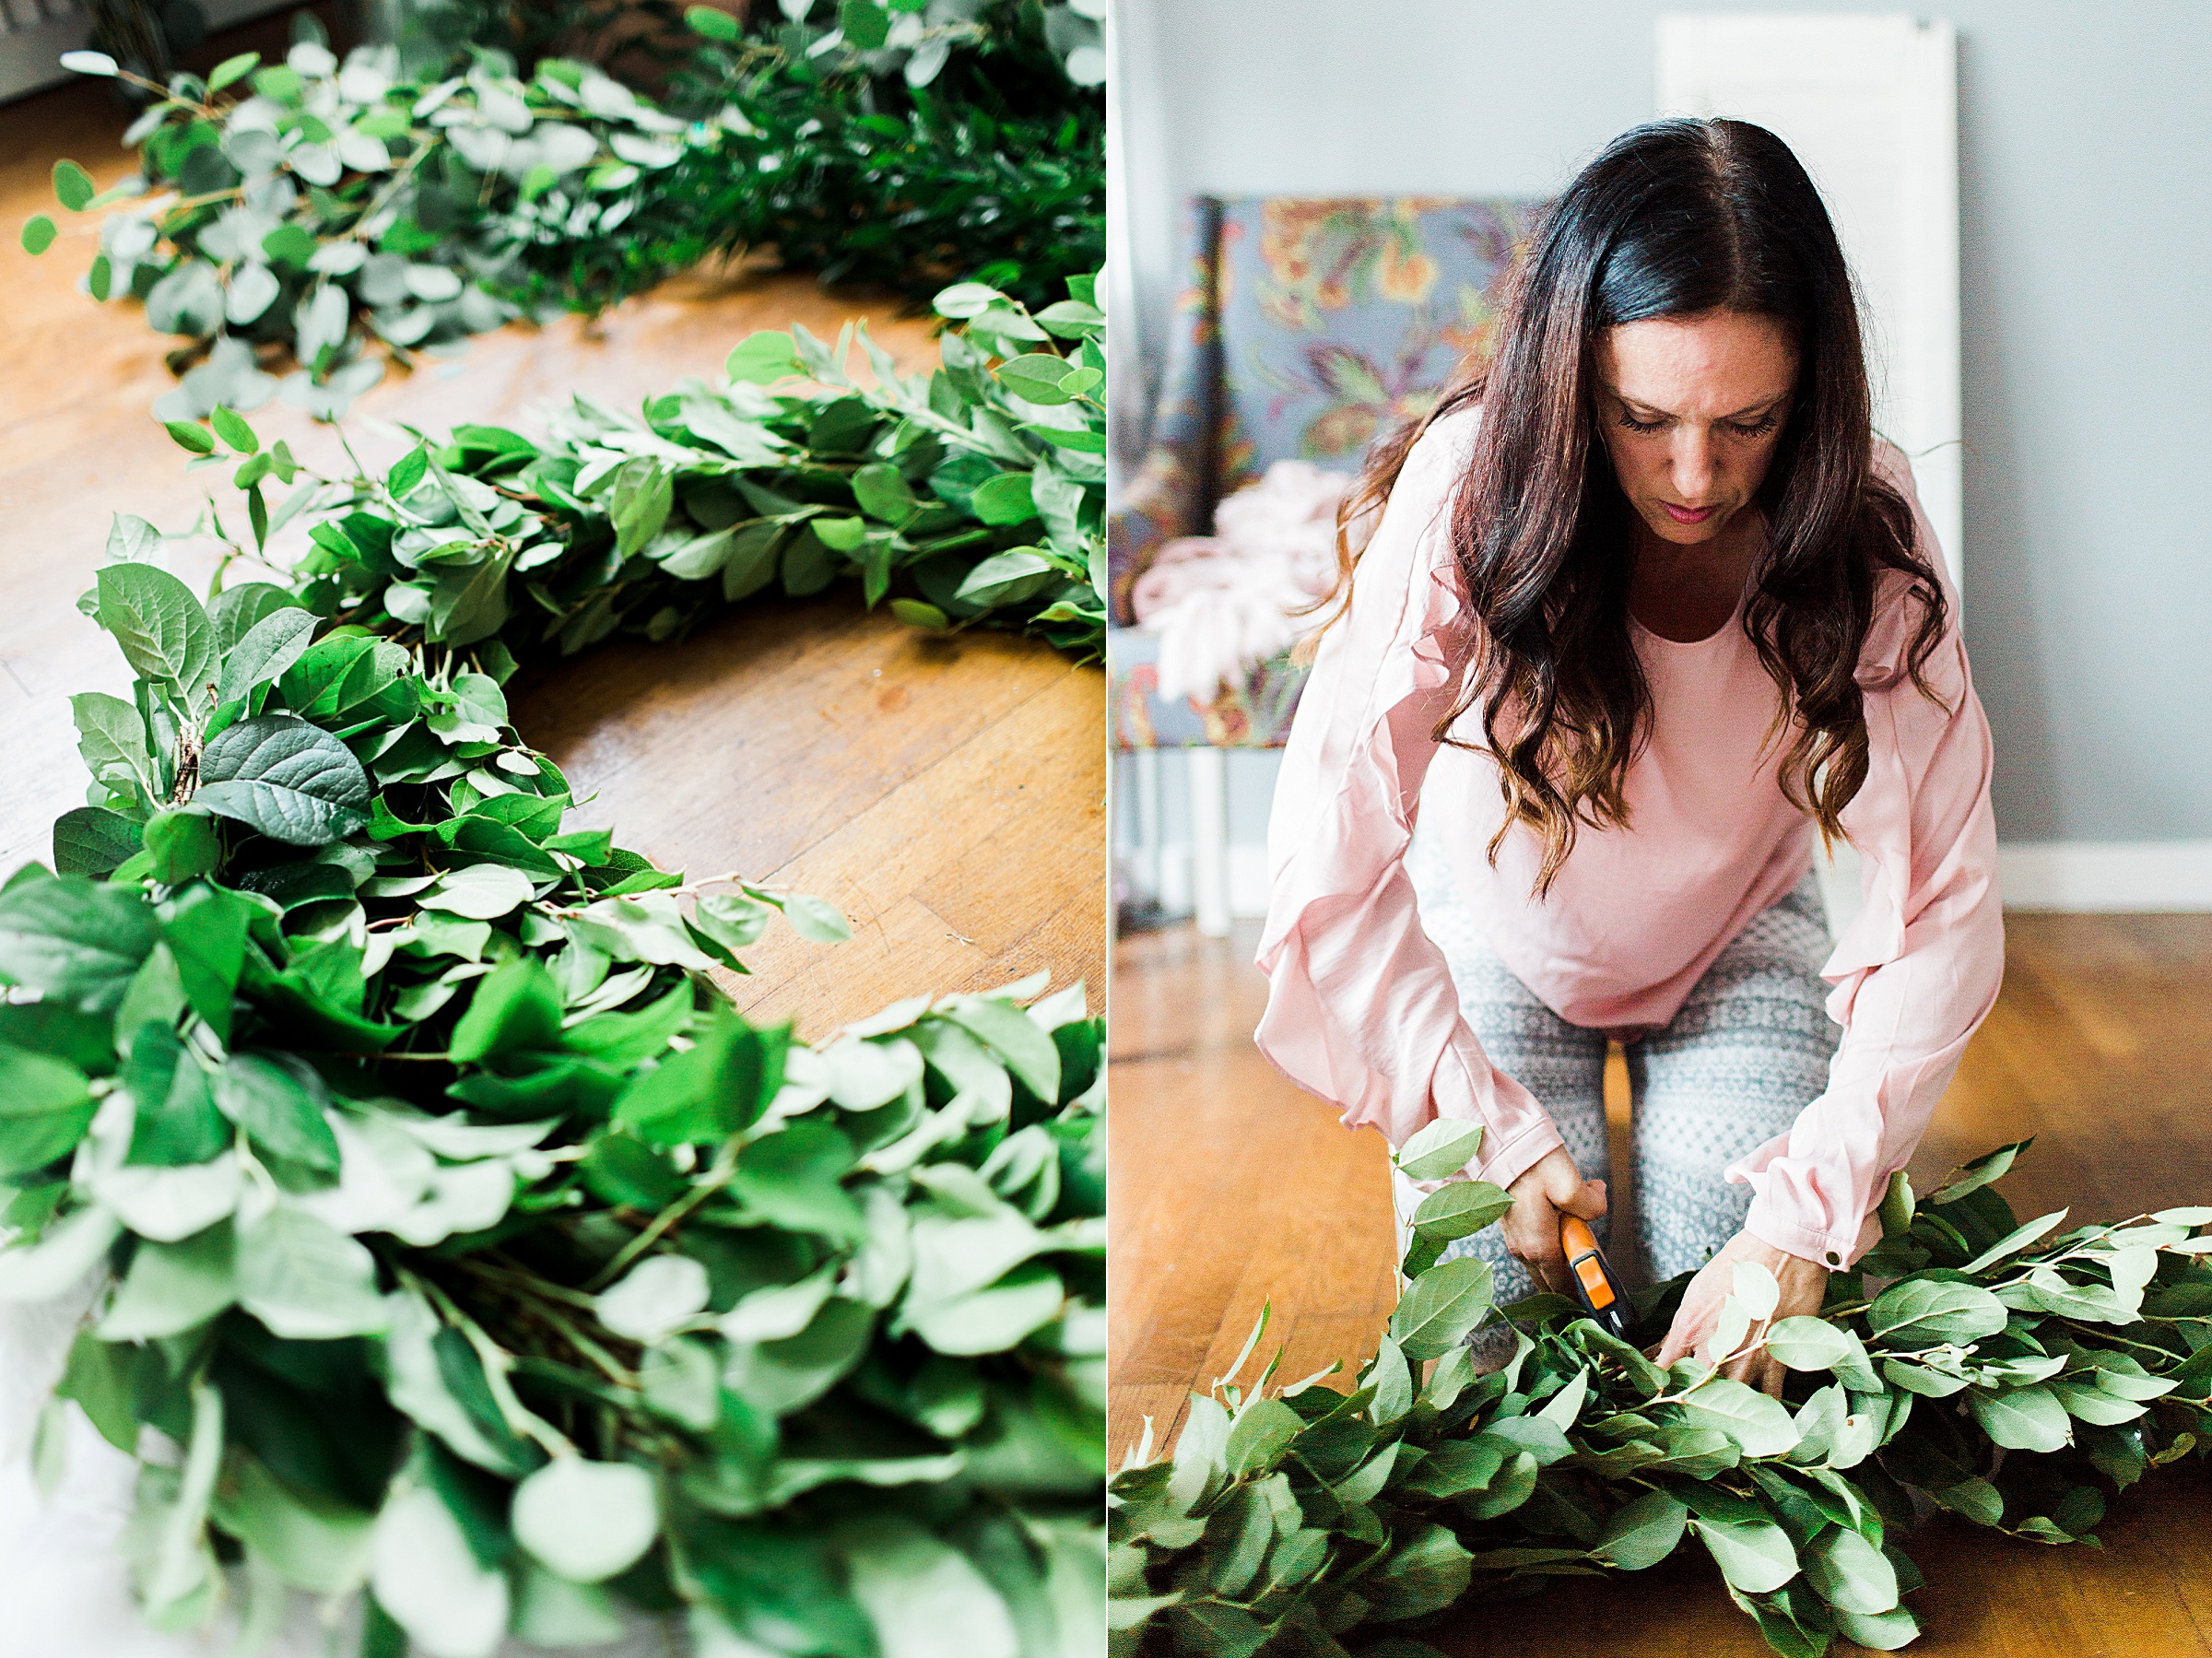 Here are the different types of greenery we used for our garlands! Check out what greens are available in your area. Other things to consider: Is it poisonous for your pets/small children? How long will it last?
 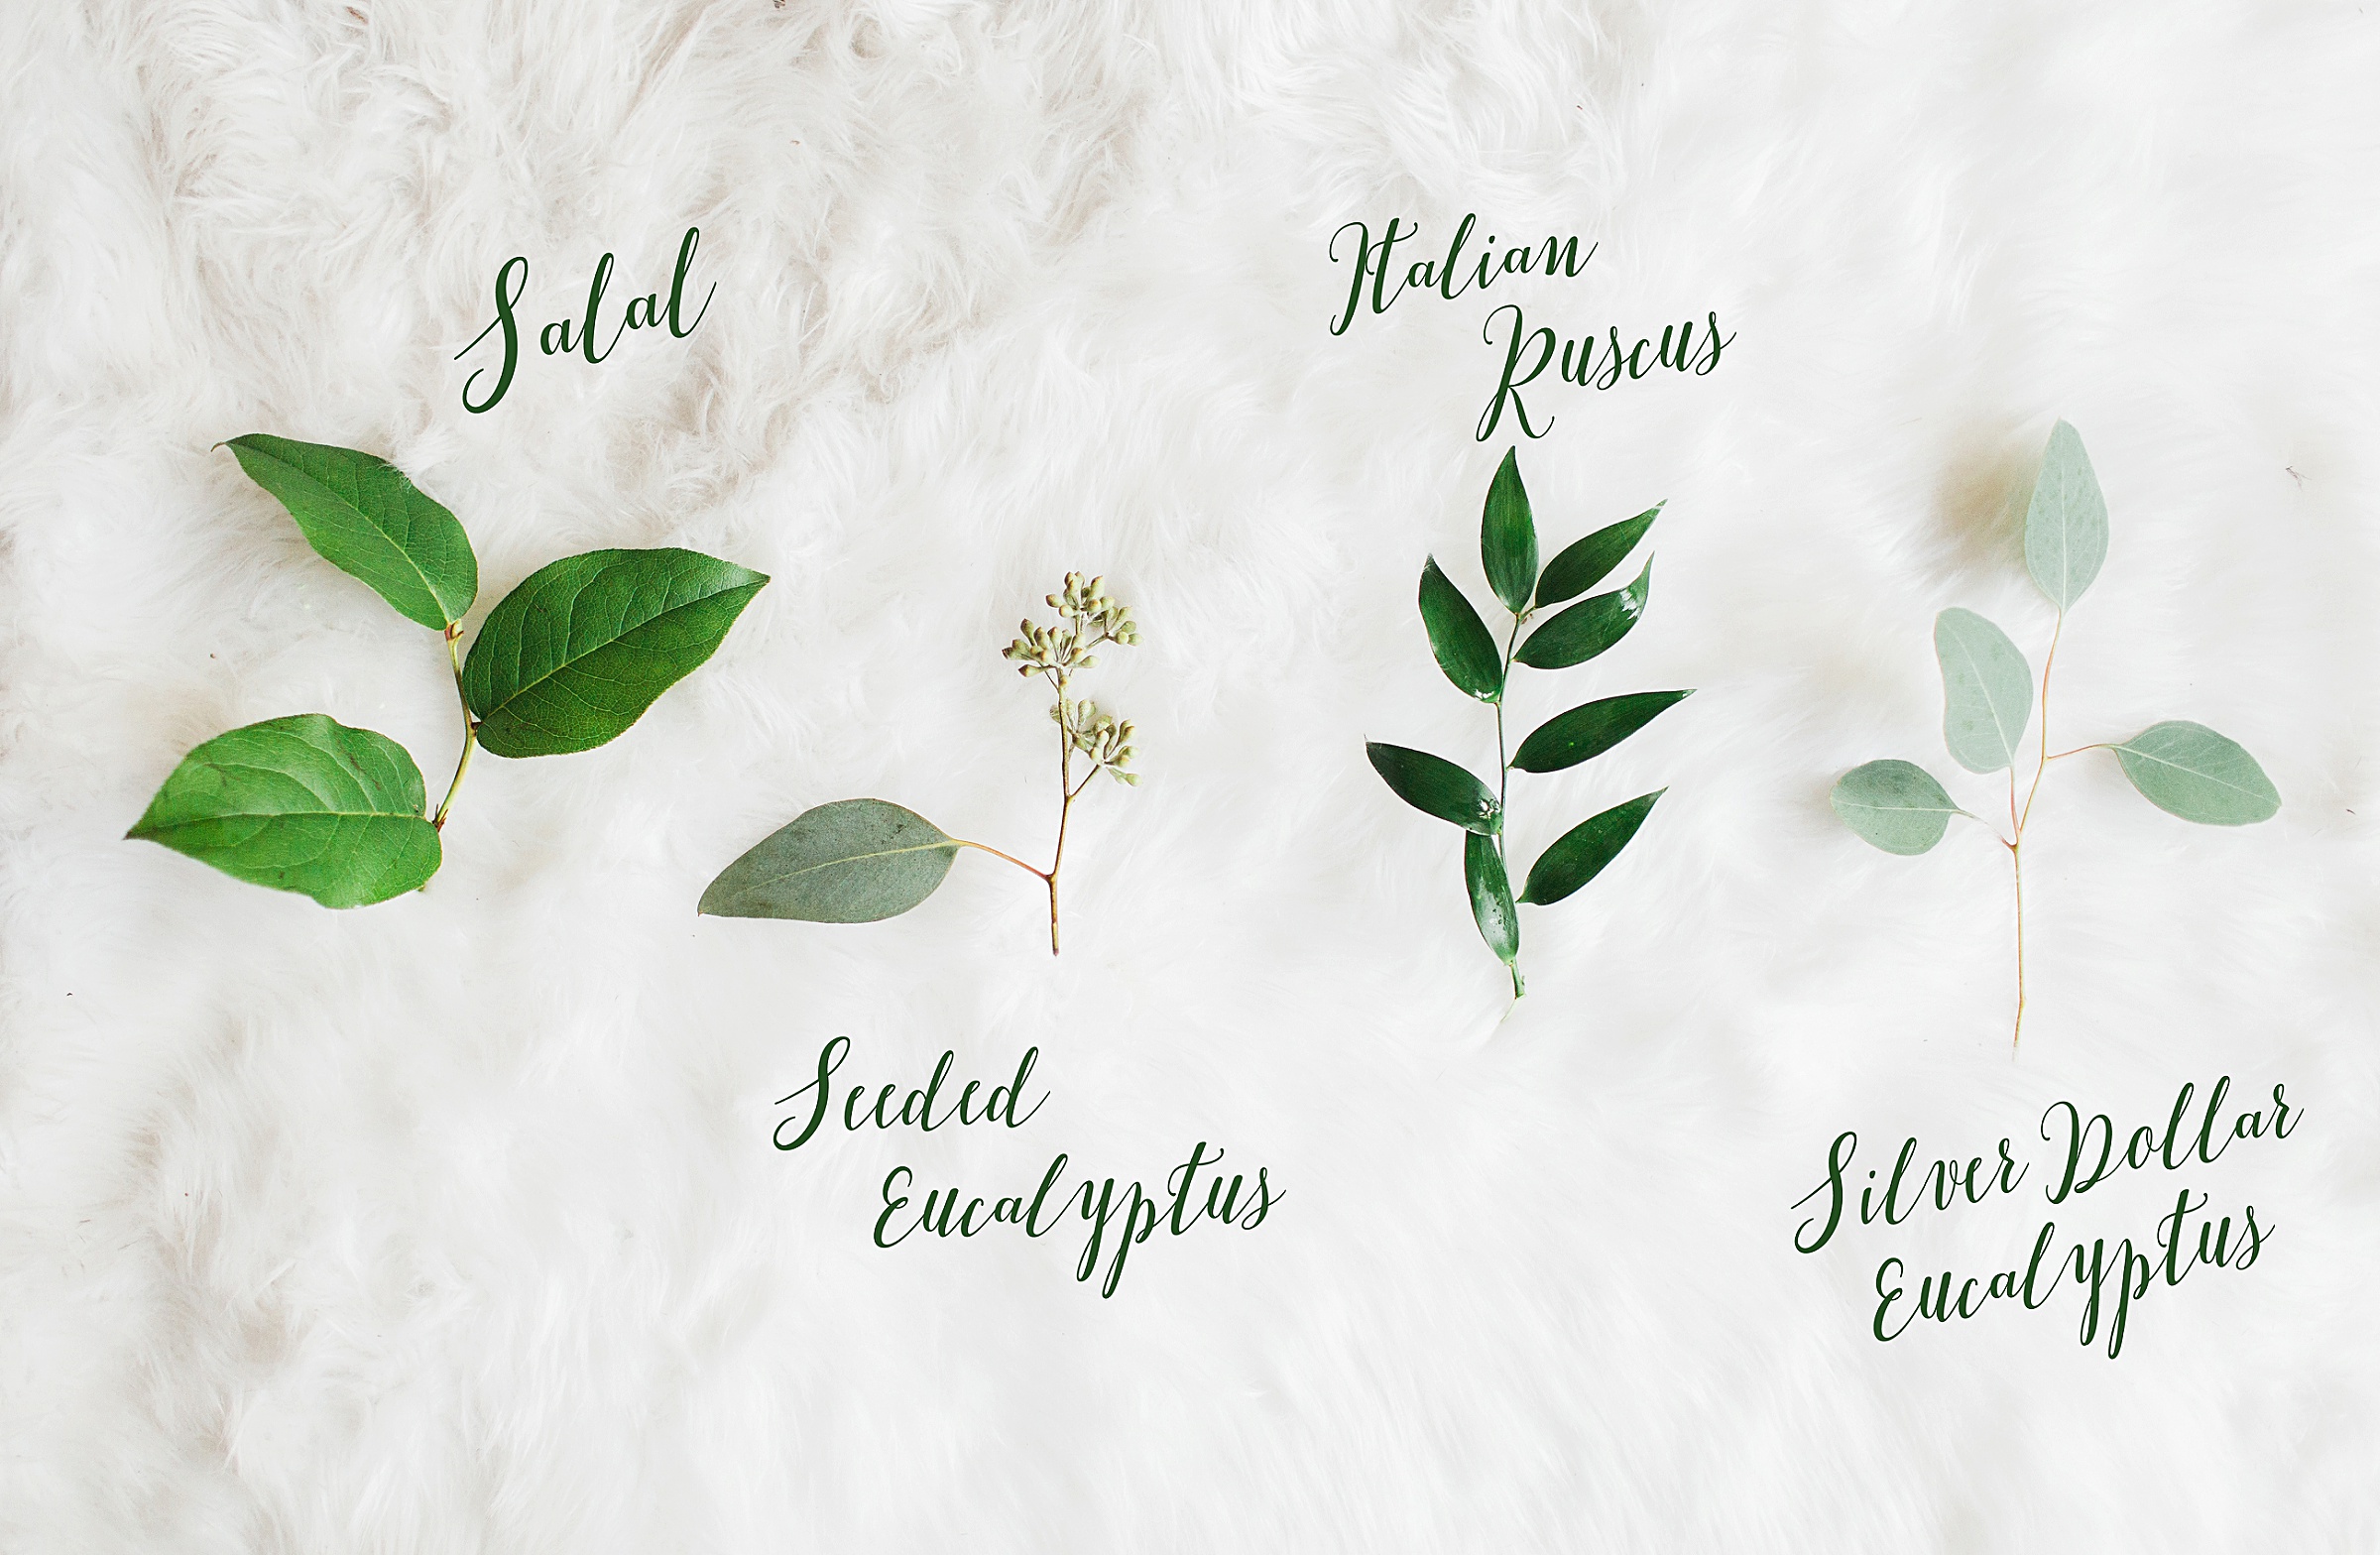 Tip 2. Get some good floral clippers and wire. Julie recommends 26 gauge wire which is very thin and easy to work with. Also, wear matching clothes, hehe jk! But somehow we showed up in matching leggings…
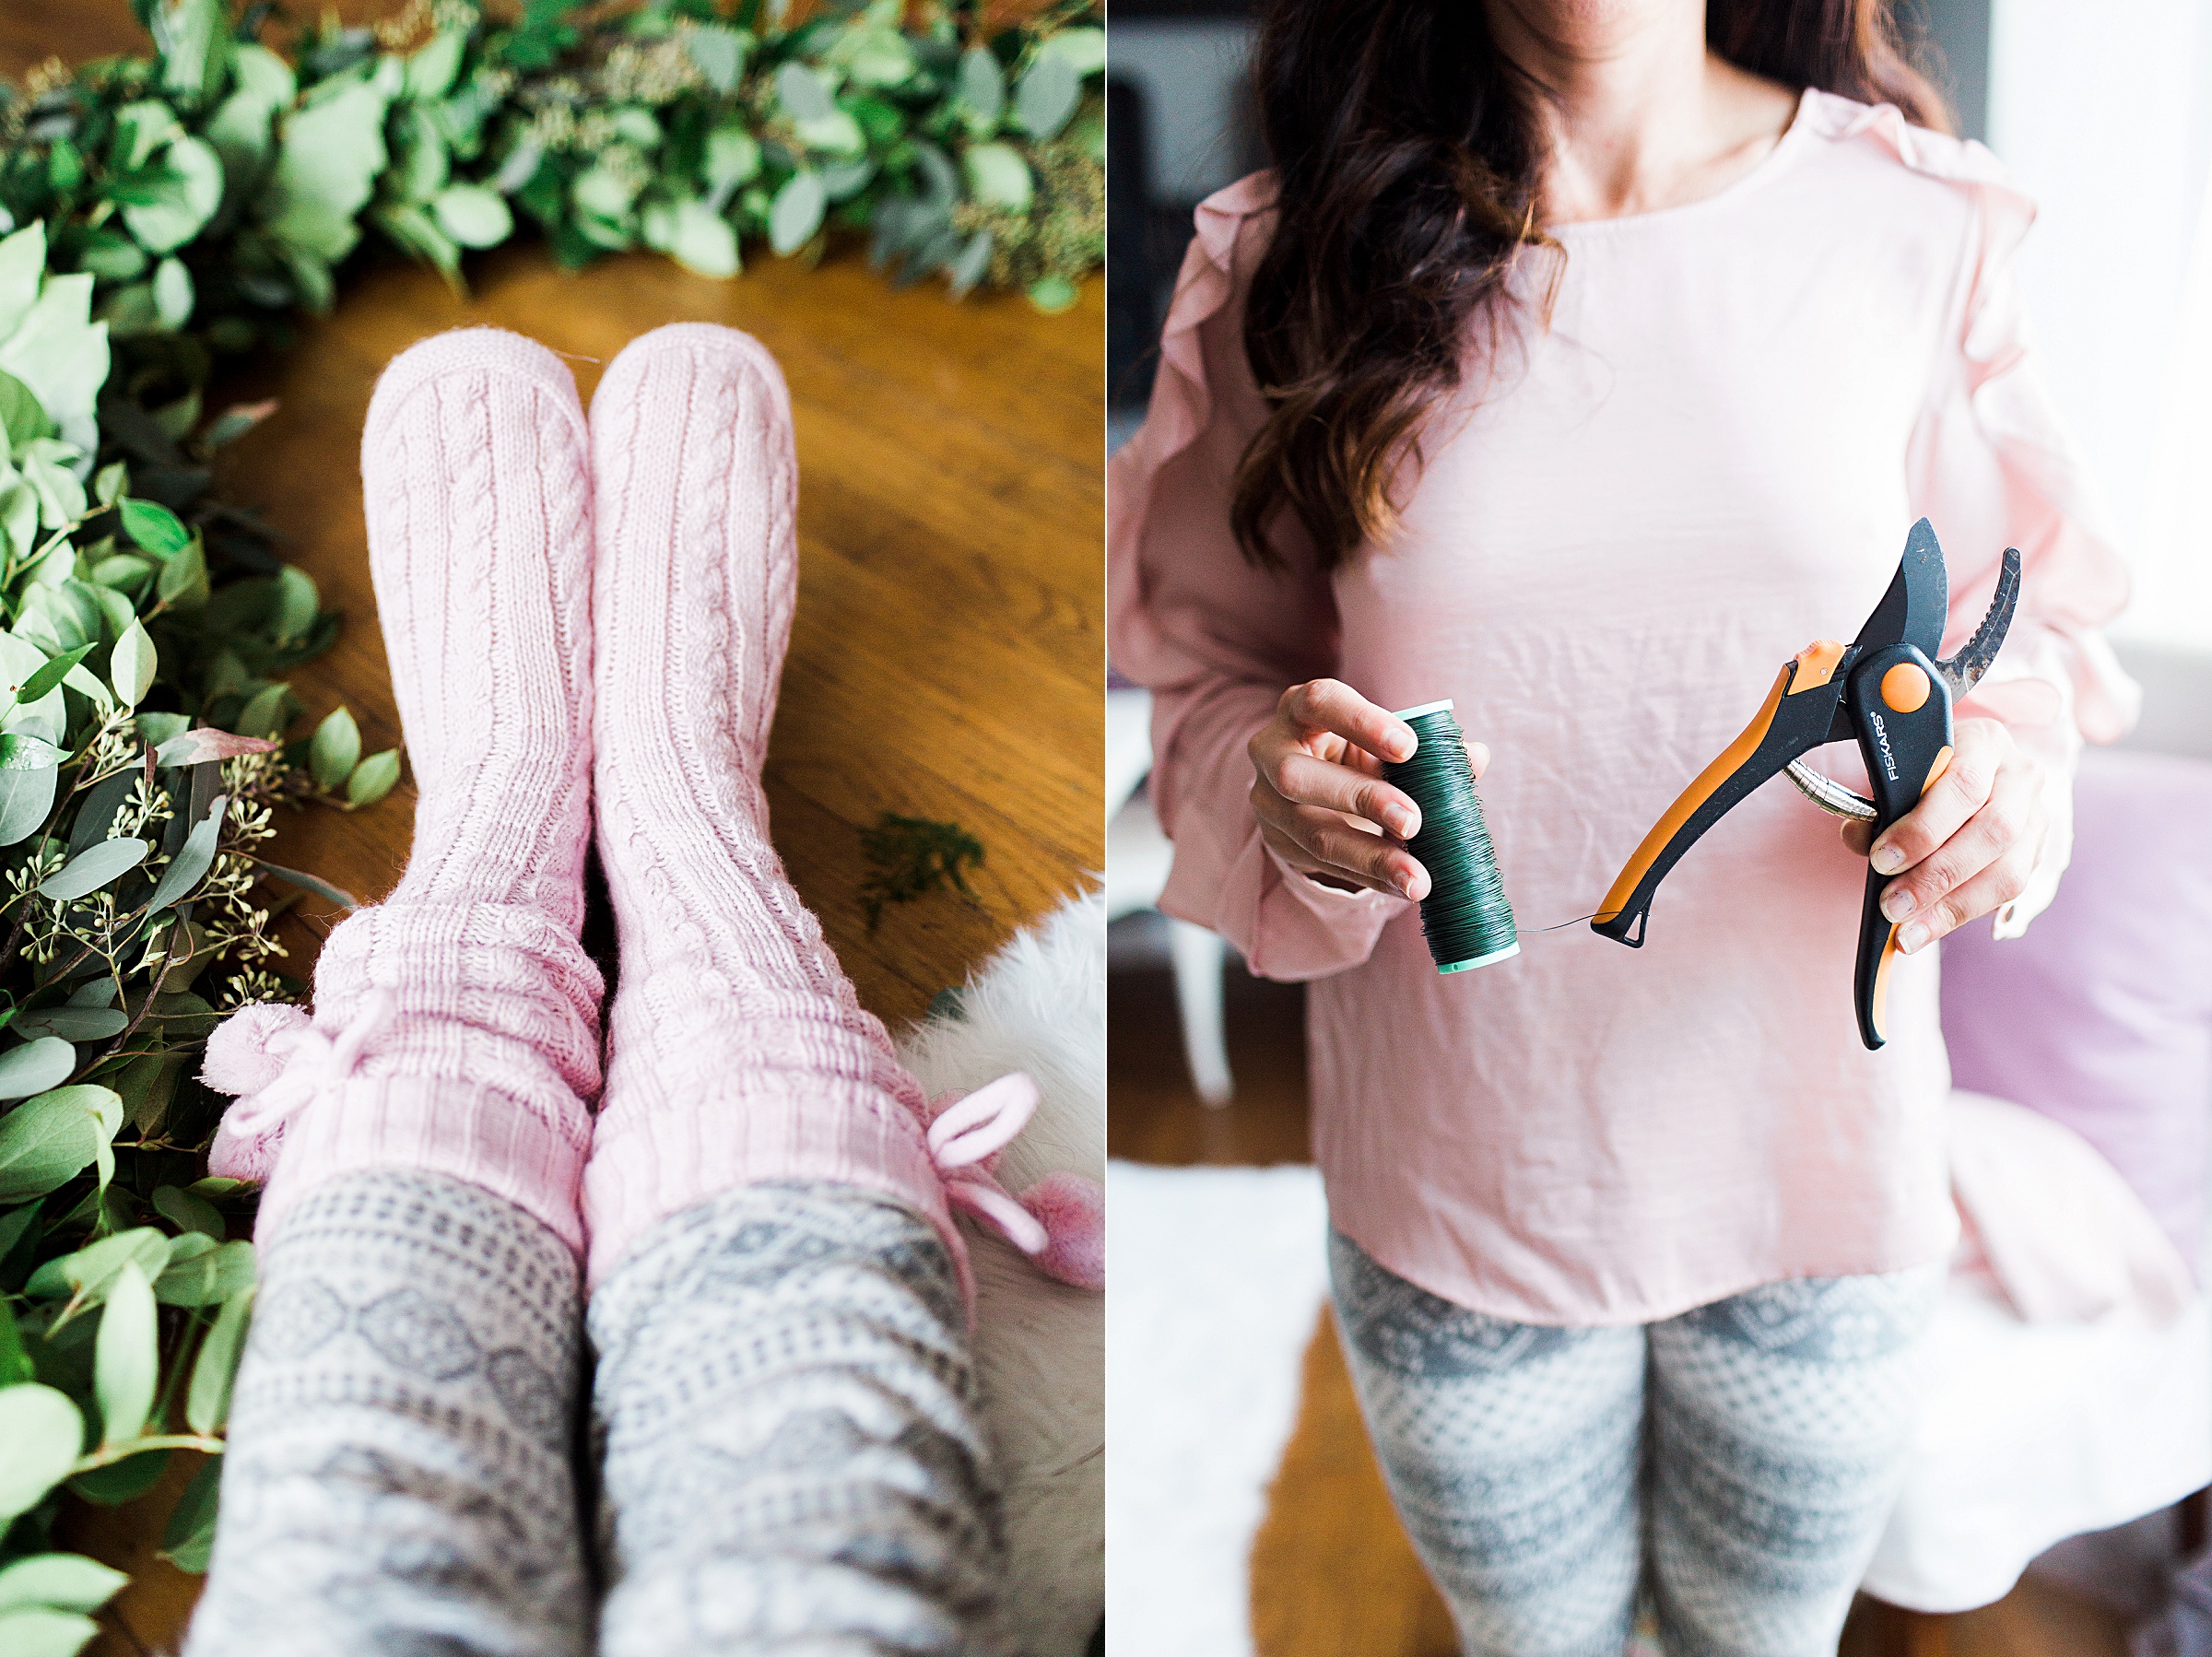 Our beautiful mess <3
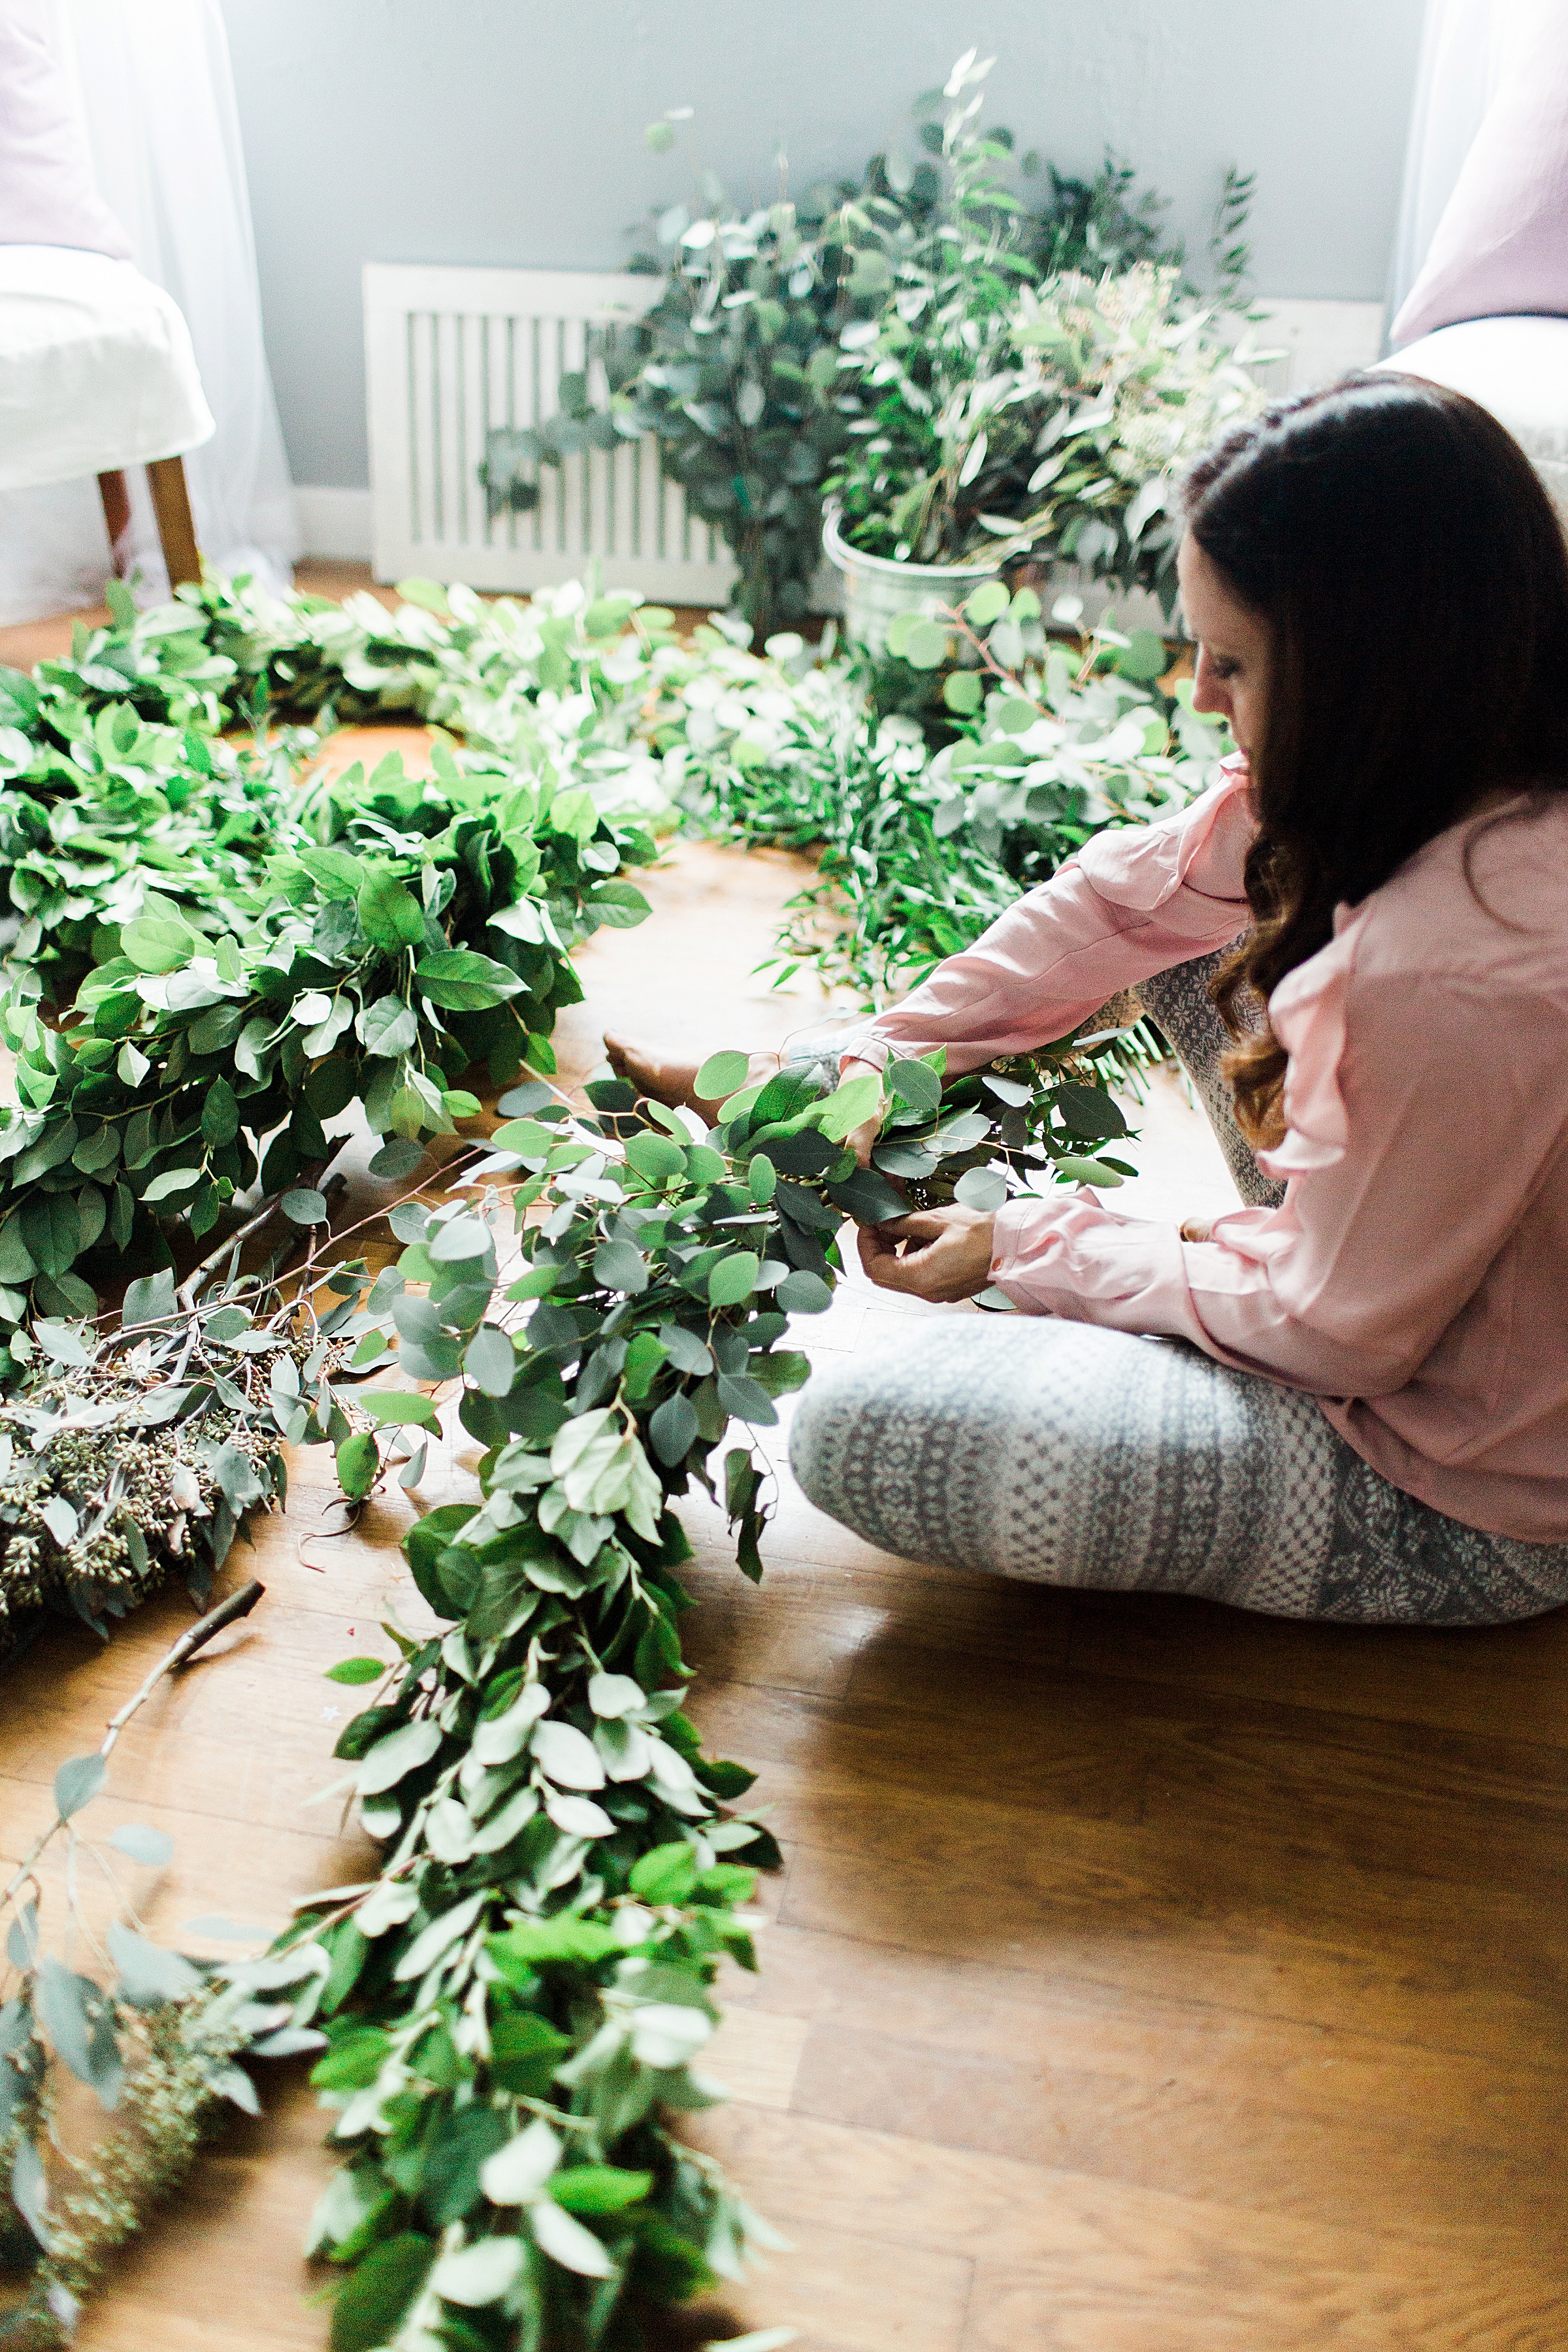 Tip 3. Leave a few inches of stem on each branch for wire wrapping. I liked grabbing one of each stem and tucked them into the garland in clusters. I added them in about every foot where they just started to overlap.
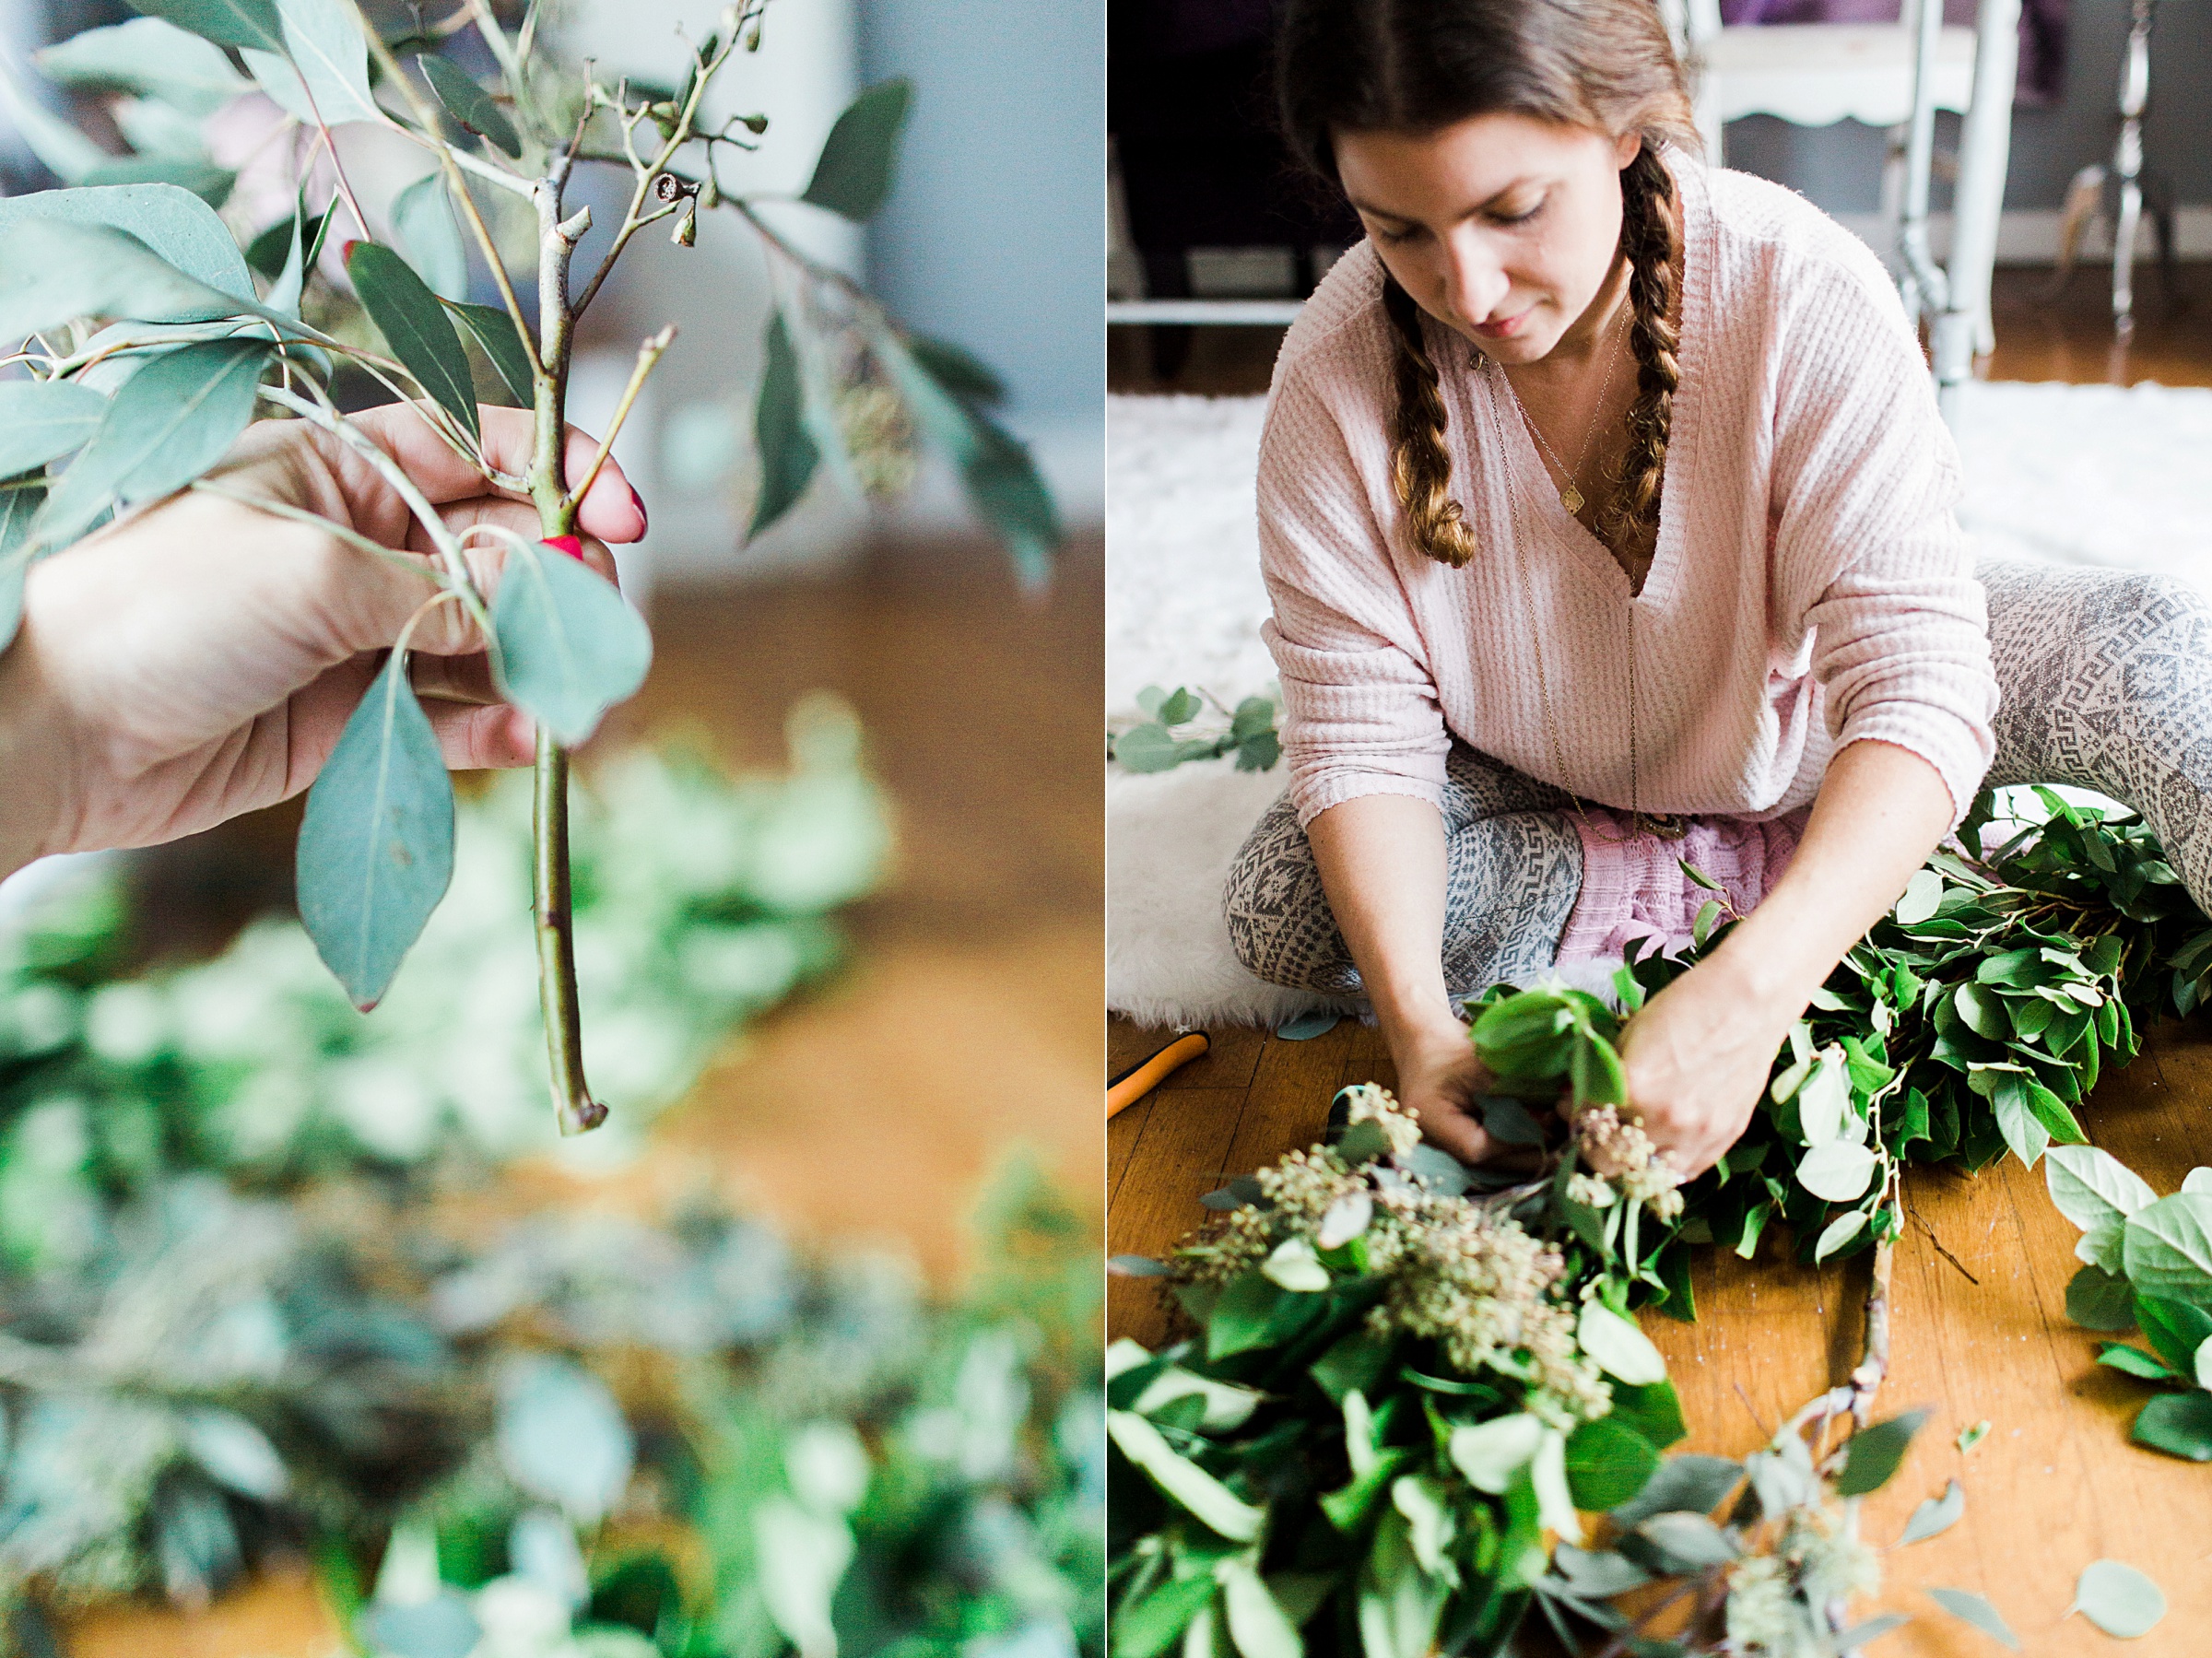 Tip 4. Flip the direction of your stems when you get to the end of the garland so that both ends have a finished look.
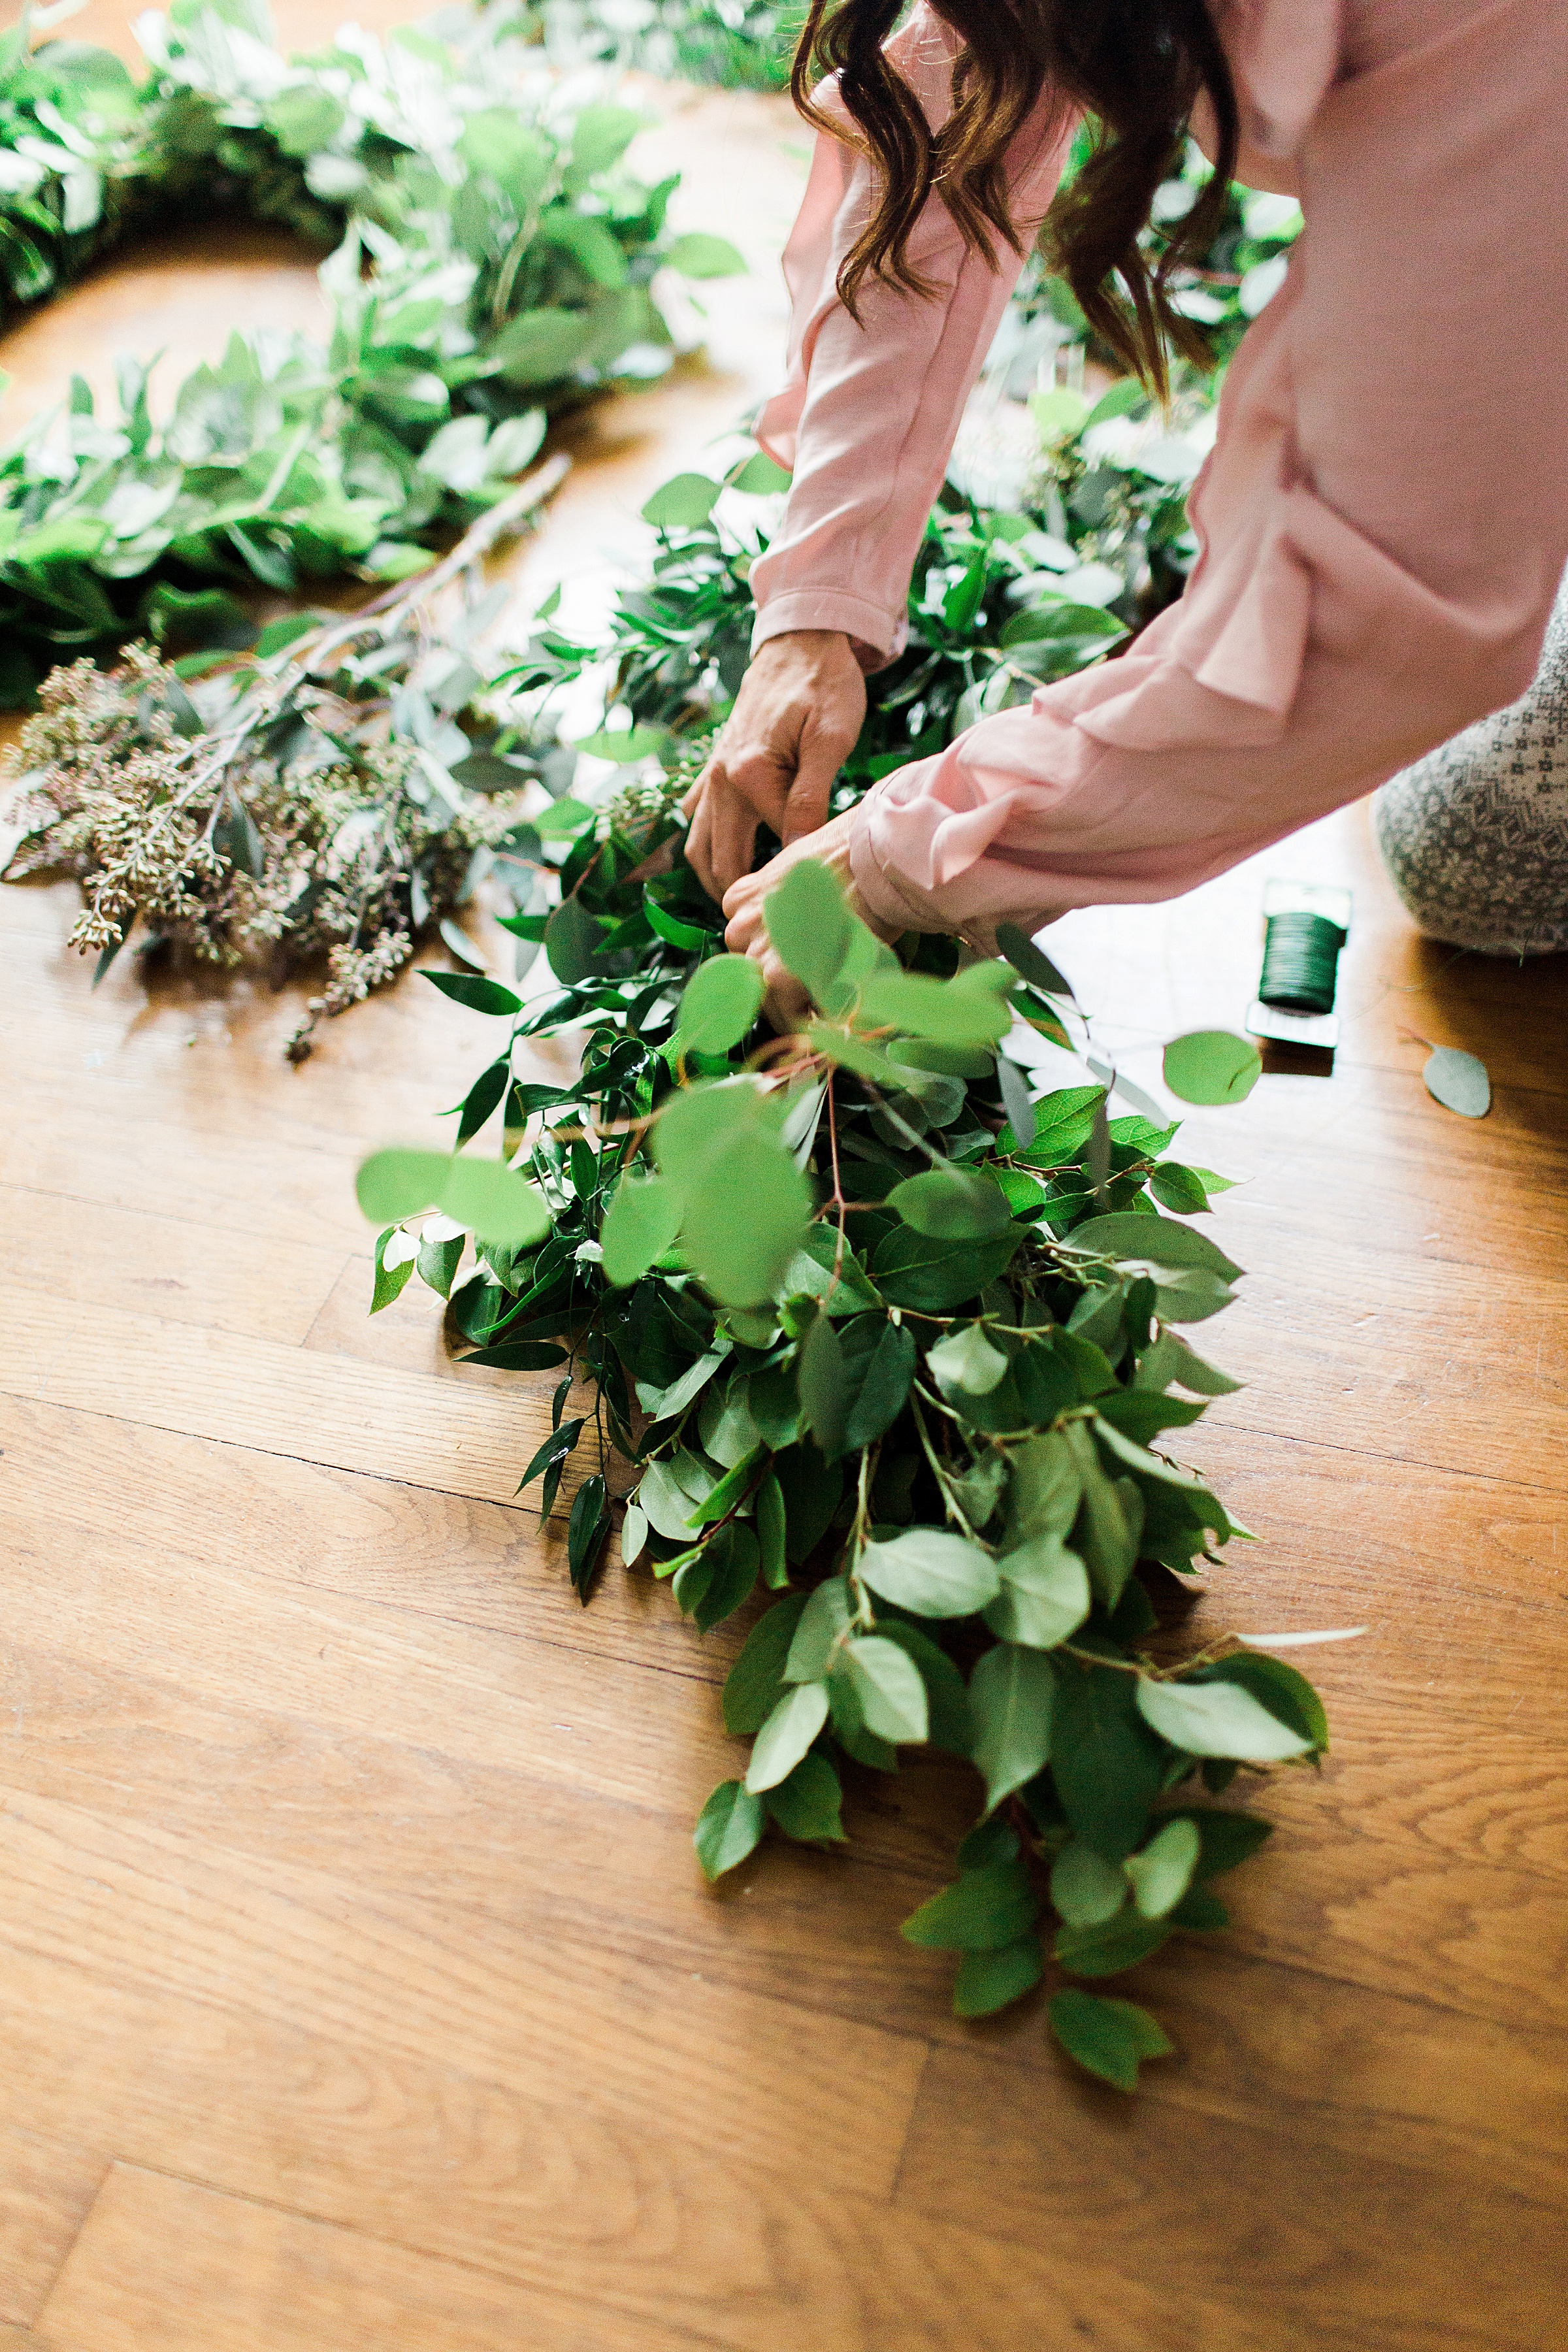 Tip 5. Spritz your garland regularly with water to make it last longer!
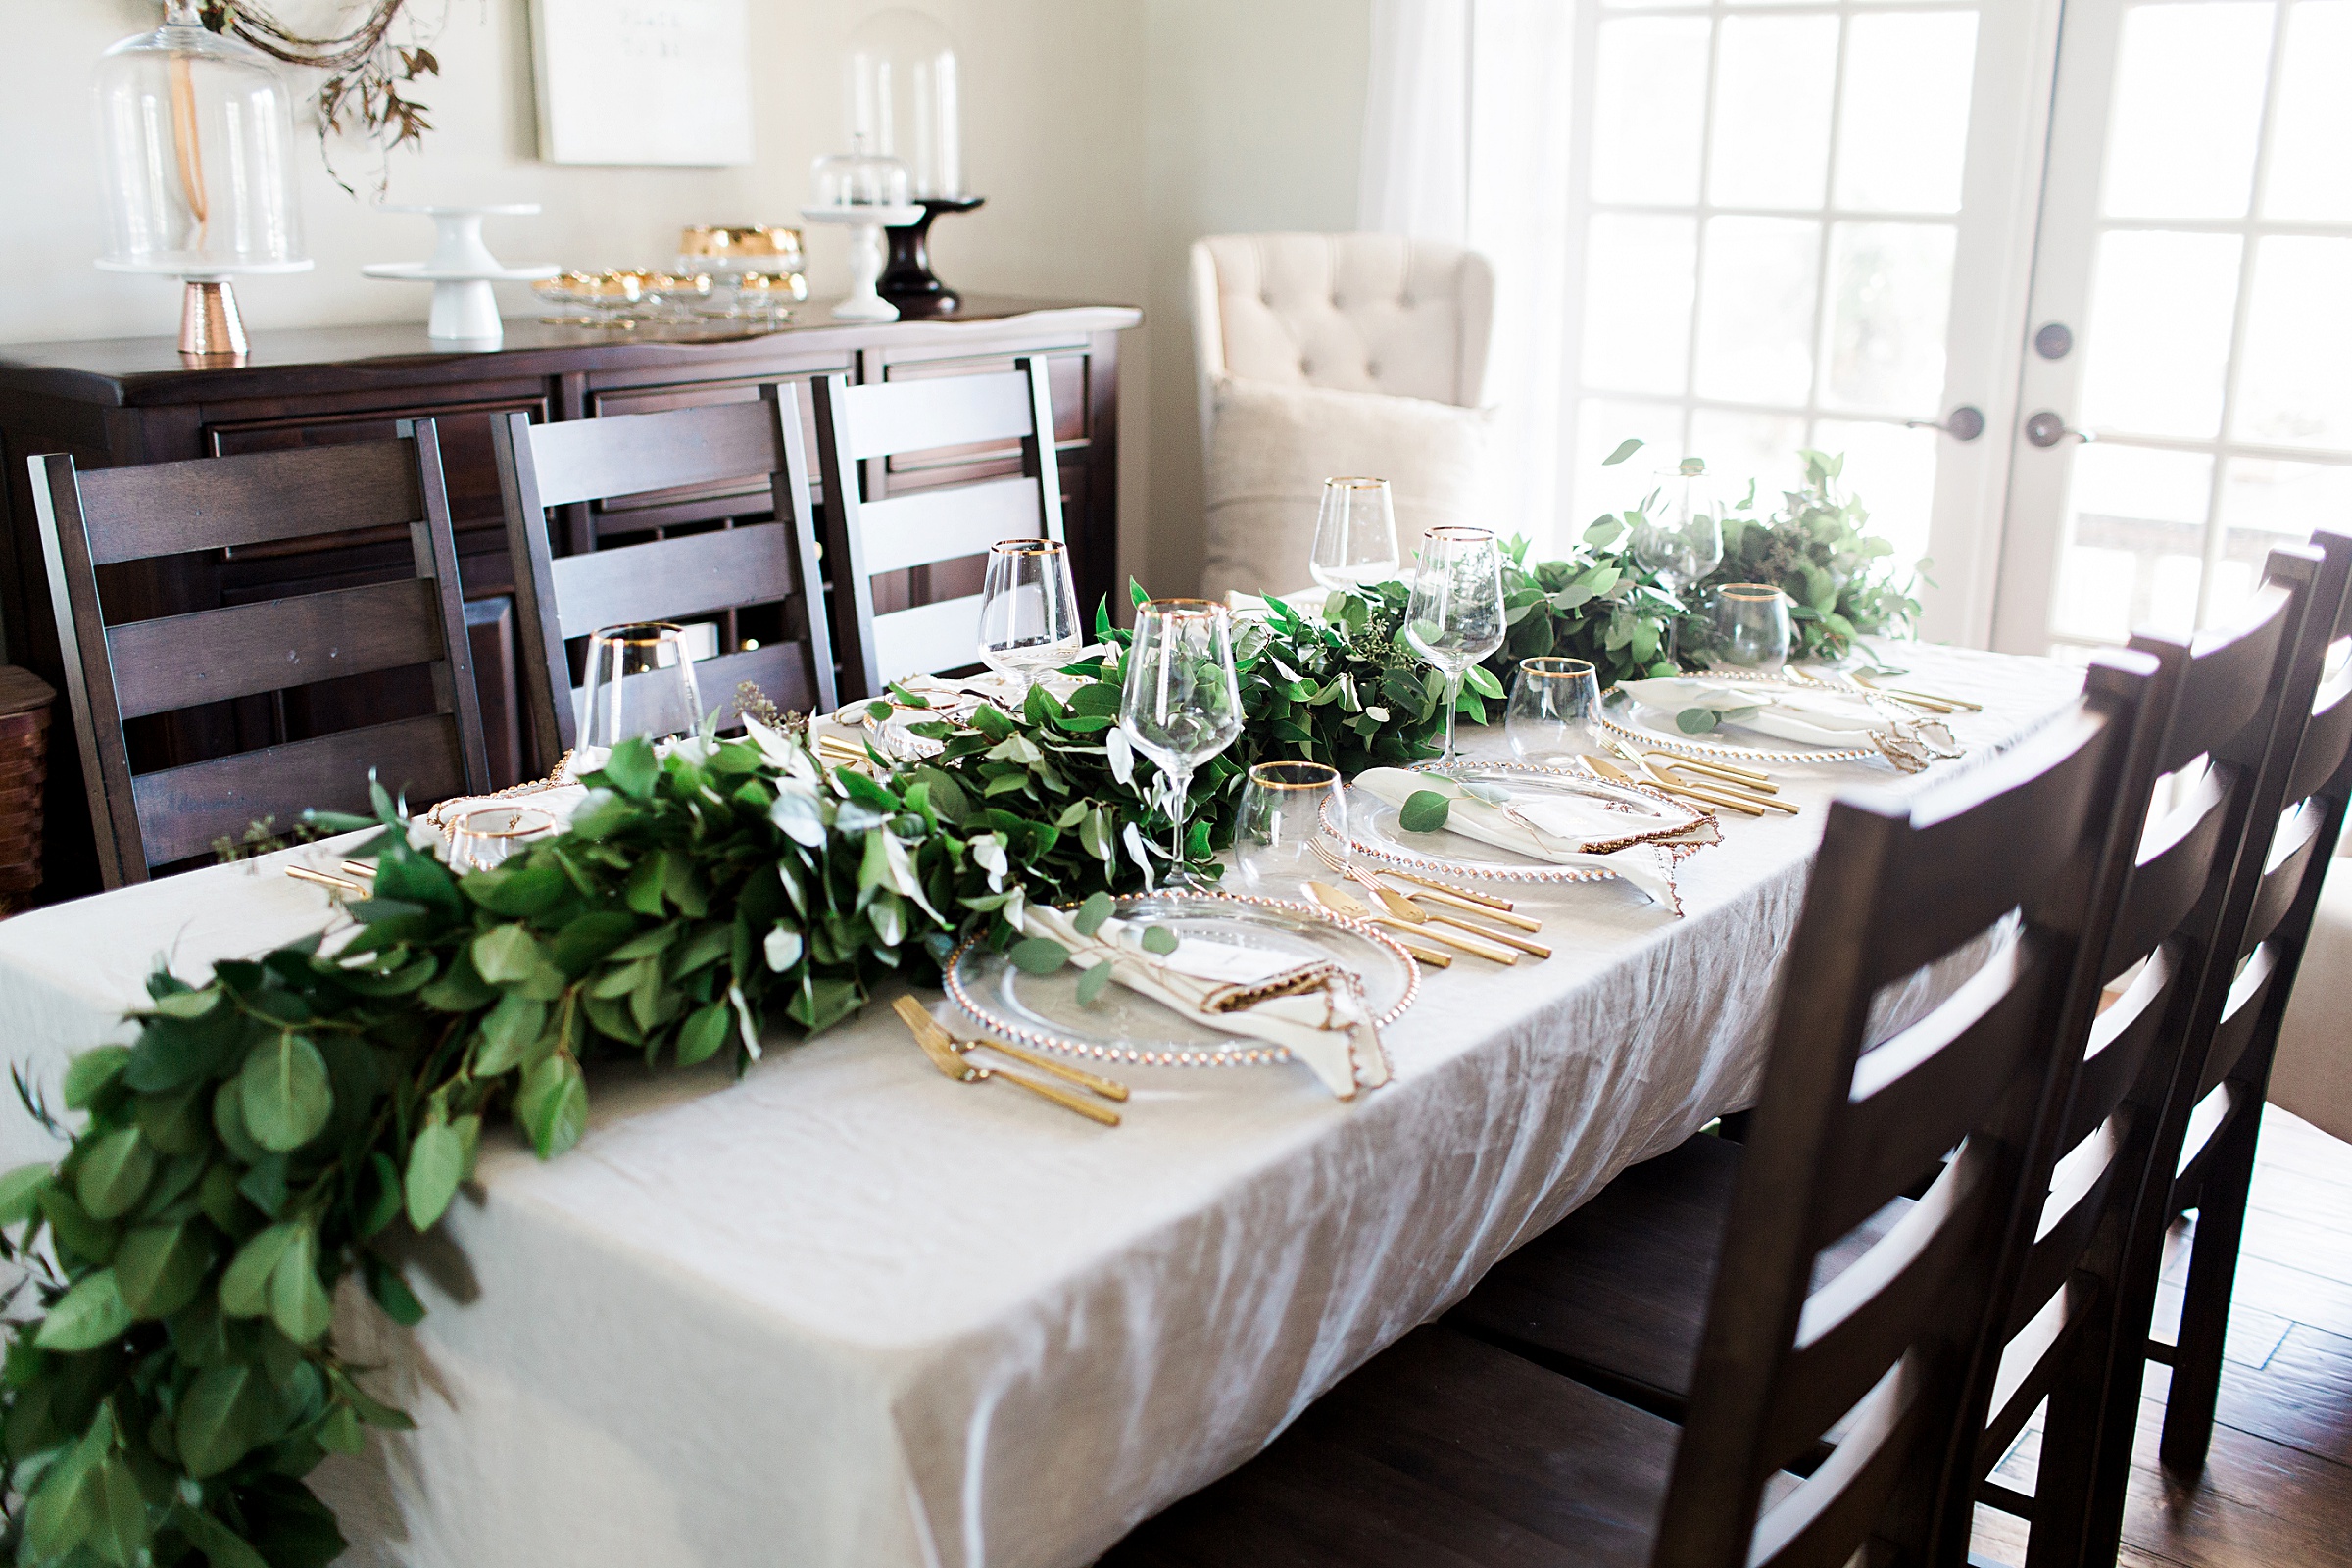
Julie made a swag for her wall and I made a runner for my table!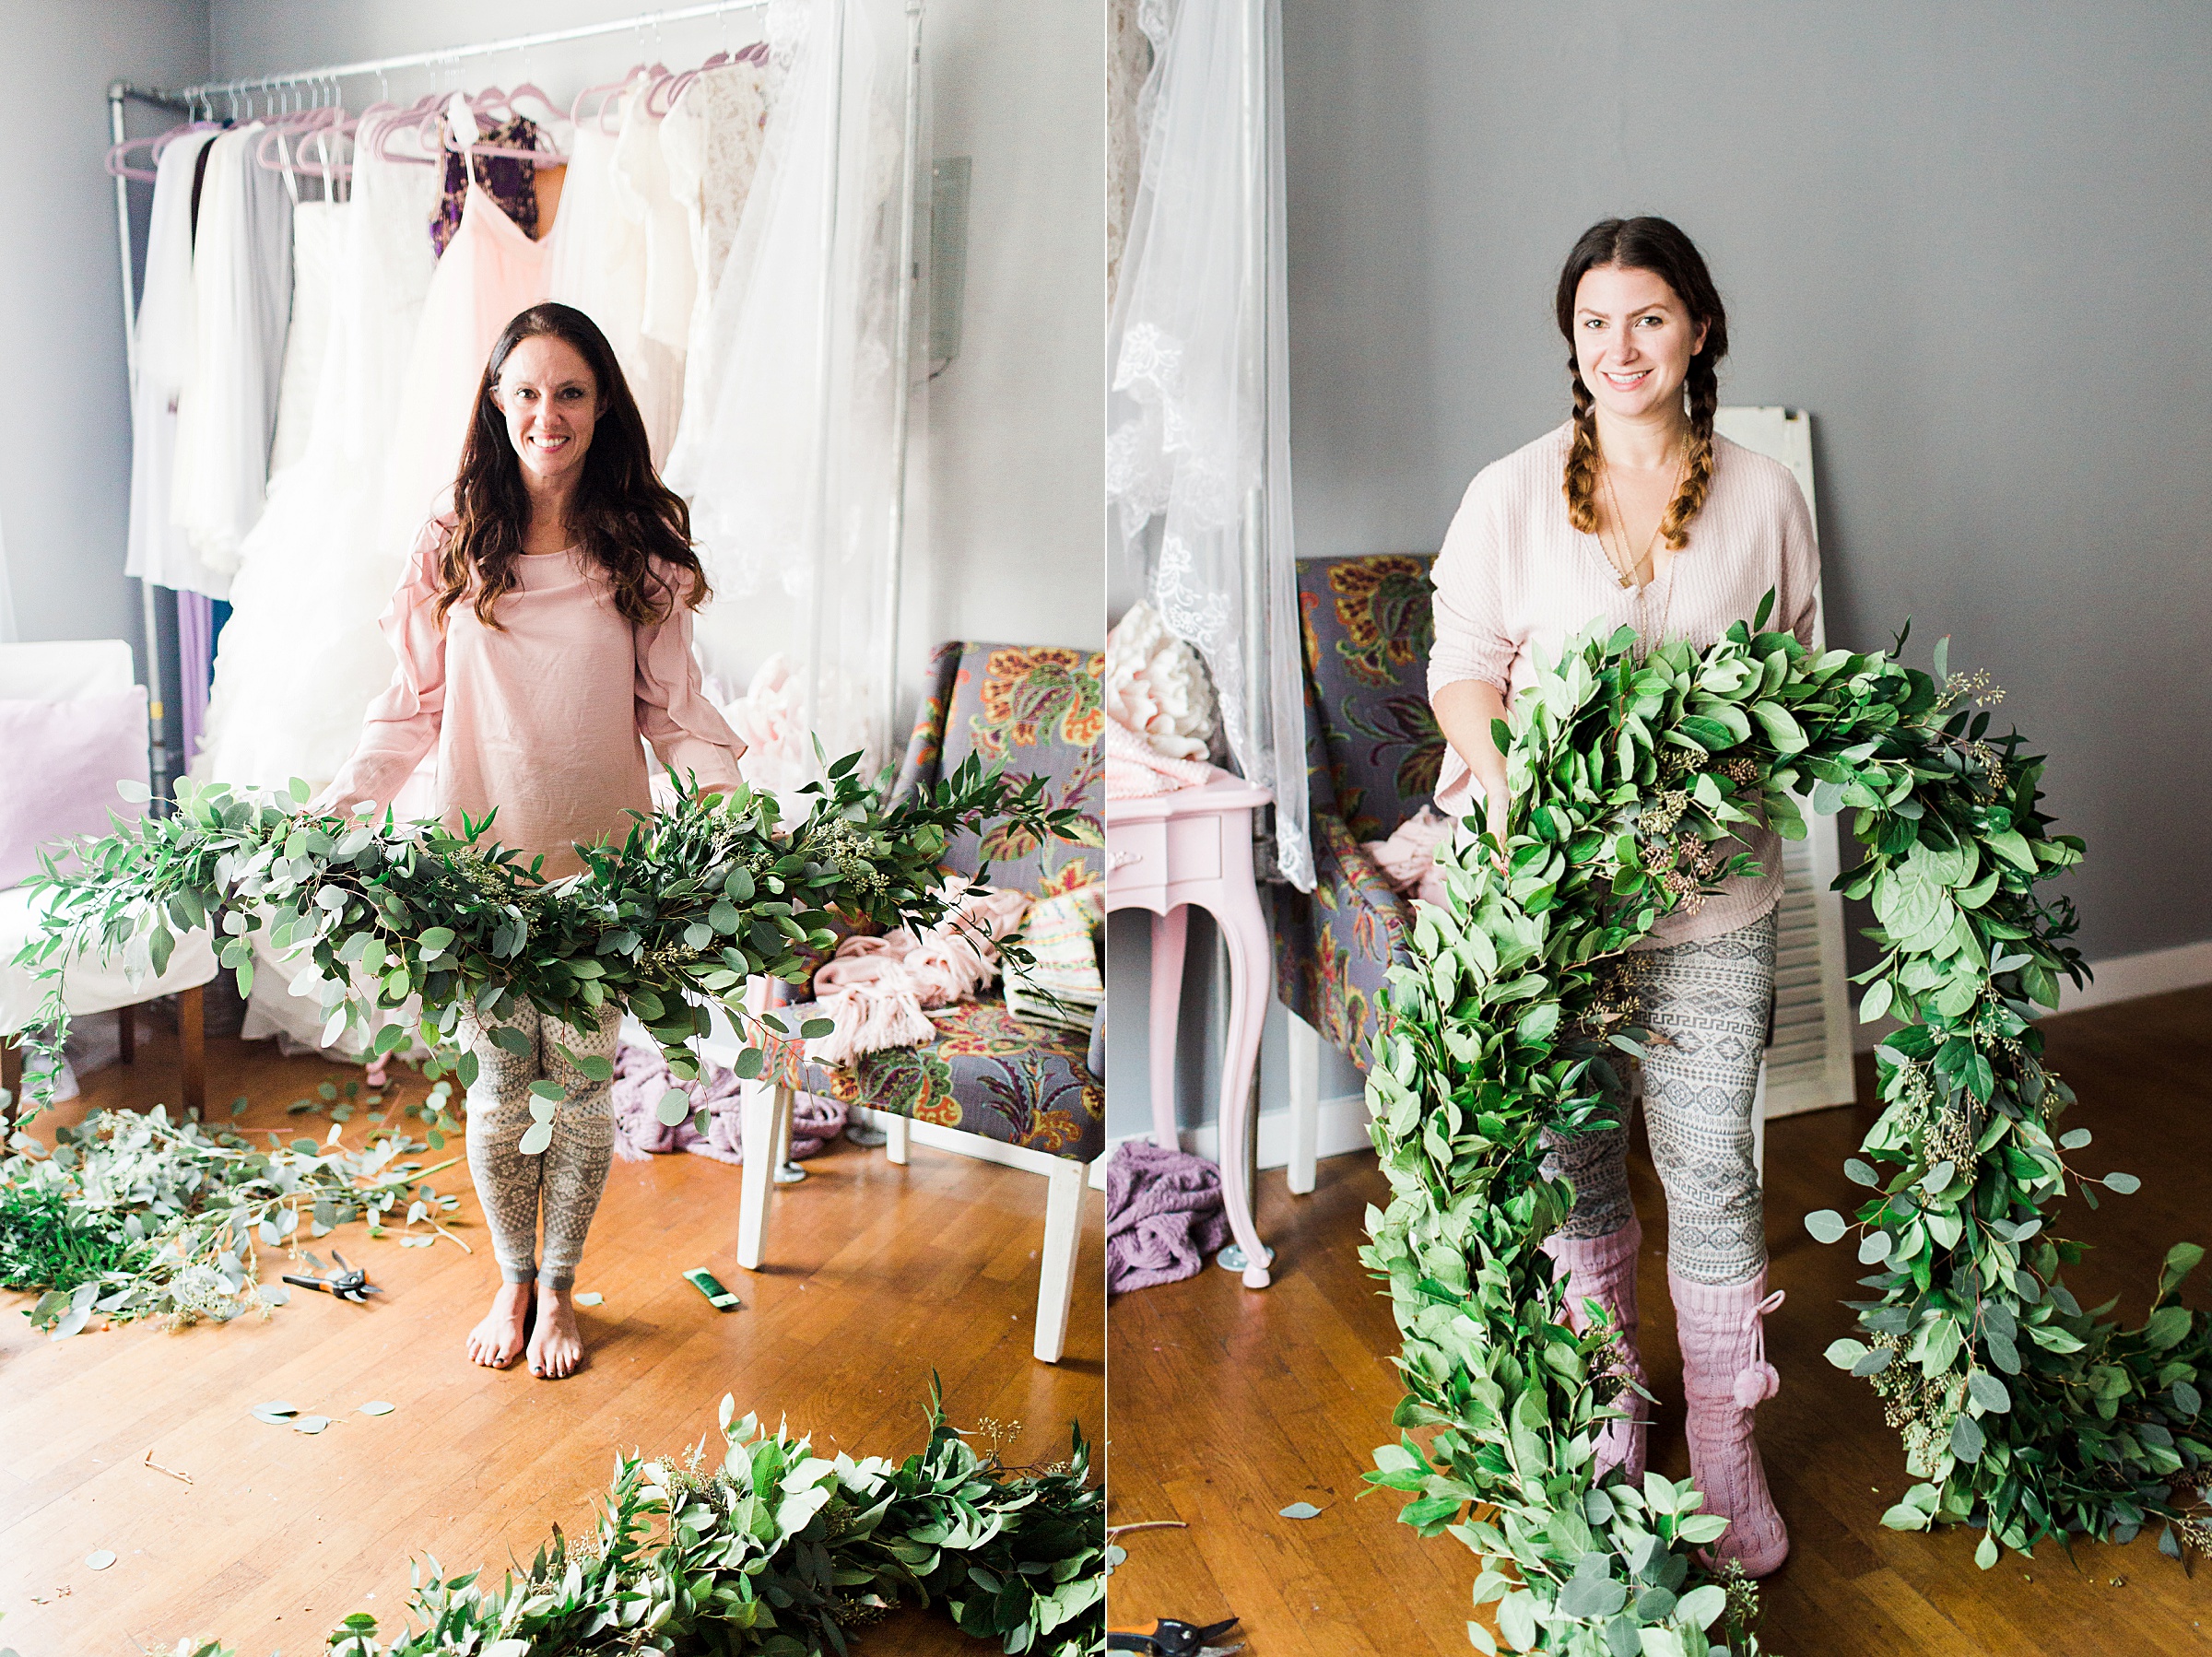 Here it is on my dining table all decked out and ready for a Thanksgiving feast!! 15ft is just long enough so that it billows on the floor with my 8ft table. What I love most about this centerpiece is that it’s low profile so conversation isn’t blocked. And the possibilities for decorating it are endless! You could add anything from pumpkins to flowers, or pinecones etc!
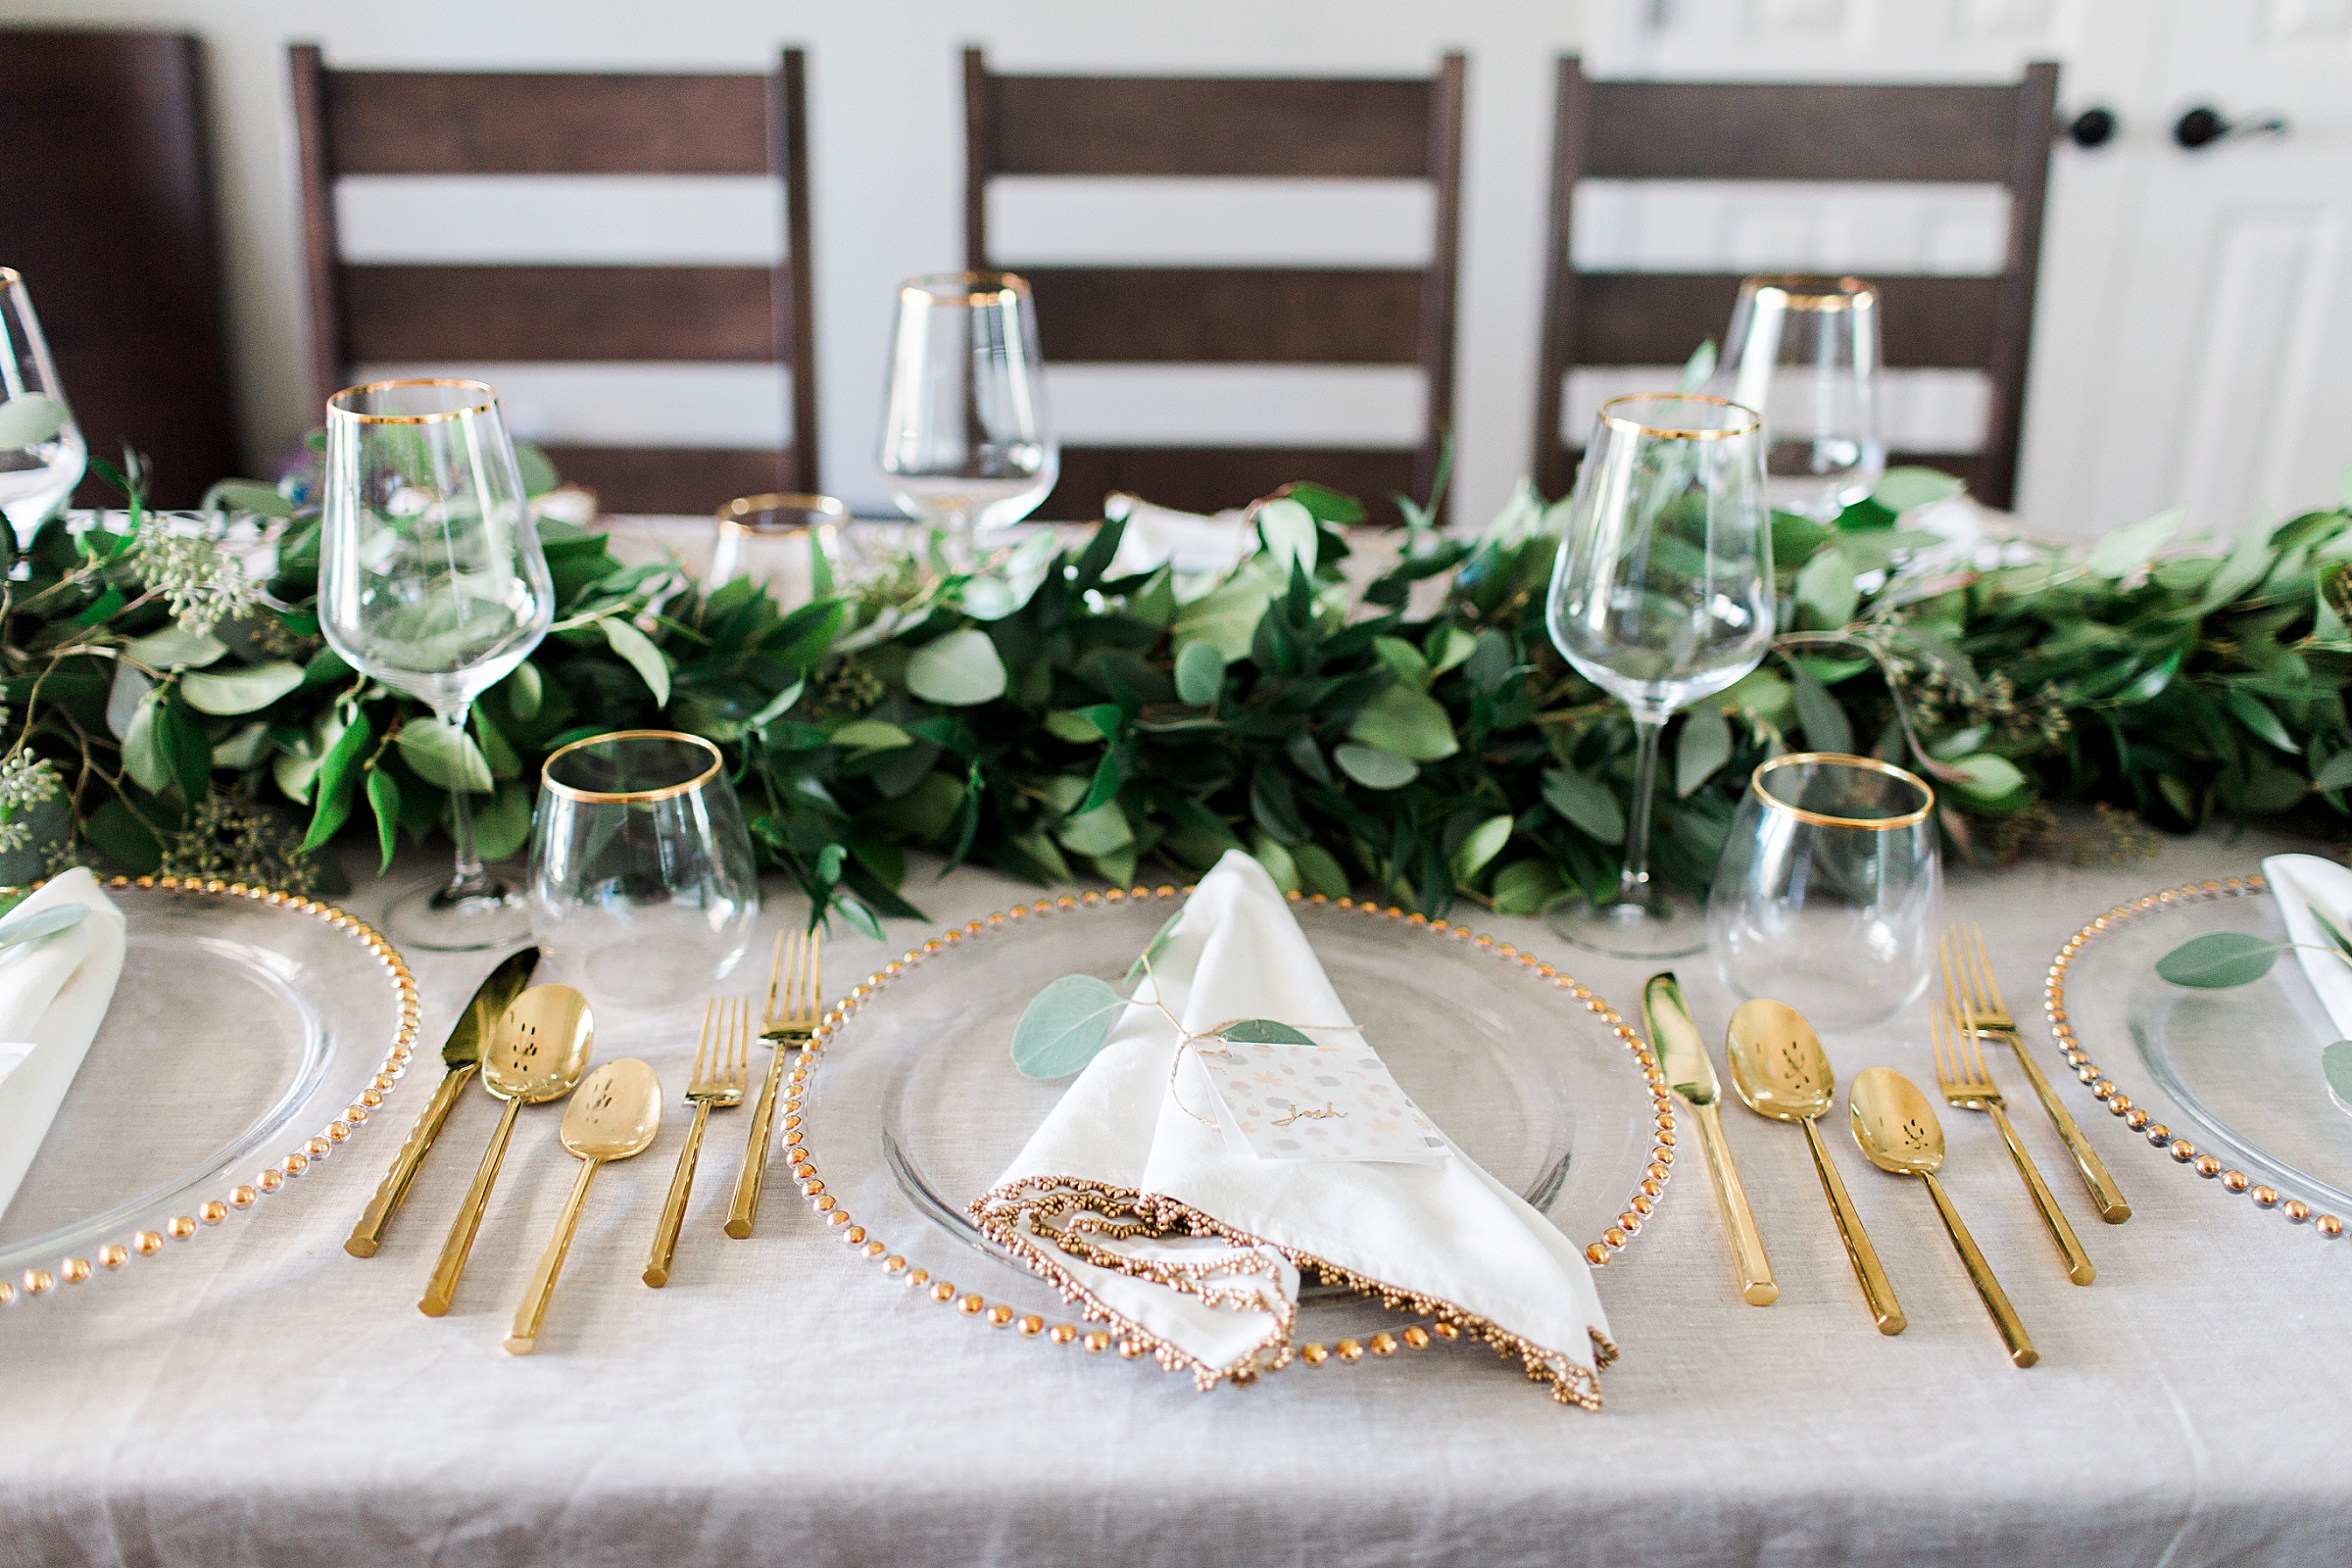
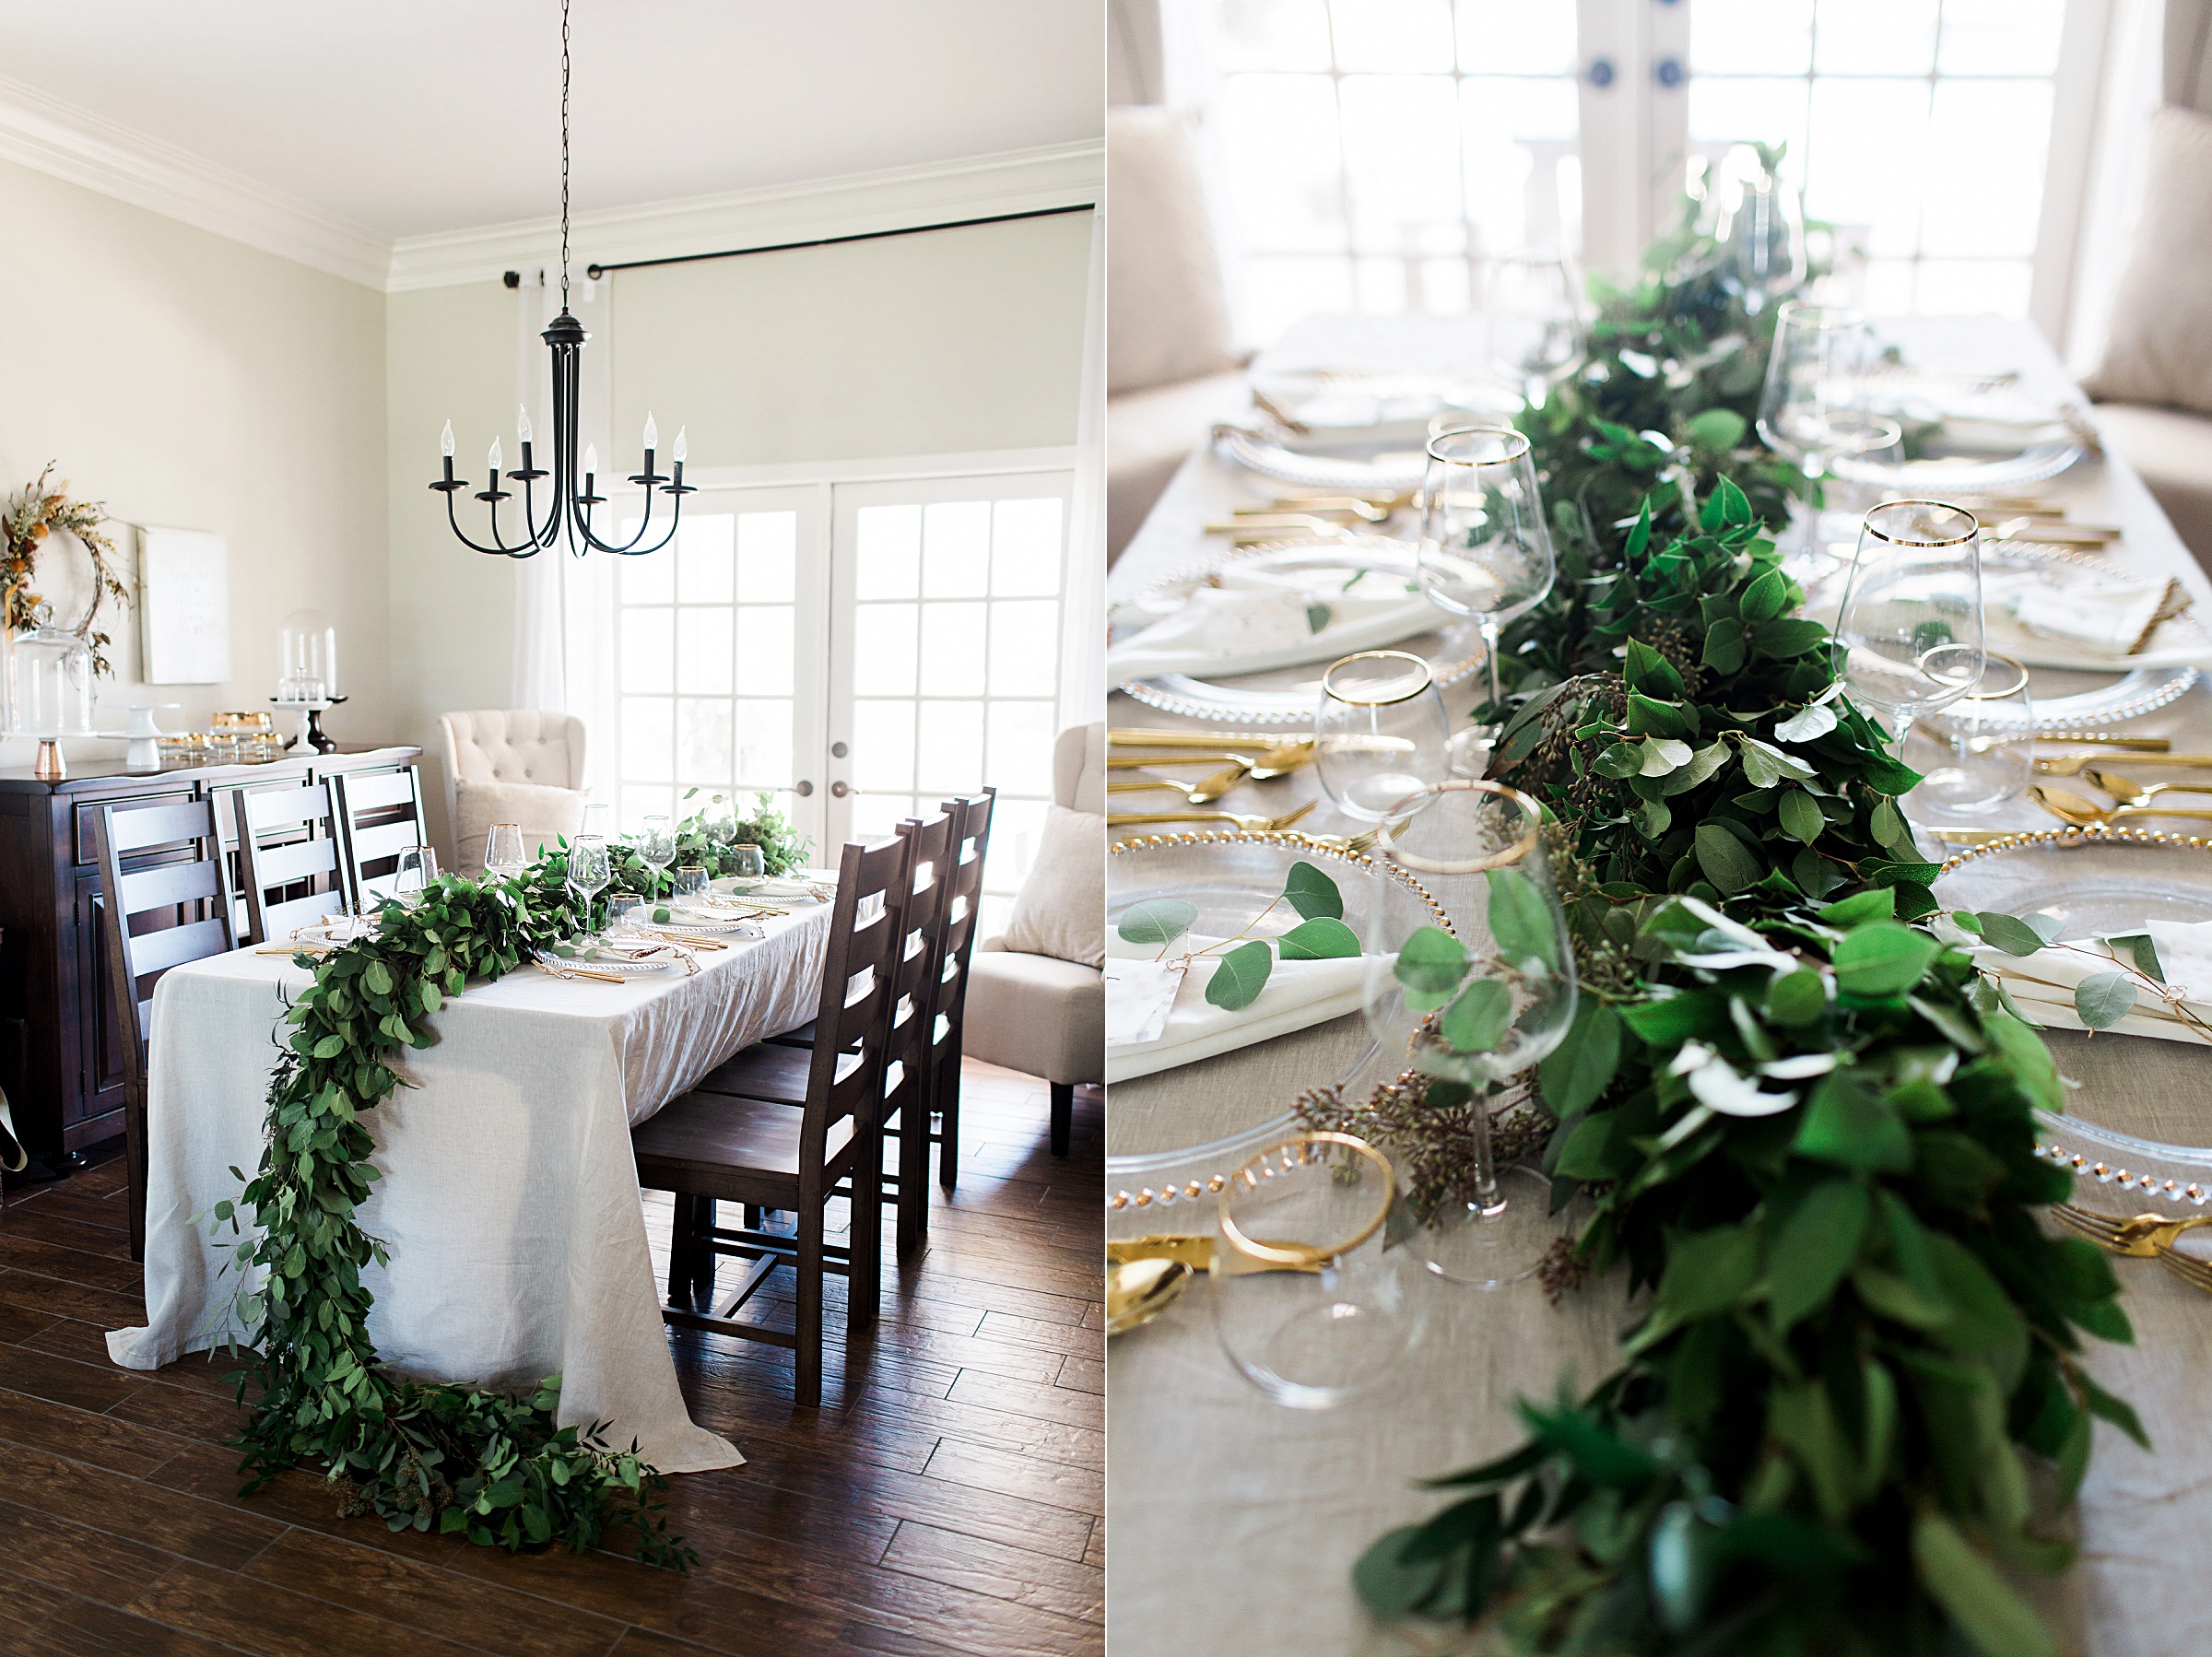 I went all gold and clear for a very clean design. Staggered gold flatware from Target surrounds gold beaded glass chargers and gold rim glasses. The chargers are topped with a simple bead edge linen napkin from Pier One. And double layer gold foil and fall pattern name cards are tied to eucalyptus clippings. I got this autumn hedgehog pattern for the base layer here!
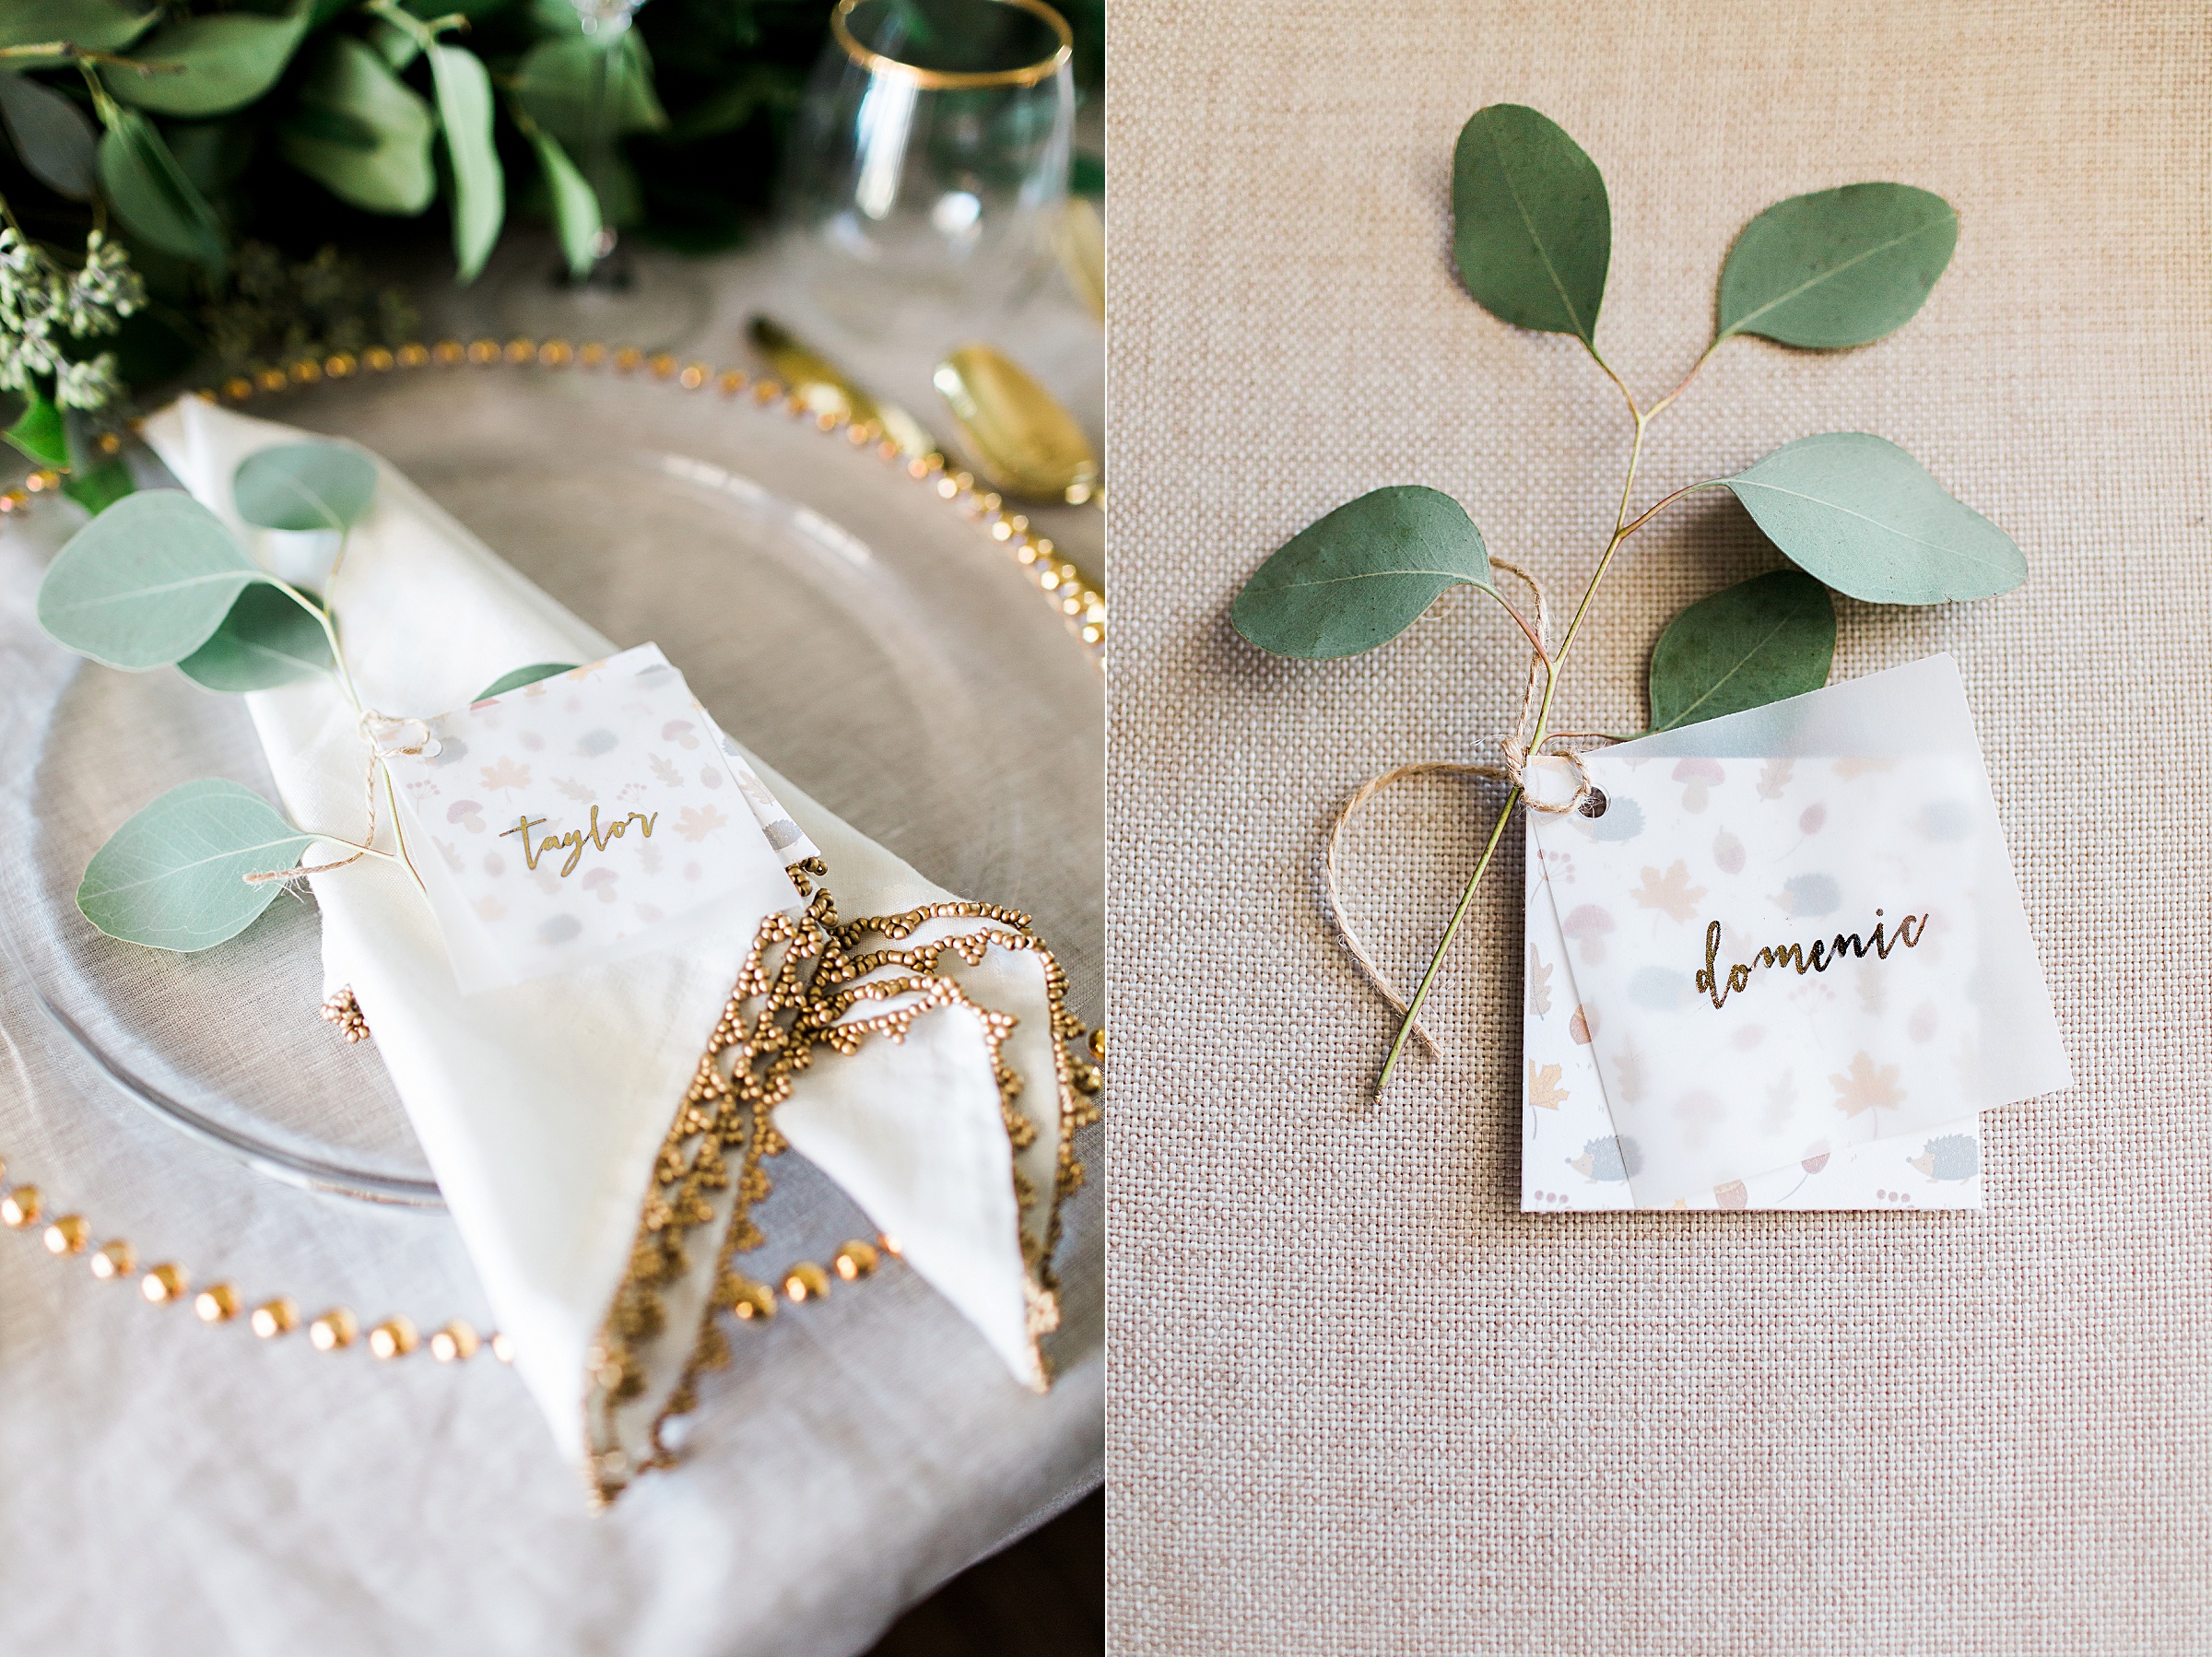 I chose to forego the dinner plate to simplify. I also LOVE this linen tablecloth from Pottery Barn and wanted to show it off!
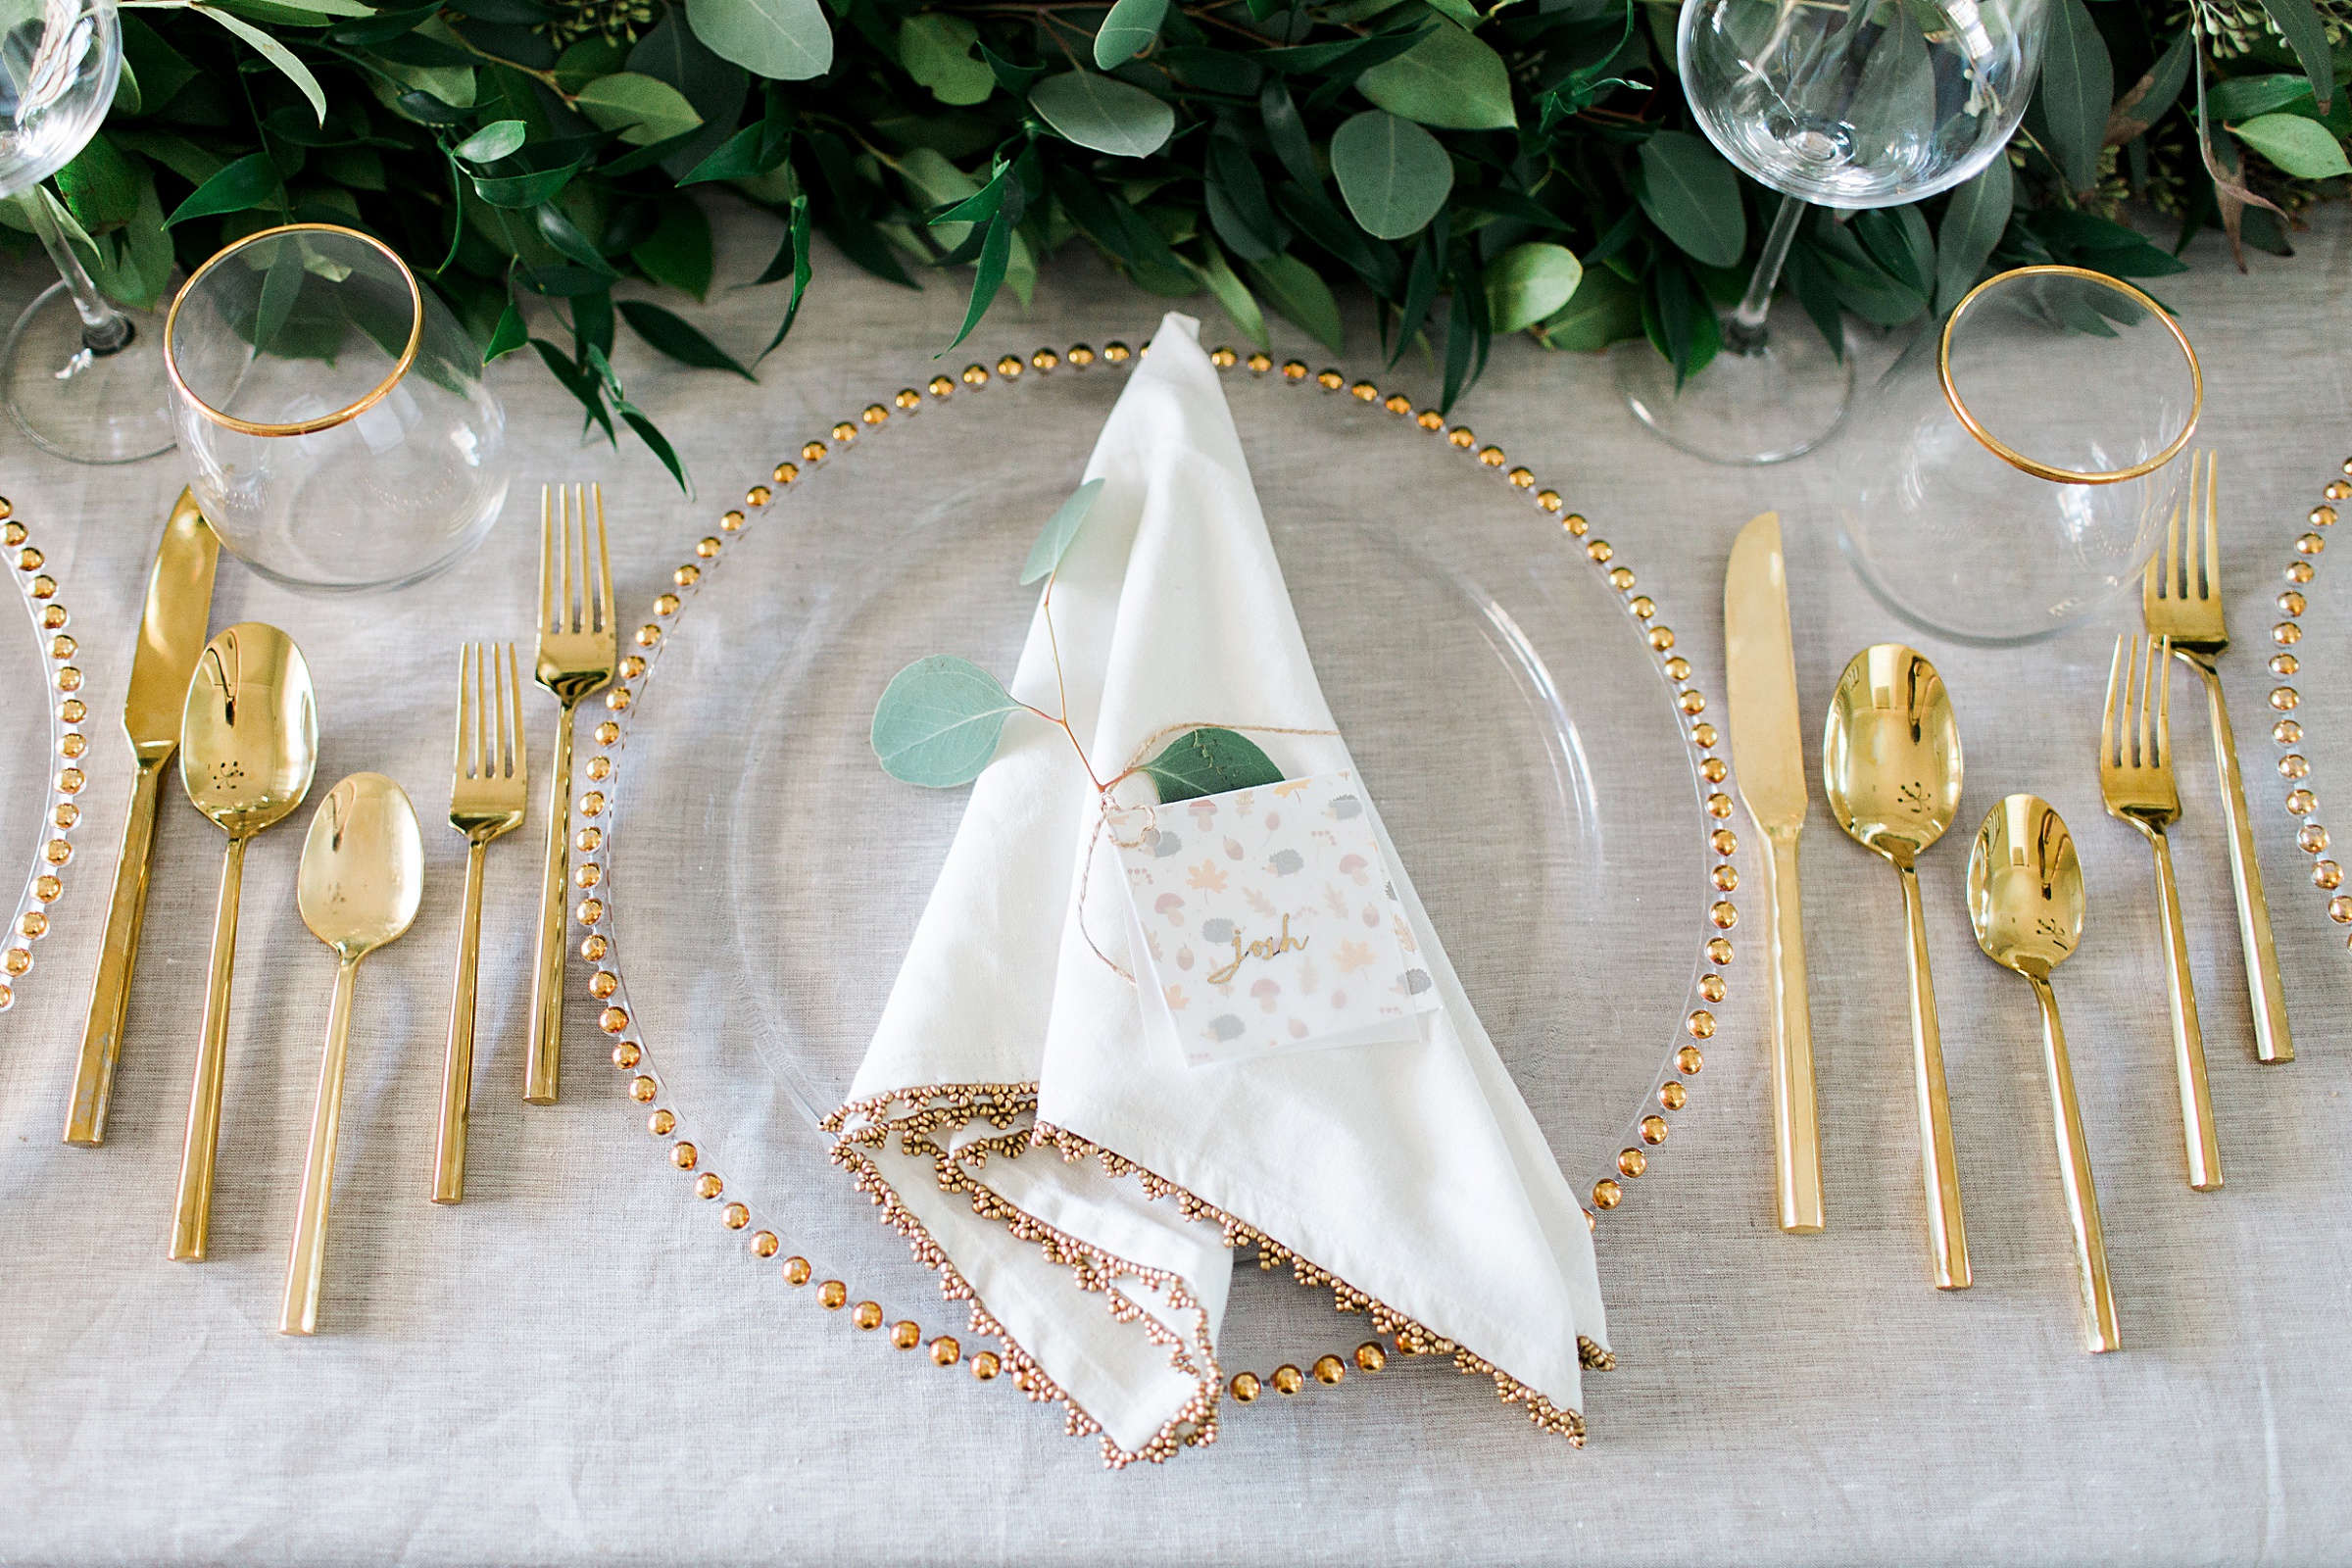 Cheers everyone!! From my home to yours, we wish you a wonderful and delicious holiday!