
Blackberry Skull Pie
Blackberry Skull Pie
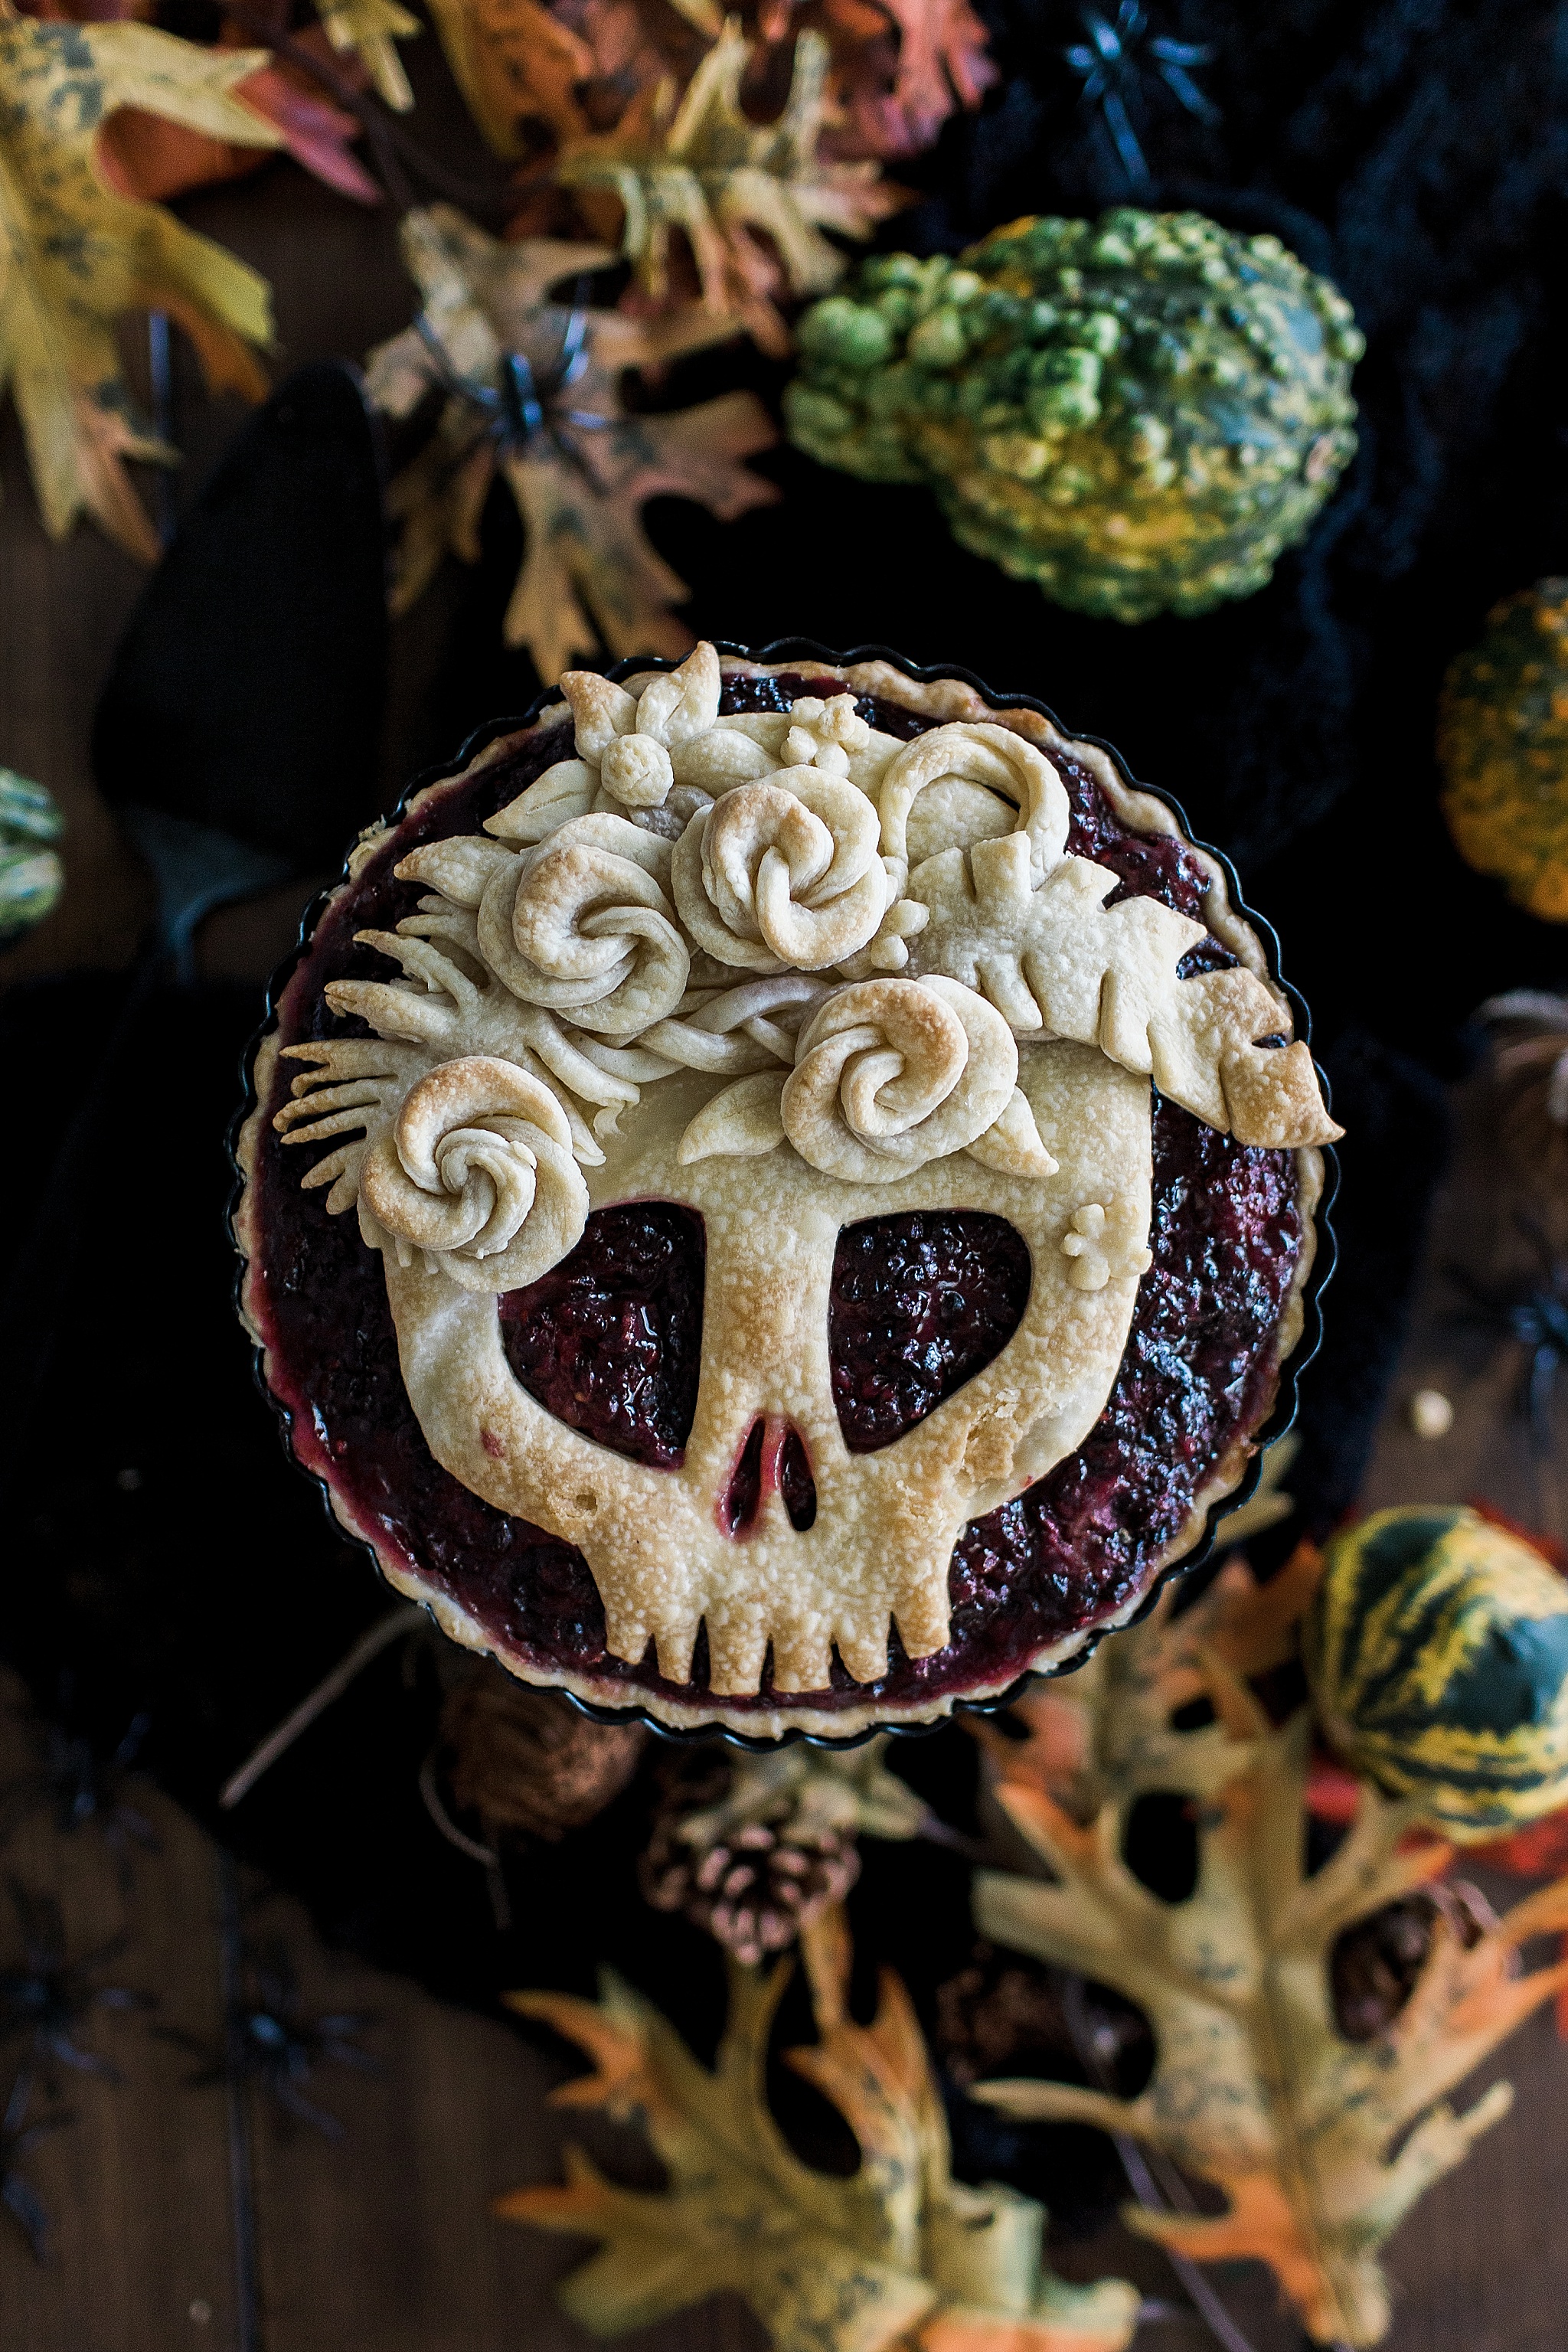
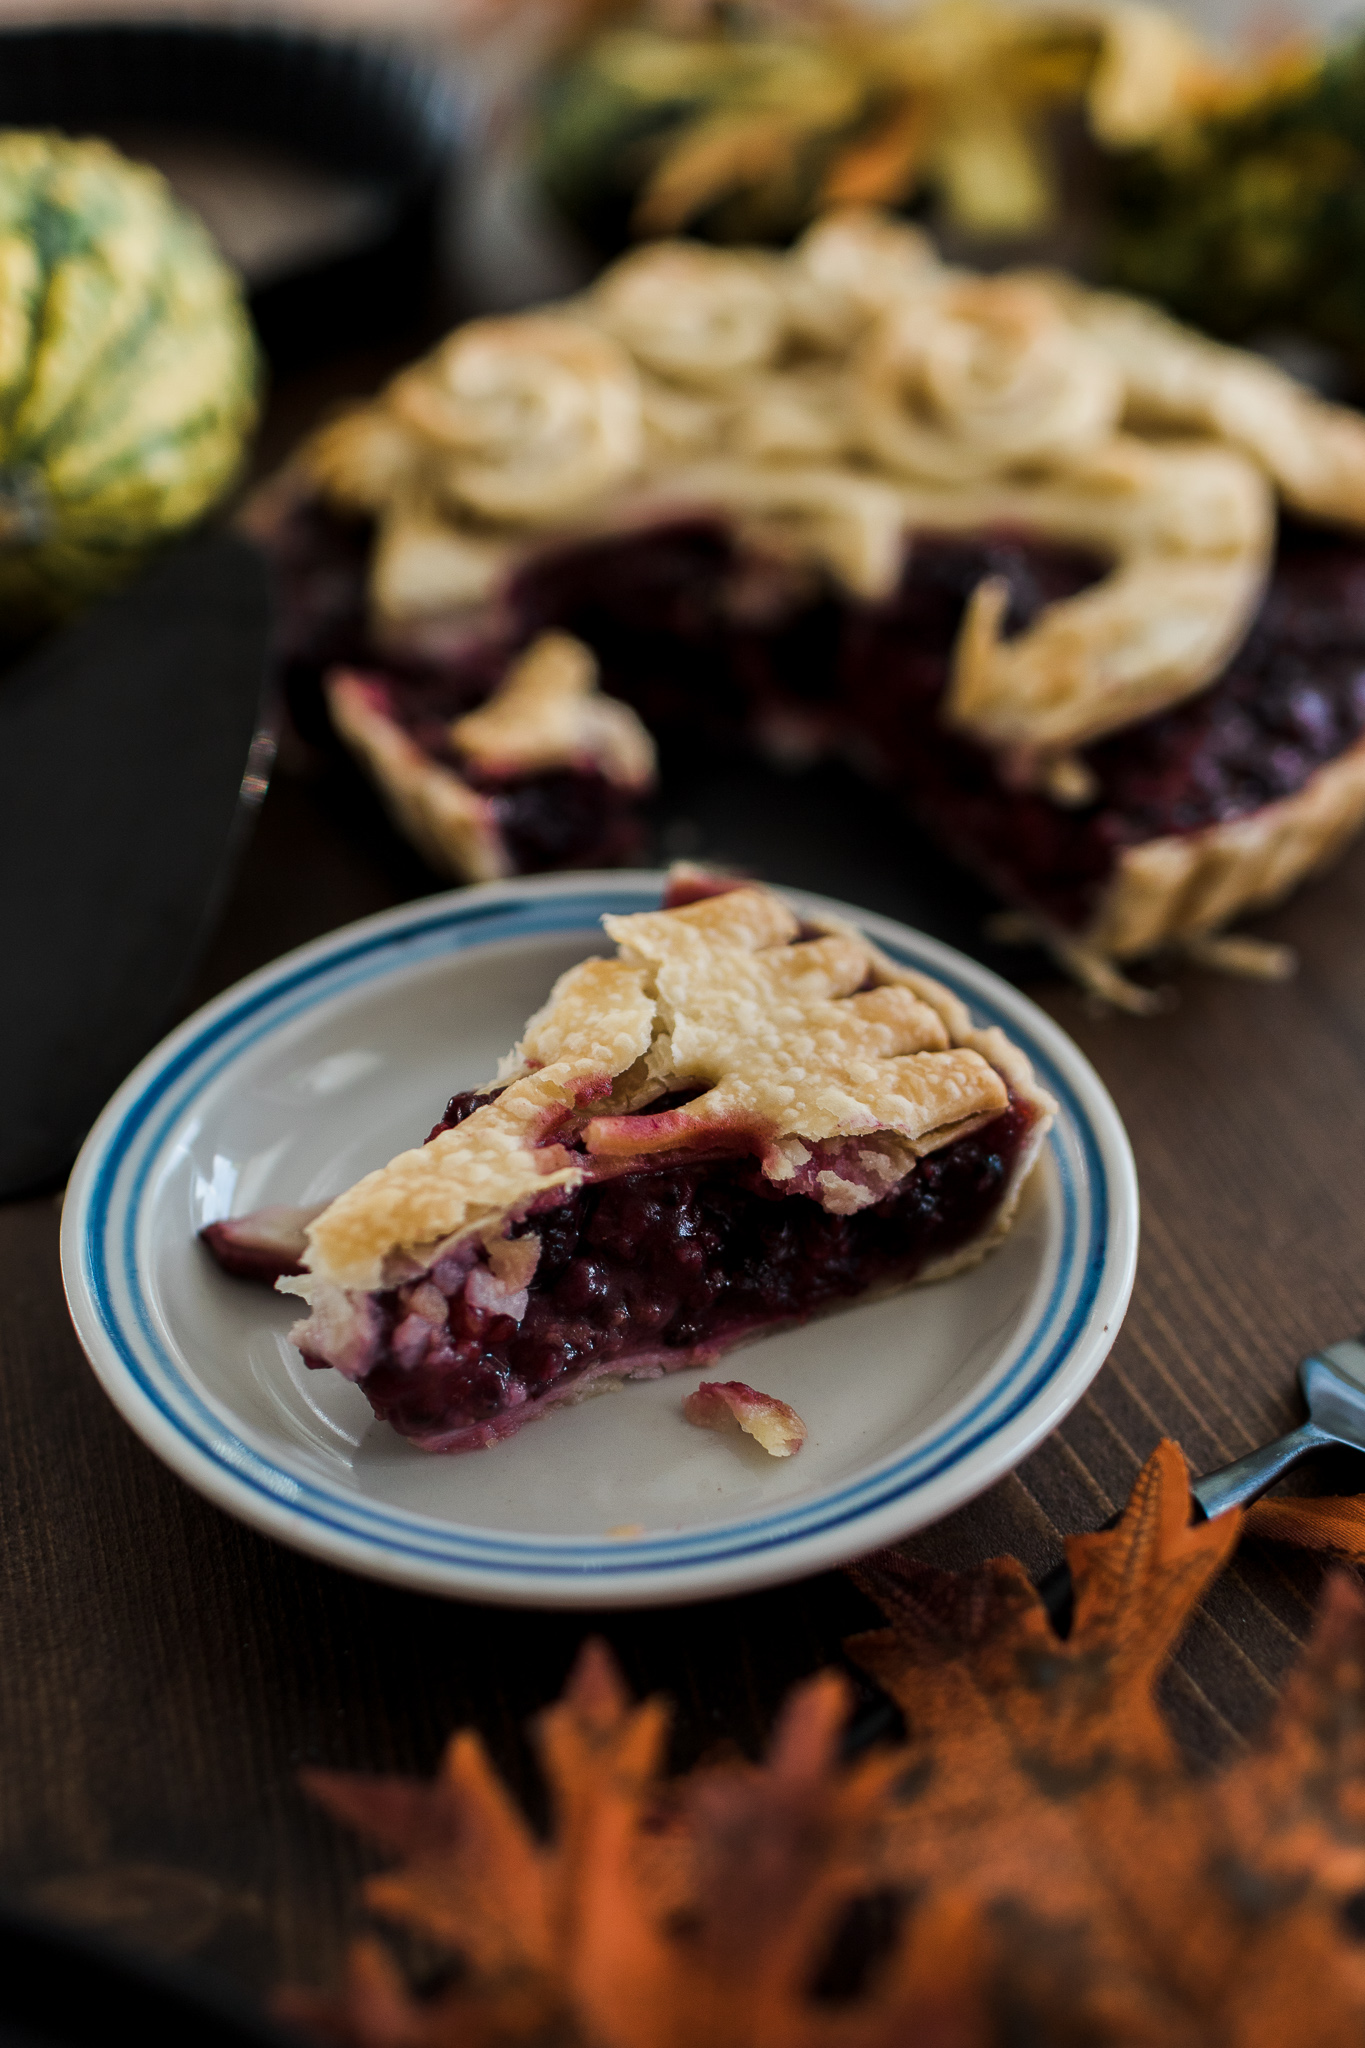
This blackberry skull pie recipe is so delicious it surprised me! I didn’t think I would like blackberries in a pie format but it’s sweet and tart. Absolutely delicous! Blackberries also make the perfect background for a spooky pie topper. I used this 8″ tart pan which ended up being the perfect size dish for 3, 6 oz packages of store-bought blackberries. You want the berries to overflow the top of the pie enough so that when they cook down, they almost lie flat. I also love the ratio of pie crust to berries in this dish size. It holds together so well making it really pretty to slice! This treat goes well with a giant scoop of vanilla ice cream, yum!
Blackberry Skull Pie
Makes: 1, 8″ shallow dish pie
Ingredients:
- 1 package refrigerated pie crusts (2 pie crusts)
- 4 cups fresh blackberries
- 1/2 cup granulated sugar
- 5 tbsp all-purpose flour
- 1/2 tsp ground cinnamon
- 1/4 tsp vanilla extract
- 2 tsp lemon juice
- 1 whisked egg white, for the egg wash
Directions:
- Wash and dry the blackberries. Add them to a medium sized bowl and top with the sugar, flour, cinnamon, vanilla, and lemon juice.
- With your hands, gently toss the berries until the ingredients become wet and well-mixed. Set aside.
- Flip your pie or tart pan upside down on a piece of paper and trace along the outer edges. This will be the guide for the skull cut-out.
- Line your tart or pie dish with one refrigerated pie dough and set aside.
- Preheat your oven to 400F
- Create a quick skull shape with a pencil inside the pre-traced pie circle and cut it out with scissors to make a template.
- Trace the template onto the 2nd roll of pie dough with a knife and place it on an alumimum baking sheet. Decorate with the scrap pieces of dough, brush with egg wash to stick the pieces together, and to get an even brown.
- Place the pie on the bottom rack of the oven and the pie top (on the aluminum baking sheet) above it on the center rack.
- Bake the pie top for about 10 minutes or until it starts to evenly brown. You can rotate it to get an even bake if you need to. If some of your pie art is thicker in areas, you can try to aluminum foil tent the flatter sections so they don’t burn.
- Bake the pie for an additional 20 minutes (30 minutes total for the actual pie). Let cool for one hour before carefully sliding the pie top on the pie. I also like to squish down the baked berries with a spatula when they first come out of the oven to get a flat top.