Paper Calligraphy Ribbon DIY
Paper Calligraphy Ribbon DIY
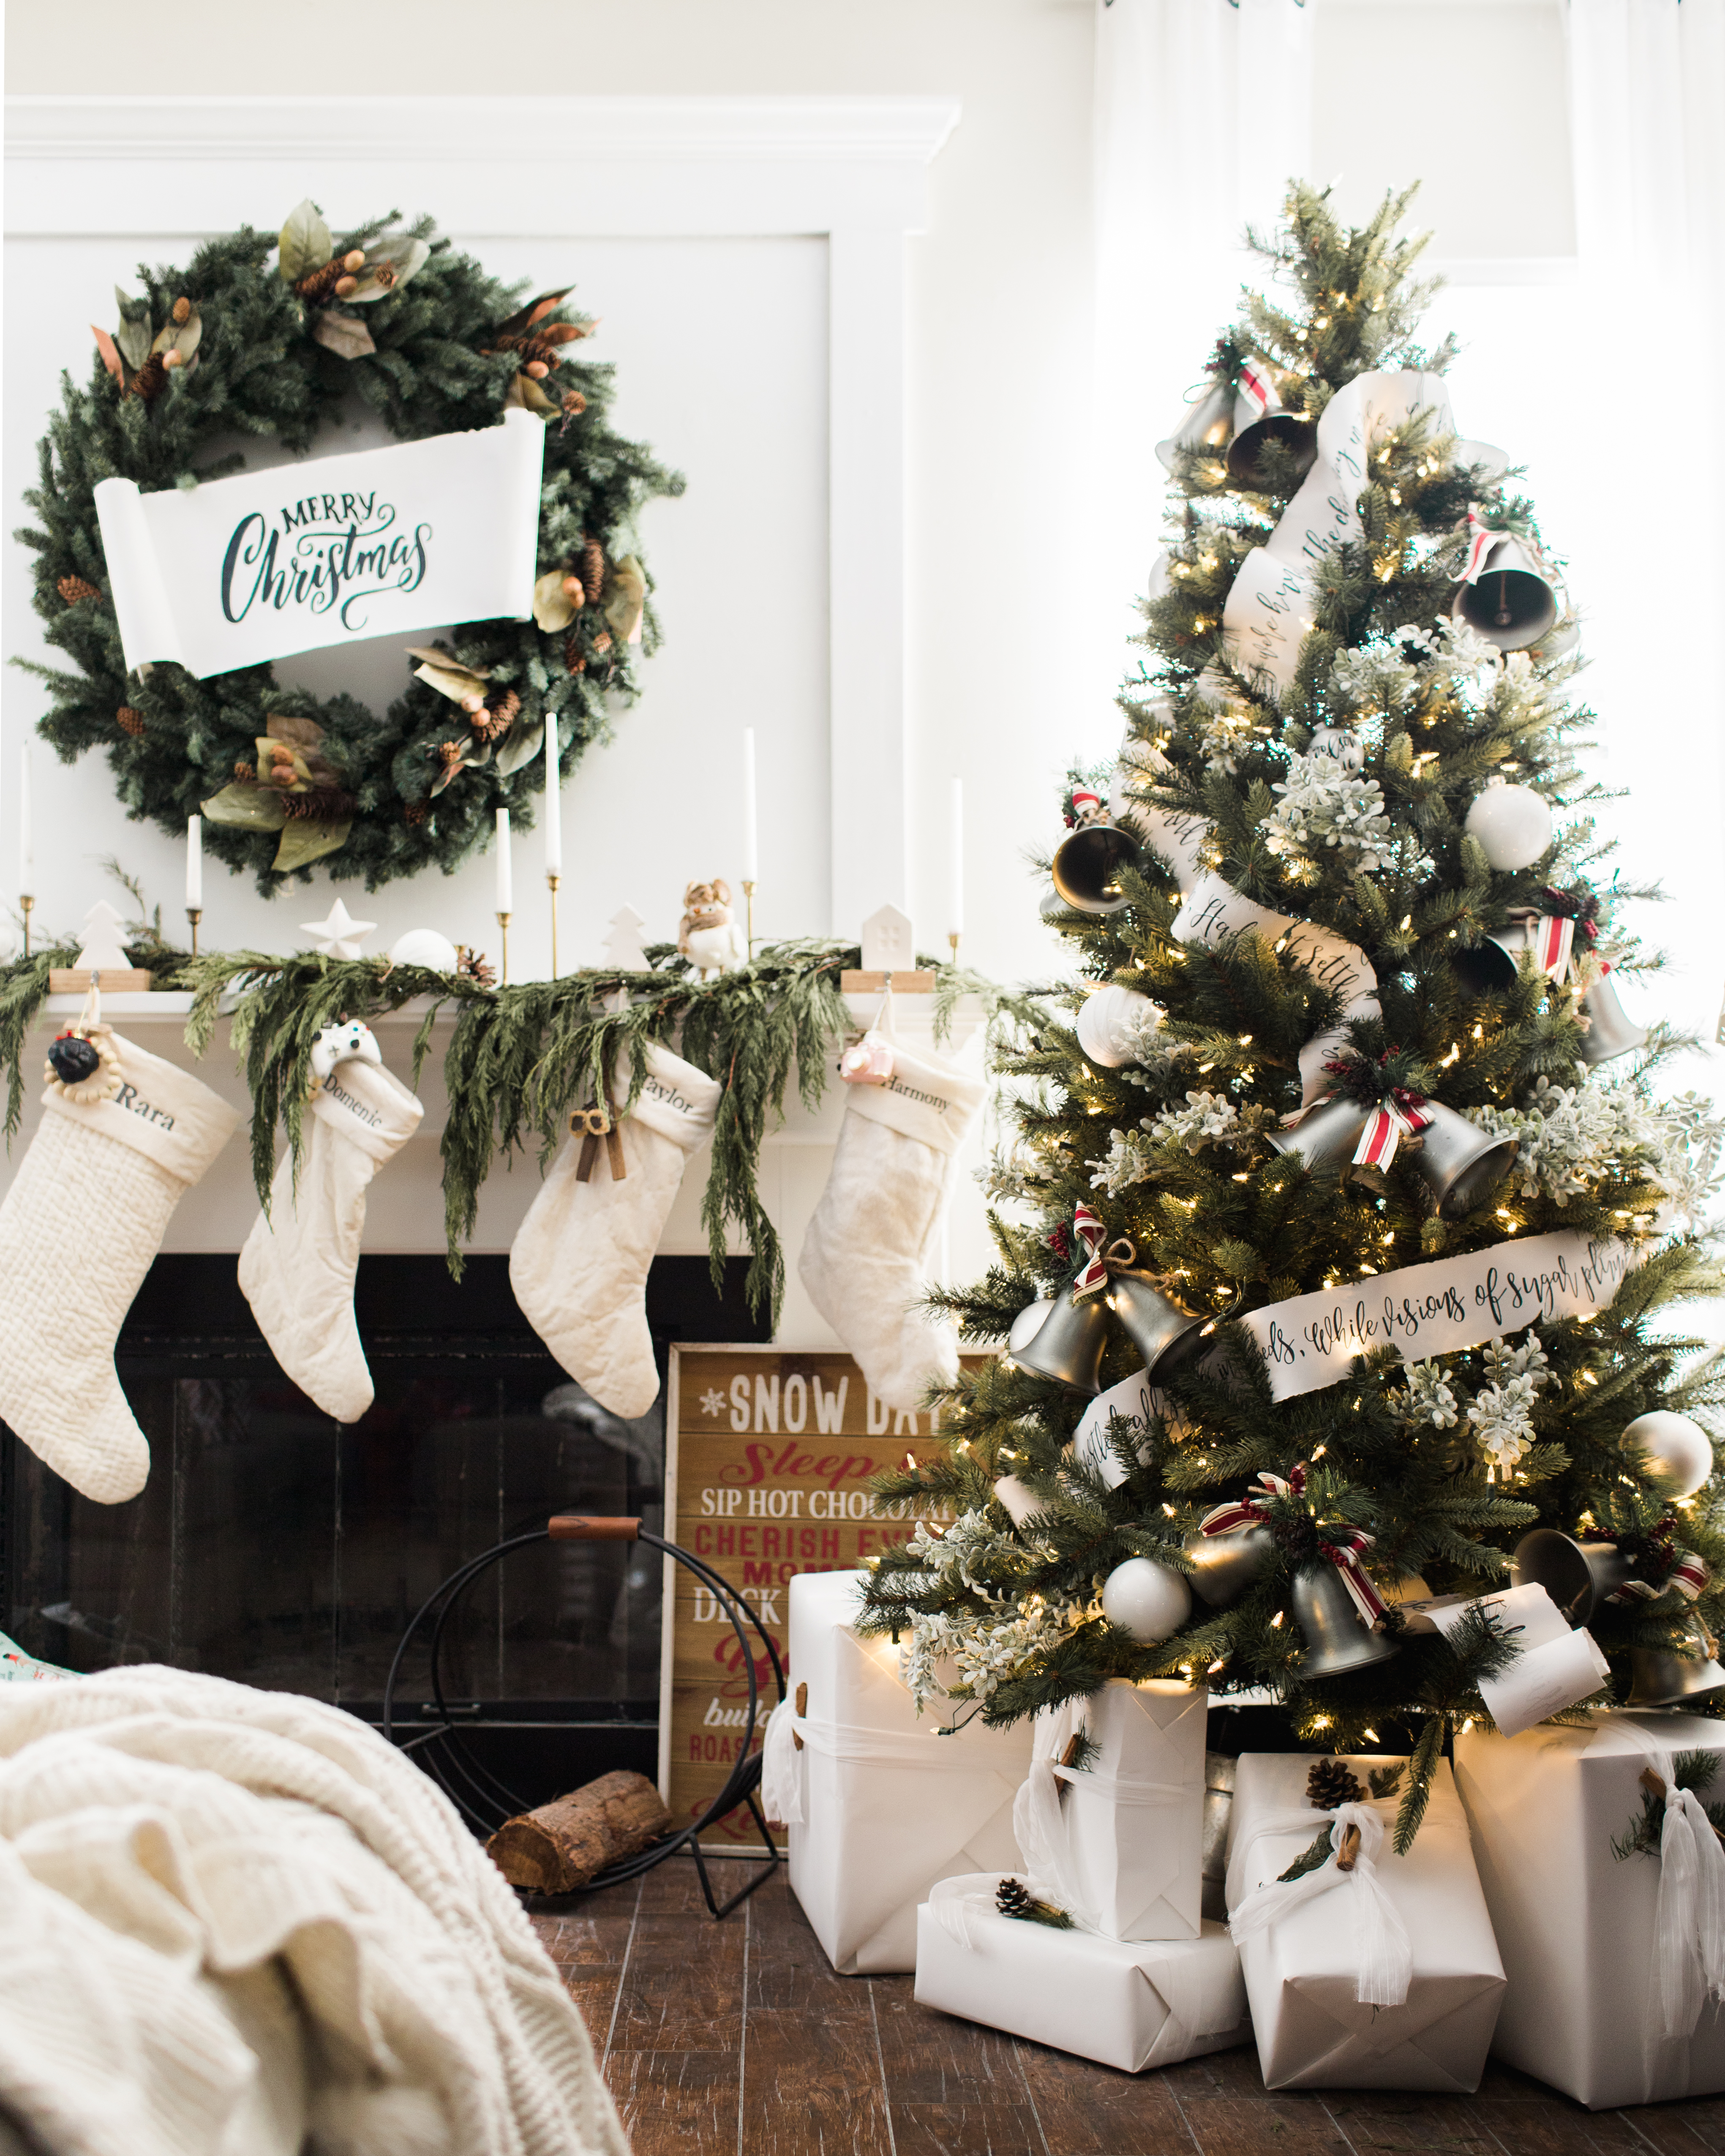
This paper ribbon DIY with ‘Twas The Night Before Christmas calligraphy was my favorite craft project from last year. Using thick craft paper, I rolled and stored them for this year’s tree too! This project needs just a few supplies that I use for all sorts of projects like this. After you read the step by step, you’ll realize that the sky is the limit for home decor signage and paper projects. Here’s what you need to get started:
Item List:
- An inexpensive projector. You don’t need anything fancy or high quality here. We aren’t watching a movie although I totally use mine for casual outdoor movie time too! Here is the projector I’ve been using for years without problem: Projector. Keep in mind that you may need an additional cable to fit your phone or device.
- A basic tripod (optional but makes stable projection from any angle really easy).
- Thick craft paper. I use backdrop paper as it comes in huge long rolls.
- Photoshop, Canva, or any program where you can type with a calligraphy font of your choosing.
- A pencil, ruler, and a black sharpie.

The Steps:
- Cut a 6′ long piece of paper from your craft paper roll. With a pencil and a ruler, mark out the thickness of each ribbon. The ribbons pictured are about 4″ wide.
- Fold the paper to make creases and carefully hand tear to divide. I love hand-torn edges but you can use scissors for a clean-cut look. Don’t forget to leave a little extra space at the top and bottom of the paper sheet to tear those edges as well. I made four ribbons for this 7.5′ tree.
- Prepare the text in the font of your choice. For this project, I copy and pasted the words for “Twas The Night Before Christmas”, and changed the font in photoshop. You can find wording that you already like in google images, design your own, or purchase something from Etsy. In the end, you just want something that you can comfortably trace. Save the file as an image and send it to whatever device you are using with your projector. I email myself files and save them to my phone to make it easy.
- Set up your tripod-mounted projector in a poorly lit location. You want the space to be dark for the projection to be seen but light enough that you can see what you are drawing. You can move the projector around for best placement, enlarge or make the image smaller by moving it closer or further away.
- Set up your paper ribbon on a hard surface where the projection can be used. I use books on the corners to hold it in place and keep it flat. The entire projection won’t fit the 6′ ribbon, so I work in sections and move the projection along with the ribbon, using the last word as a guide for placement.
- Trace the words with a pencil. Finish all ribbons and turn off the projector.
- Trace over the pencil with a sharpie. To give the writing more of a calligraphy style, I give the downstrokes of each letter an extra pass with the sharpie to thicken those lines.
- Let dry before rolling each ribbon into a scroll. Wrap with a rubber band or a scrunchie to keep its shape for a few hours and then it will be ready to use on your tree!