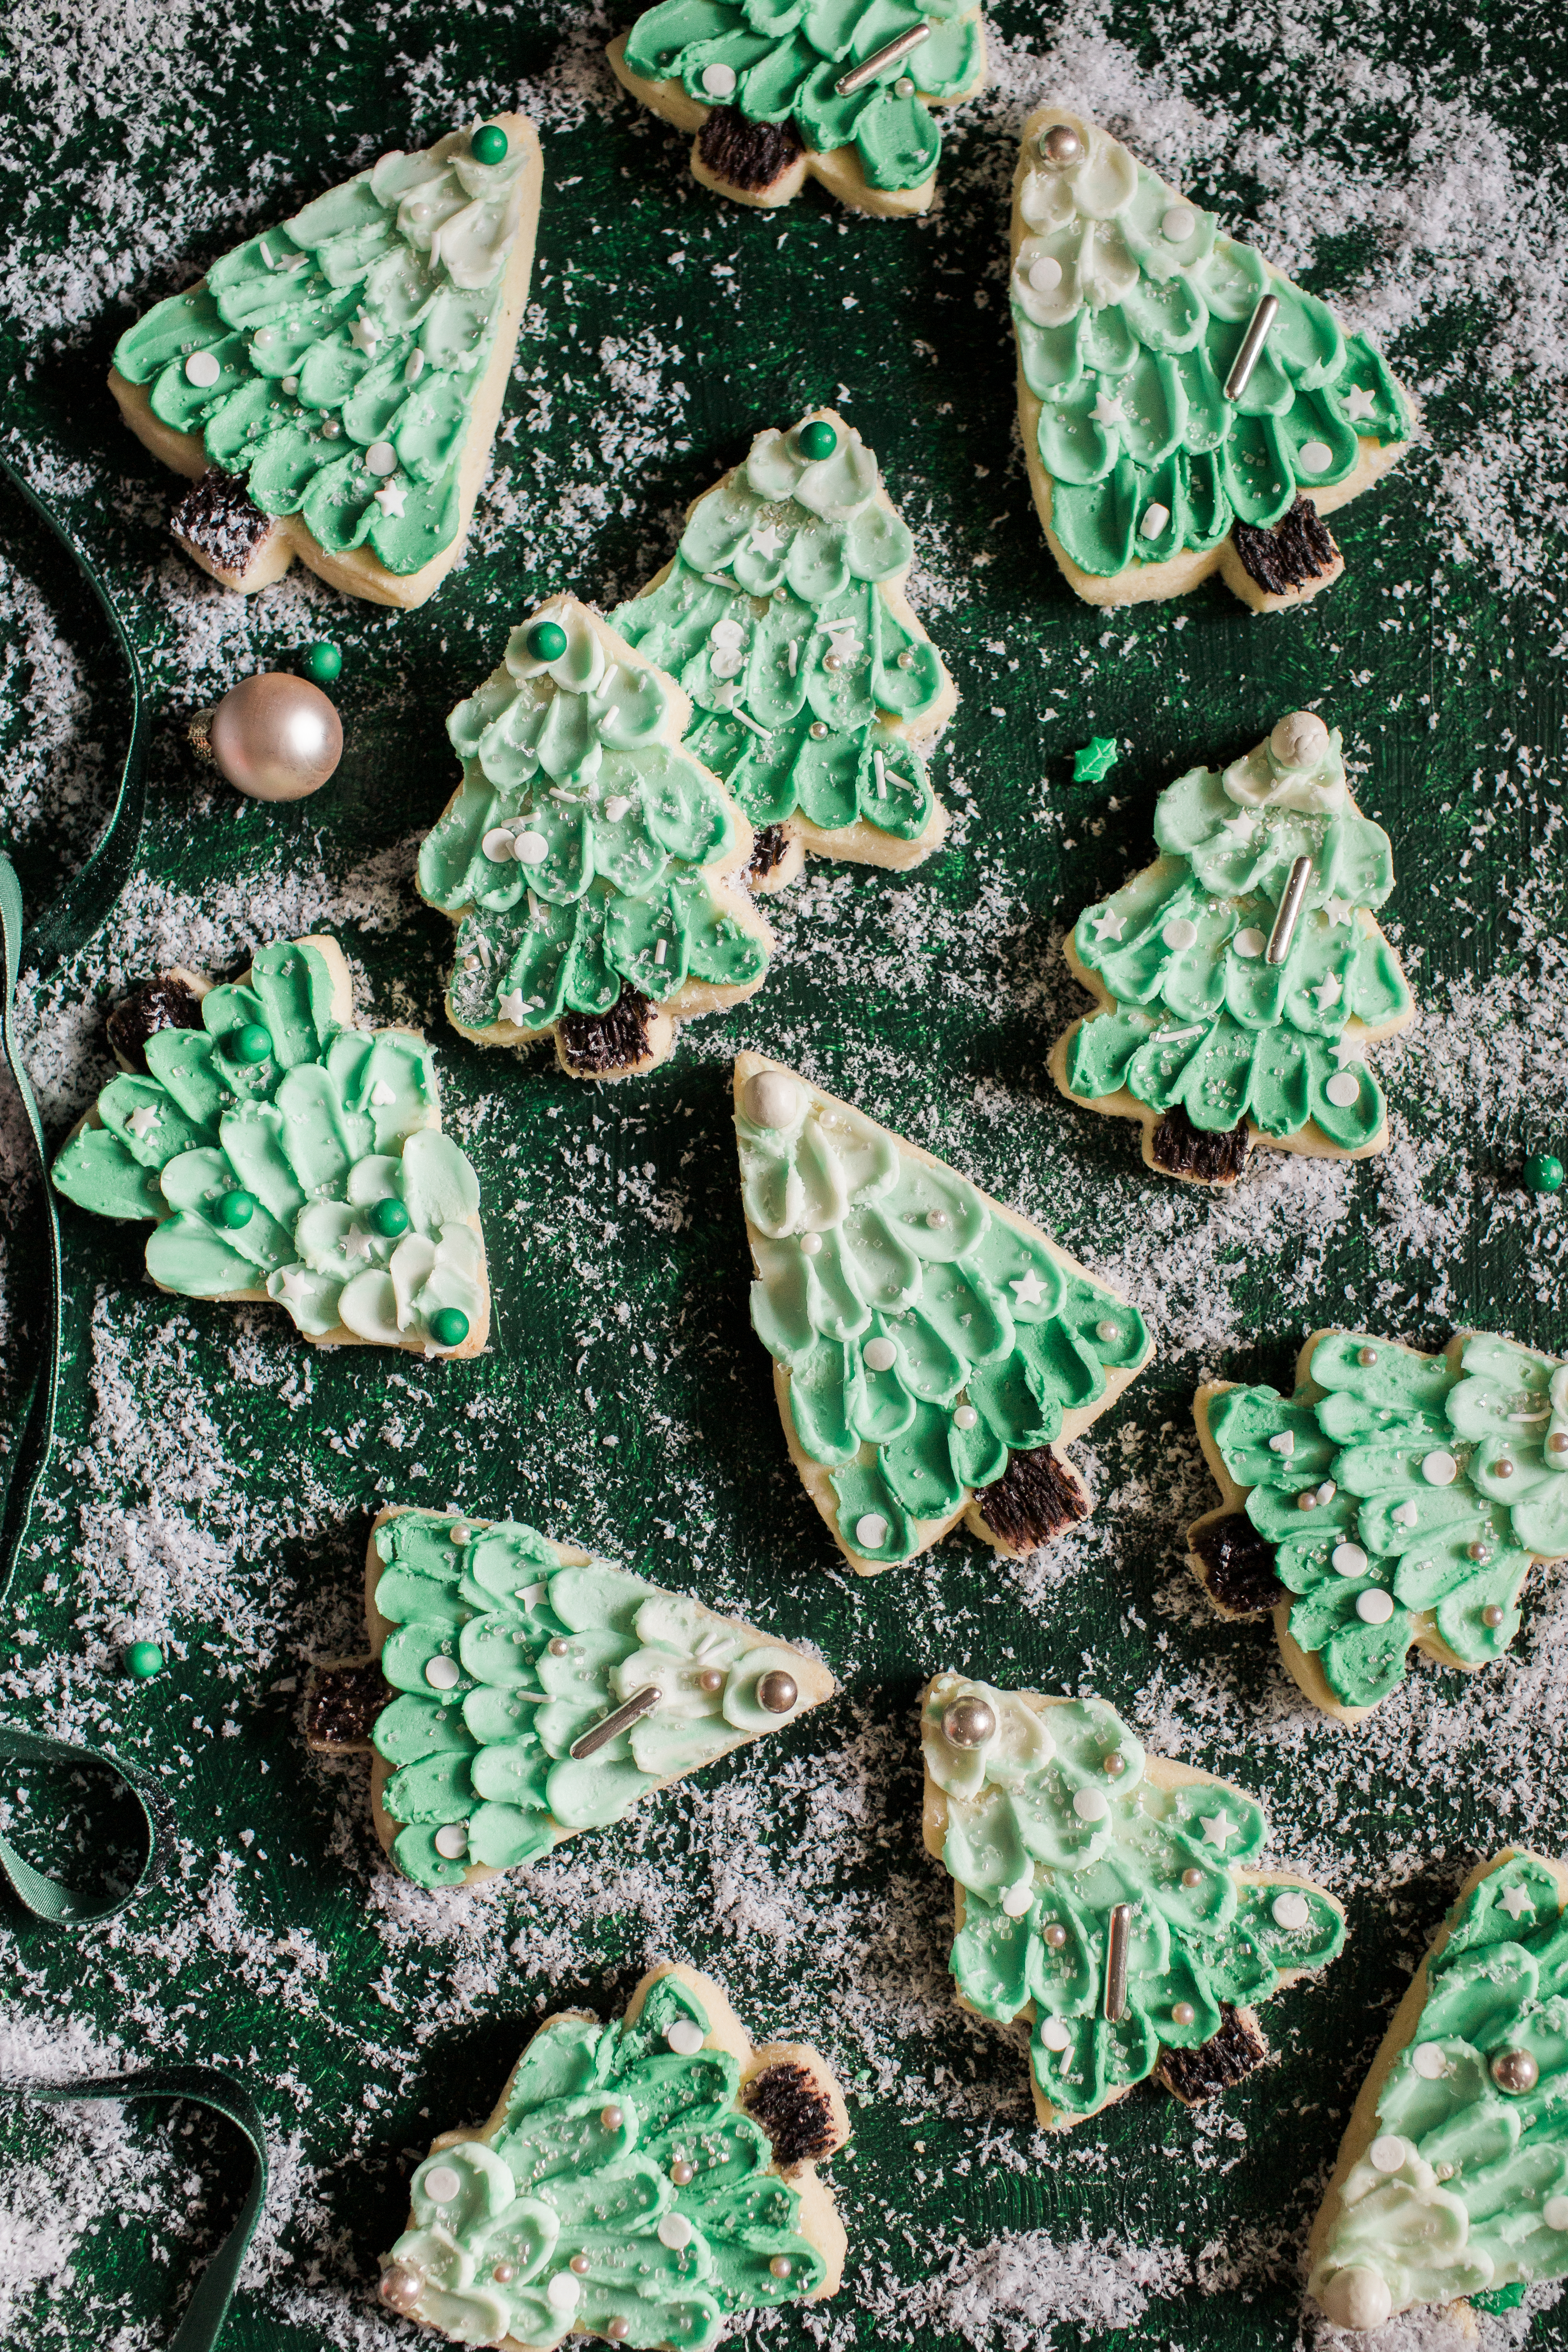
Painted Ombre Christmas Tree Cookies
Painted Ombre Christmas Tree Cookies
These palette knife-painted cookies are the perfect, easy-to-do iced cookie for the holidays! I call them cupcake cookies because the buttercream is the same icing I use on cupcakes, it’s so soft and delicious. I loved making these and they’re so easy, your kids can join in the fun too as it’s not as hard as royal icing decorating. Add some festive sprinkles for ornaments for extra sparkle! Also, if you are searching for perfectly shaped sugar cookies, this recipe is the real deal.

Painted Ombre Christmas Tree Cookies
Makes: 24 cookies
Perfectly Shaped Sugar Cookie Ingredients:
- 1 cup unsalted butter, cold and cut into small pieces
- 1 cup granulated sugar
- 1 large egg
- 2 tsp vanilla extract
- 3 cups all-purpose flour
- 1 1/2 tsp baking powder
- 1/2 tsp salt
Buttercream Ingredients:
- 6 tbsp unsalted butter, softened
- 1 1/2 cup powdered sugar
- 3/4 tsp vanilla extract
- green gel food coloring
- brown gel food coloring
Sugar Cookie Directions:
- Preheat the oven to 350F and prepare two aluminum baking sheets topped with parchment paper.
- In the bowl of an electric stand mixer, cream together the butter and sugar on low, then medium, then high until the mixture is creamy.
- Add the egg and vanilla, mix until combined. Scrape down the sides and mix on high one more time.
- In a separate bowl, whisk together the dry ingredients. Slowly incorporate into the wet ingredient mixture and mix until a dough is formed.
- Pull off 1/3 of the dough at a time and roll out to 1/4″ thick over the parchment paper-lined baking sheet. Cut out the cookies with cookie cutters and pull away the excess dough for reuse. You can lightly flour your rolling pin if the dough is sticky.
- Freeze for 10 minutes before baking for 11 minutes. Repeat for all remaining dough.
- Let cool completely before decorating with icing.
Buttercream Directions:
- In the bowl of an electric stand mixer, whip together the butter, powdered sugar, and vanilla extract until combined.
- Divide the buttercream icing into 4 bowls. Add a few drops of green gel food coloring to one bowl of icing and mix well with a palette knife. Mix some of the green icing with the next two bowls to get 3 shades of green, leaving the fourth bowl white. In a small bowl, mix a teaspoon of white icing with a drop of brown gel food coloring and set aside.
- Ice the cooled cookies with the palette knife from the bottoms of the trees to the tops in all four shades. Add brown icing to the tree trunk with a toothpick. Decorate with sprinkles for ornaments, and let dry for one hour to harden.


