How to: Hand Knitting
How to Hand Knit a Table Runner!
An easy 5 step tutorial
This post has been updated!! See our video tutorial on our youtube page here!:
My lovely planning friend over at Melanie Paige Events and I had the idea to make a Christmas table runner for a winter-inspired shoot and I really wanted something EXTRA for my holiday hosting spread. So, magical Christmas entertaining runner, come to me!!!
We set out to learn how to make this newfound wonder and low and behold, it’s a super easy project that anyone can do! AND, it’s a really enjoyable activity. Grab a friend and knit together over conversation or turn on those lifetime channel holiday movies (you know you watch them) and cuddle up for some relaxing you time. This table runner took me about 45 min. to knit from start to finish.
First!! A quick guide to purchasing your wool…
Wool for arm knitting comes in a variety of colors and is sold by the lb/kg. For this 8 ft table runner, we used 2 lbs of white wool. If you want to do a larger project like a blanket, be aware that it will take about 12-13 lbs of wool. Shop around, it can get pricey. To give you a better idea, this is a 2 lb ball of wool which we used in its entirety and cost about $50 from amazon: also check out your local craft stores, I’ve seen them at Micheals recently!

Step 1. Create A Loop Knot (your first “stitch”)
Start with a single stitch.. Pull the working yarn through the stitch (shown in the next picture) to create another stitch. Then, lightly pull the new stitch and the ends away from each other to create a knot with the first stitch (2nd picture below). That’s it for step 1! Good job, you’re doing fantabulous and that’s the hardest part!!
 Step 2. Your first row…
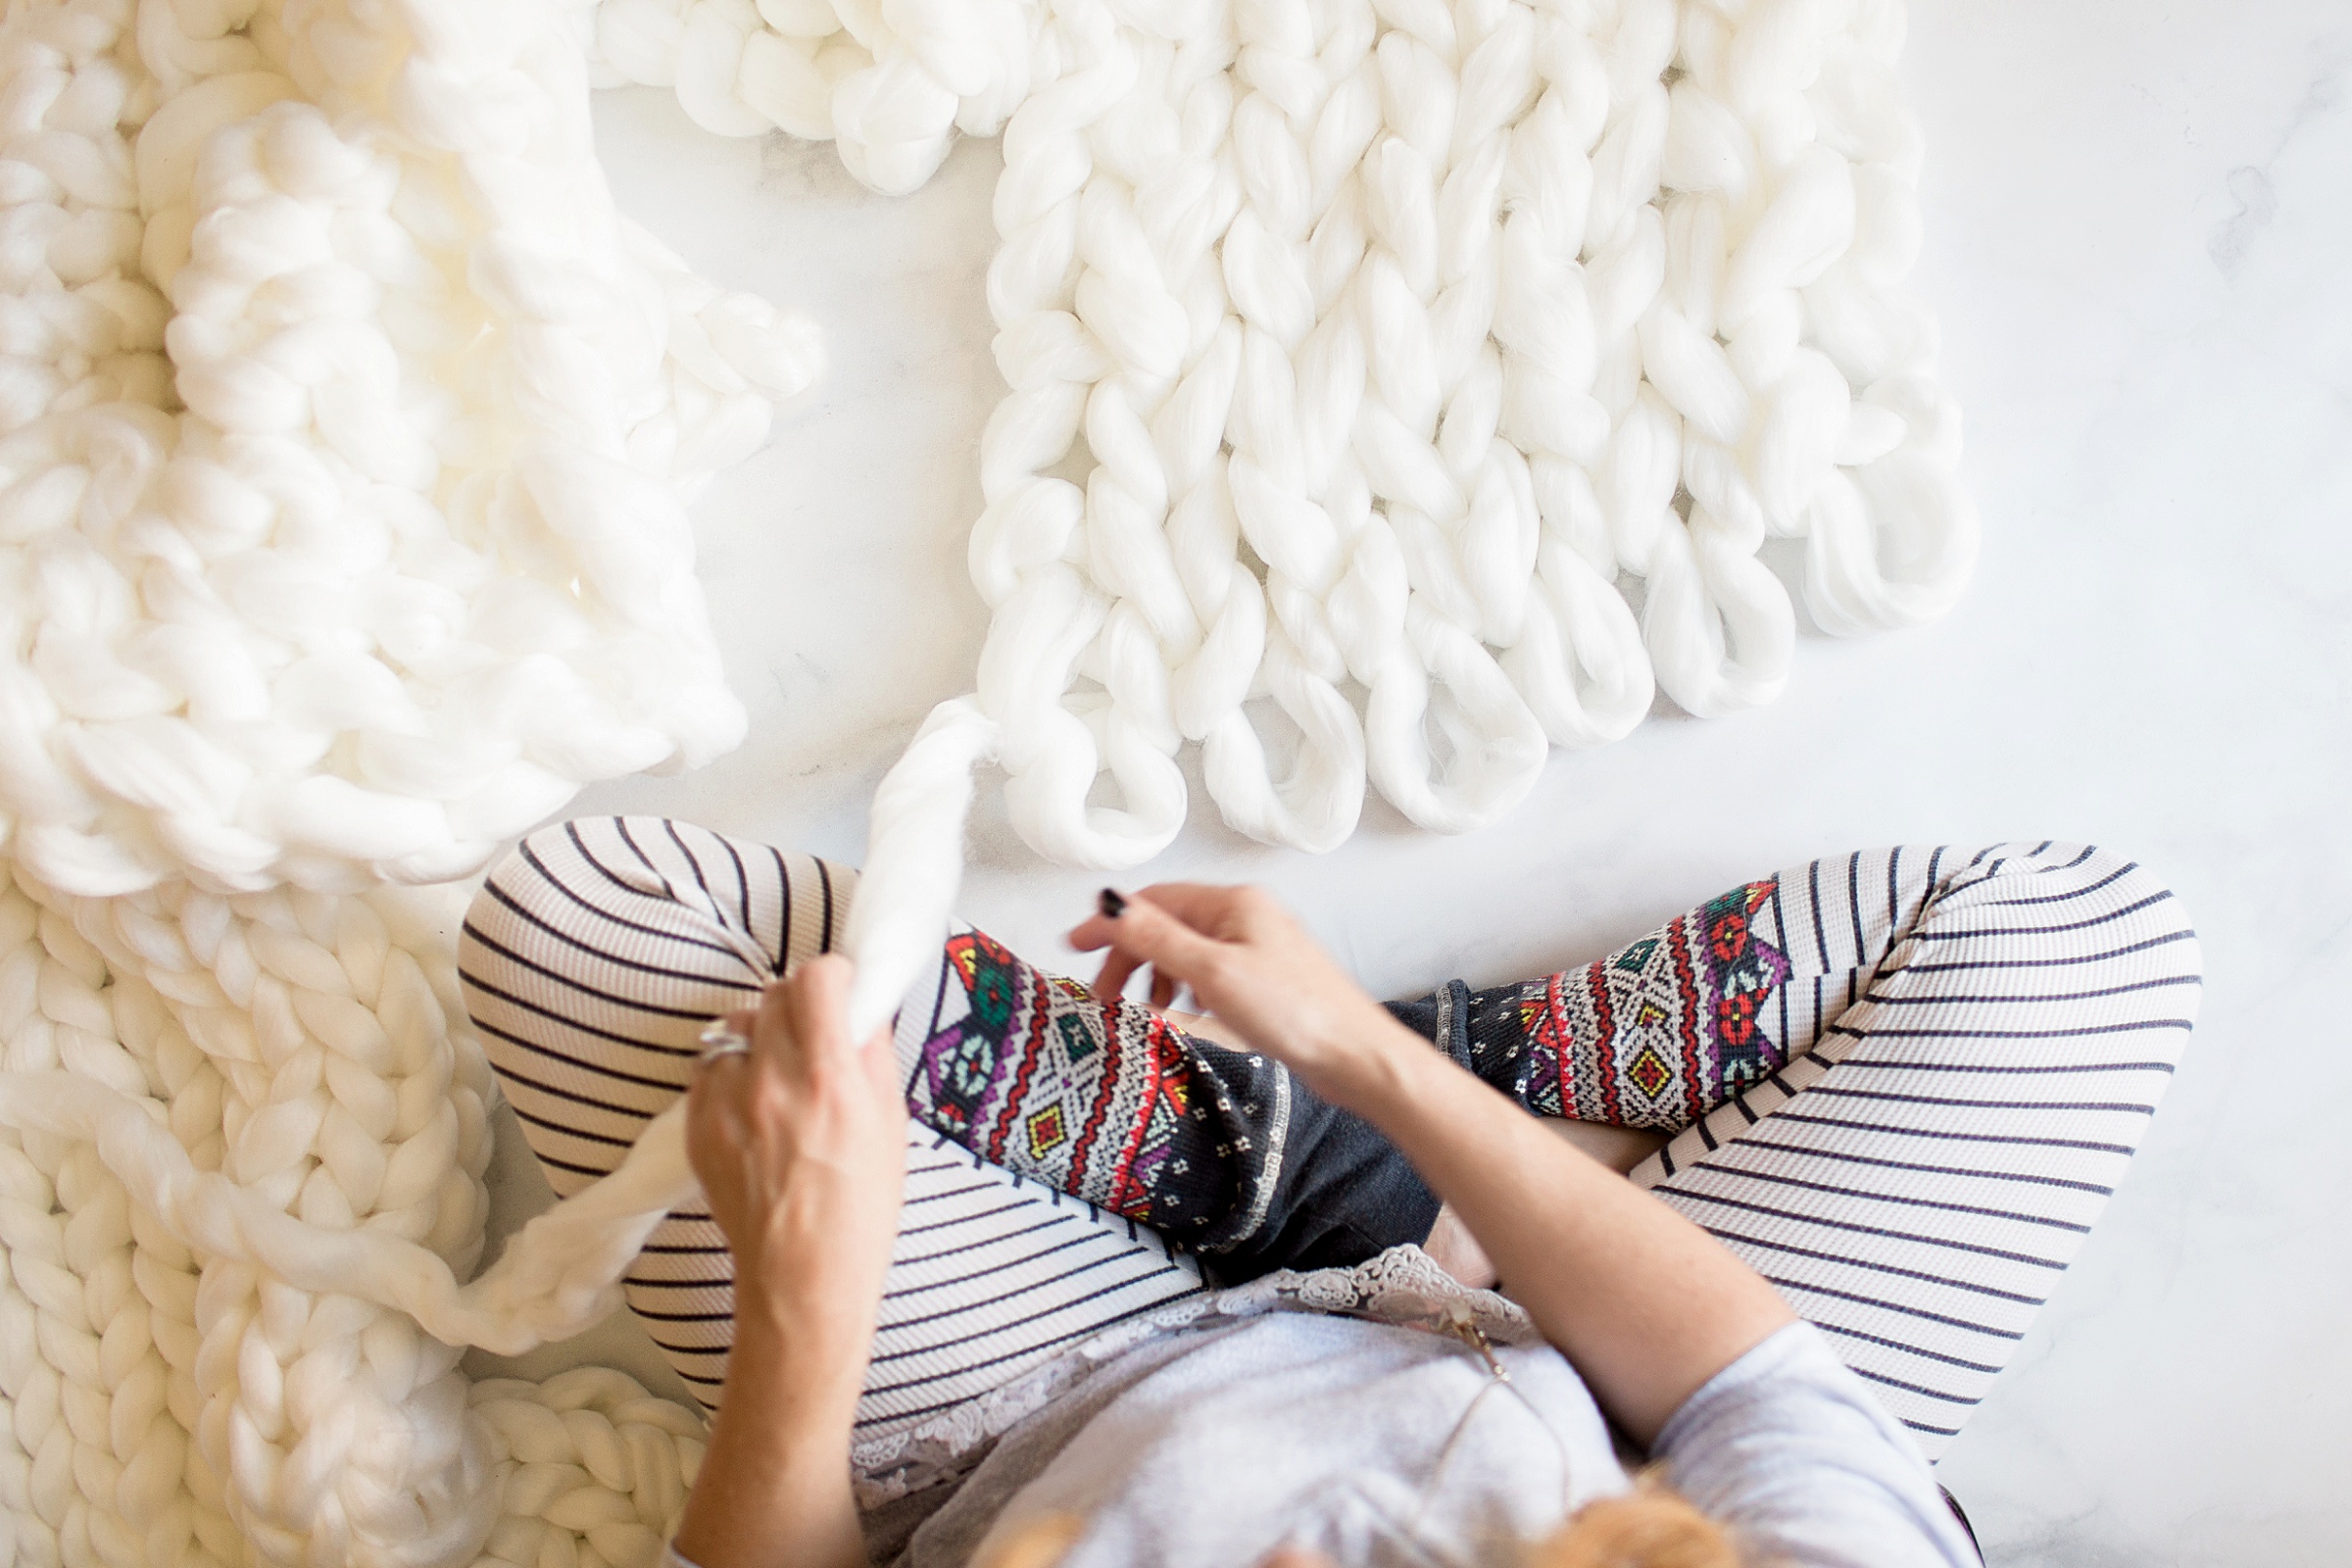
Pull another stitch through your first knot stitch (we are pulling them to the right – to go left to right in a horizontal row) and make the size stitches YOU want for the rest of your masterpiece. Tighter or looser is totally up to you! Continue to make new stitches moving to the right until you have your desired width. For this table runner, I chose to do 6 stitches.
 Step 3. The turn.
Now we are going to start making more rows. We will first make a turn to the left and complete row 2. To turn, we simply pull a new stitch through your last completed stitch from row 1 and face the new loop up instead of to the right. You will then make your way to the left by pulling stitches through your previous row stitches in the exact same way.
 This is how row 2 should look. You can make adjustments easily by tugging on the wool ~carefully~ to stretch and shape. It’s fairly forgiving and if you snag it, you can just tuck that snag back into the design. TIP: don’t wear your rings/jewelry to avoid unnecessary pulls.
 Step 4. Complete Rows.
Continue moving left to right, right to left, and so on until you reach your desired length. Once you get in the groove, it goes very fast. But don’t forget to slow down and enjoy the process!!! Step 5. The finish.
After you finish your last row, take the 1st stitch of that row and overlap it with the 2nd stitch. Pull a new stitch through those two stitches to connect. Take that new stitch and overlap it with the following stitch, pull a new stitch through to connect and so on. When you reach the end, cut your remaining wool so that just 6 inches or so remain and tuck it back into the design. I like to reverse tuck into the design following the stitch curves. You can also do this with the excess from your starter knot. This is what the finished end looks like. Gently tug on the wool to straighten…
 And just like that, we have a very cool tablescape runner for our upcoming Christmas parties!
 What will you make with your newfound skill? A chunky blanket? A scarf?