
How to Bake and Make a Spooky Choco House
How to Bake-and-Make a Spooky Choco House
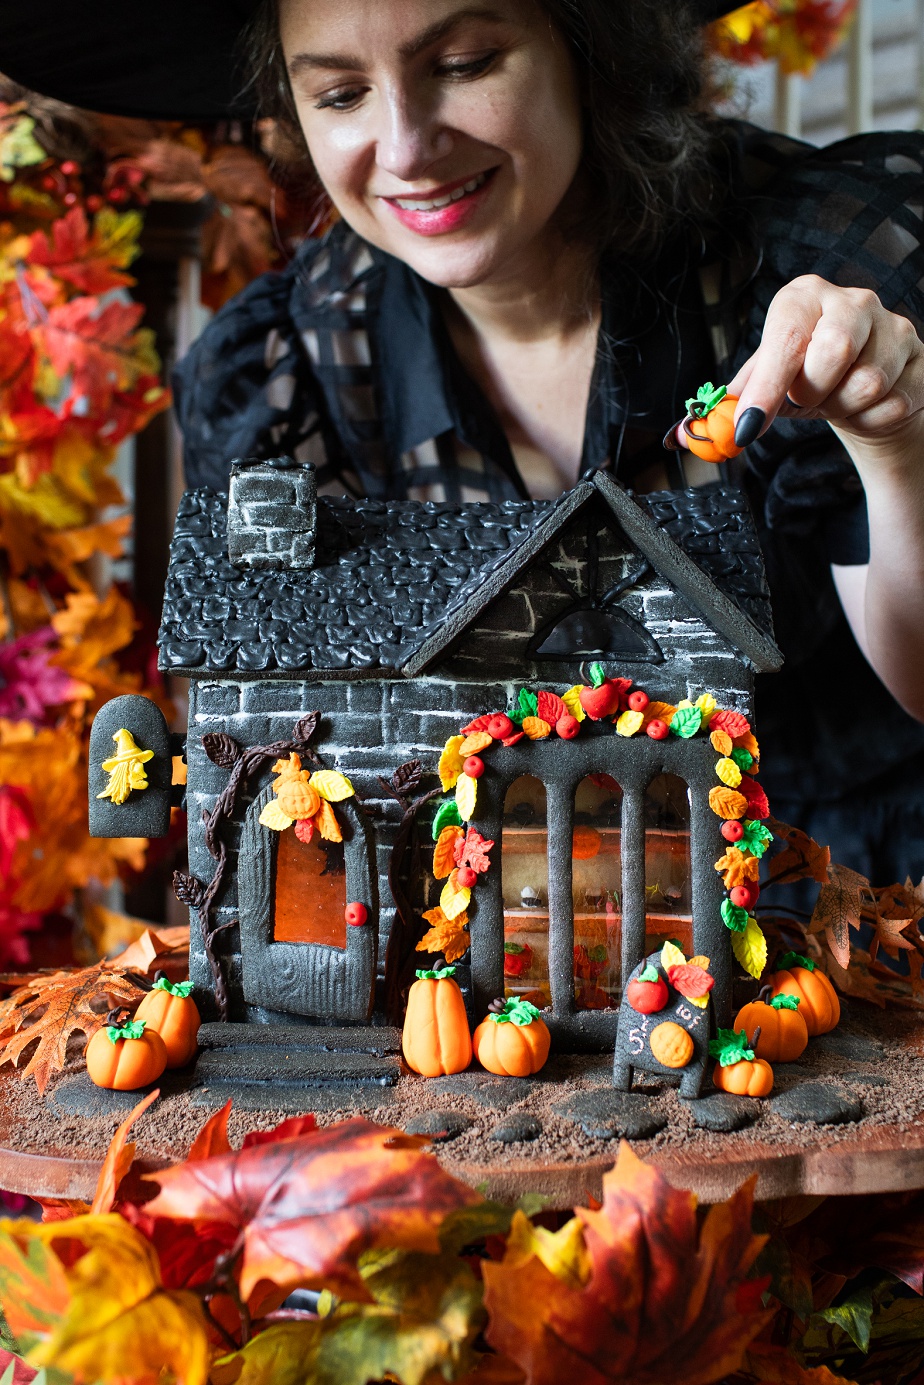
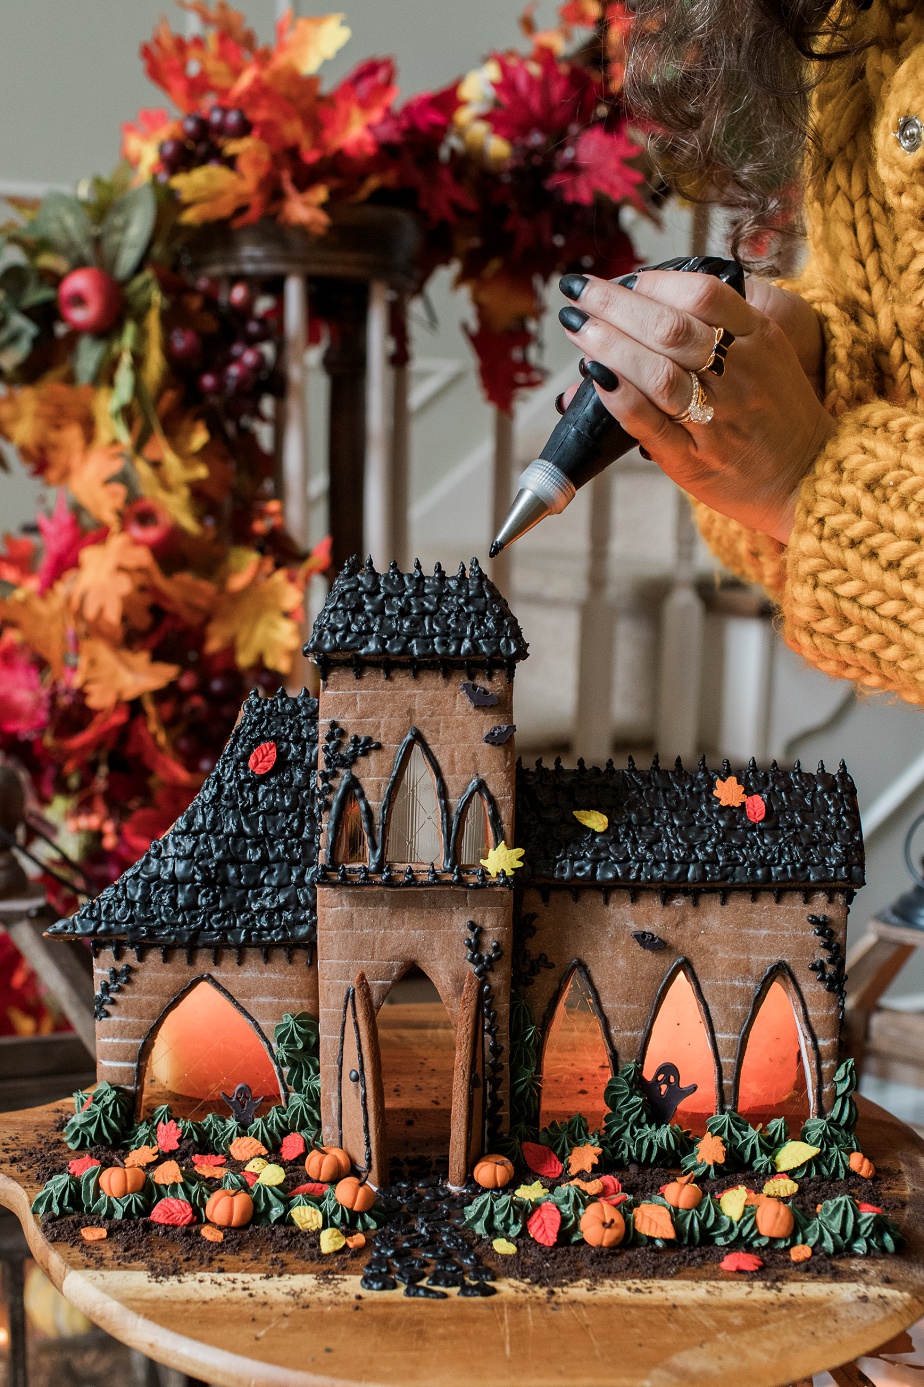
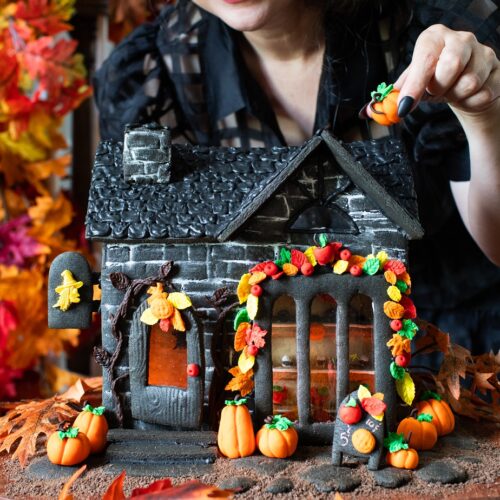
Designing and baking gingerbread houses is probably my favorite seasonal activity. I make them every year from scratch during Christmas time, and a few years ago I started making them for spooky season too. You can see my Holiday Gingerbread Houses and recipe in this blog post. For the Spooky Choco House version, I simply swap out the gingerbread spices for cocoa powder. This year I used black cocoa powder for a black stone house. You can find black cocoa powder online here. I use black cocoa powder in all sorts of Halloween baking, from hamburger buns to black icing and more. It’s a great alternative to other black food colorants.
Helpful Design Tips!
- Draw your house to actual size using graph paper to keep your lines straight. I cut the shapes out and use those pieces as cookie cutter templates.
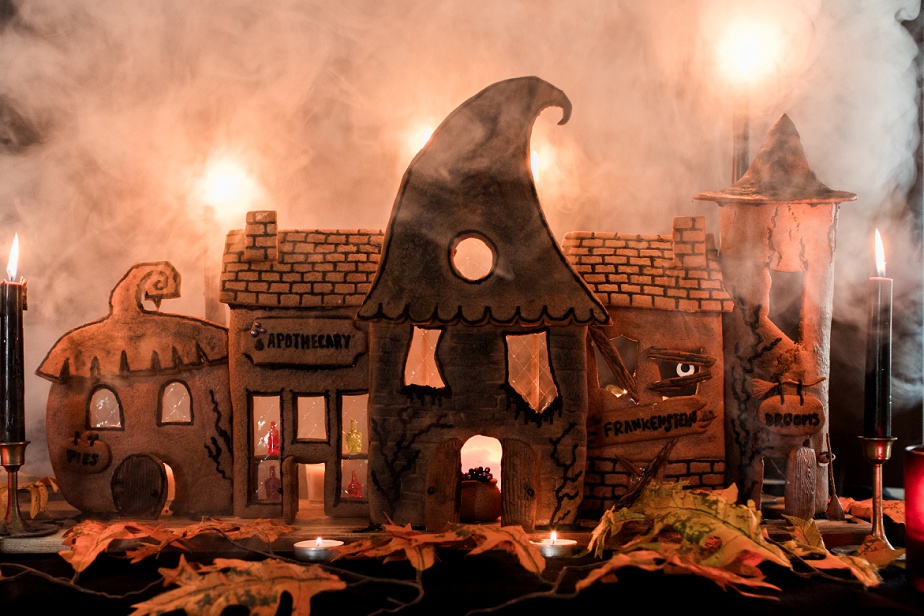
- Keep the design simple if it’s your first time. You can always add pieces to the house later for a more elaborate design; there’s plenty of dough in this recipe for additions.
- I use gelatin sheets for the windows. You can buy those here and cut them with scissors; super easy. Alternatively, you can make your own sugar glass windows or just leave them open.
Chocolate House Dough Recipe
Ingredients:
- 6 cups all-purpose flour
- 3 tbsp cocoa powder, regular or black
- 1/2 tsp salt
- 1 1/2 cups dark corn syrup
- 1 1/4 cups dark brown sugar, tightly packed
- 1 cup margarine
Instructions:
- Stir together flour, cocoa powder, and salt in a large bowl and set aside.
- In a medium pot, heat the margarine, corn syrup, and brown sugar over medium-low heat, stirring constantly until the margarine is melted.
- Pour the hot mixture into your bowl with the dry ingredients and mix with a spatula until a dough forms and all ingredients are well combined.
- Cut the dough into two equal discs and wrap each in plastic wrap. Chill in the refrigerator for about 20 minutes.
- Preheat the oven to 350F and prepare your work surface and rolling pin with flour.
- Pinch off 1/4 of the dough at a time and keep the rest wrapped in plastic so it doesn’t dry out. Lightly flour the piece of dough you are working with over a piece of parchment paper and roll it out to 1/8″ thick for harder and more precisely shaped cookies or 1/4″ for softer, chewier, and slightly puffed shapes.
- Transfer the cookie cutouts over parchment paper to an aluminum baking sheet and bake at 350F for 7-20 minutes. For tiny detail pieces that are thin, bake for the lower 7 minutes. For cookies, bake for 10 minutes. For large, thicker shapes like walls and roof pieces, 20 minutes will bake a sturdy design. If it’s your first time, you can take the cookies out, let them cool, test the hardness, and even rebake for longer to harden further. You can check for doughy centers by watching for a consistent color over the entire cookie.
- Let cool on the cookie sheet for a few minutes before transferring your cutouts to a cooling rack. When they are completely cool, you can start decorating them!
Icing Glue Recipe
Ingredients:
- 1 1/5 cups powdered sugar
- 1 tbsp meringue powder
- 3 tbsp warm water
- 1 tbsp+ black cocoa powder (optional for color)
Directions:
- In the bowl of an electric stand mixer, add the ingredients and whisk on high for 8-10 minutes or until soft peaks form. Adjust for color with more cocoa powder at teaspoon at a time.
- Add to a piping bag with a very small piping tip (I prefer #2), and you’re ready to go! You can leave it out on the countertop for multiple days of use.
Spooky Choco House
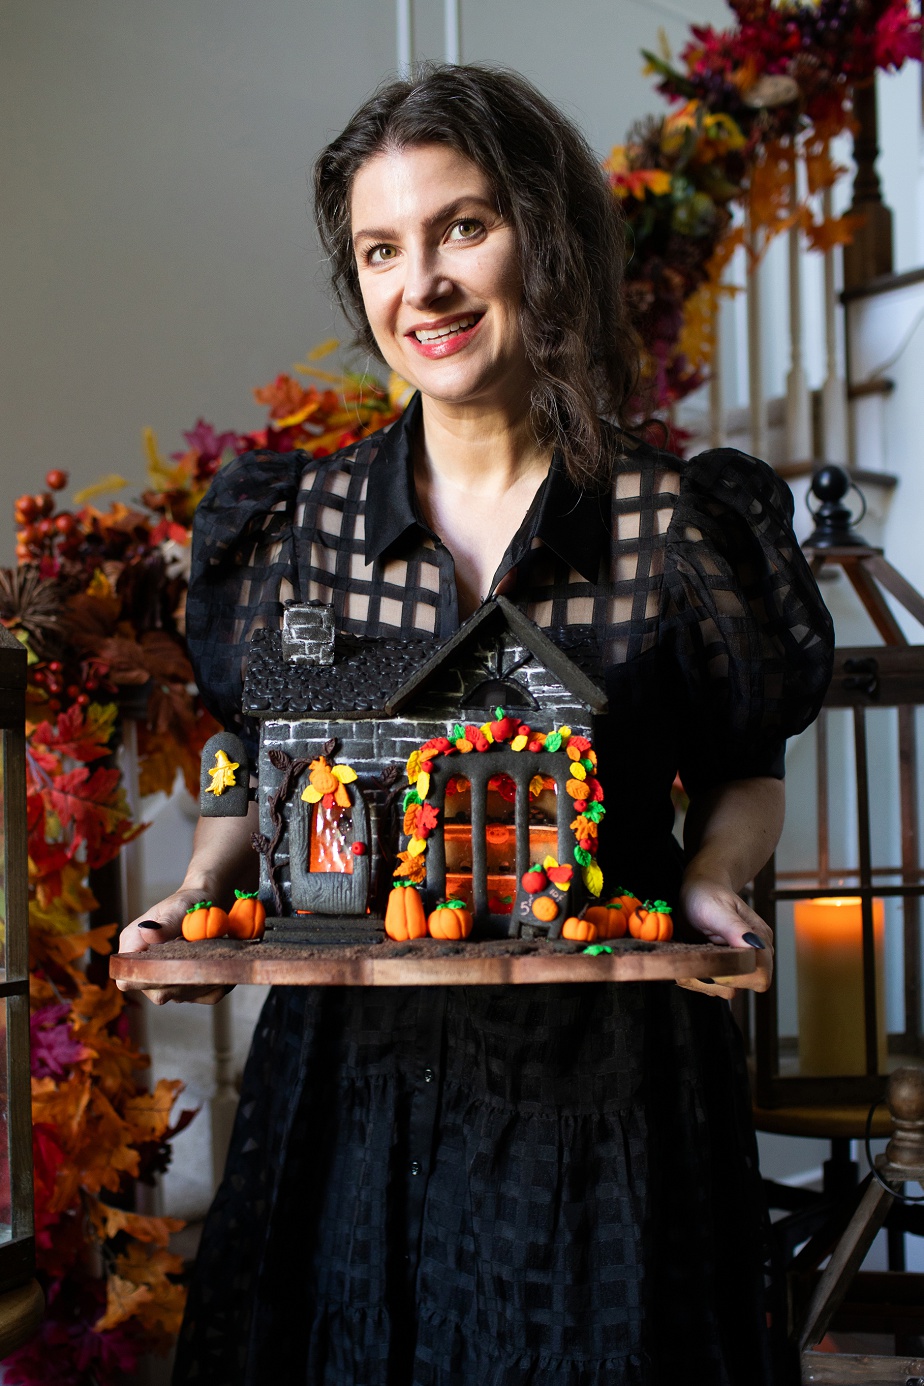
Spooky Choco House recipe for building your own Halloween version gingerbread house.
Ingredients
Choco House Dough
- 6 cups all-purpose flour
- 3 tbsp cocoa powder regular or black
- 1/2 tsp salt
- 1 1/2 cups dark corn syrup
- 1 1/4 cups dark brown sugar tightly packed
- 1 cup margarine
House Icing Glue
- 1 1/5 cups powdered sugar
- 1 tbsp meringue powder
- 3 tbsp warm water
- 1 tbsp+ black cocoa powder optional for color
Instructions
Choco House Instructions
- Stir together flour, cocoa powder, and salt in a large bowl and set aside.
- In a medium pot, heat the margarine, corn syrup, and brown sugar over medium-low heat, stirring constantly until the margarine is melted.
- Pour the hot mixture into your bowl with the dry ingredients and mix with a spatula until a dough forms and all ingredients are well combined.
- Cut the dough into two equal discs and wrap each in plastic wrap. Chill in the refrigerator for about 20 minutes.
- Preheat the oven to 350F and prepare your work surface and rolling pin with flour.
- Pinch off 1/4 of the dough at a time and keep the rest wrapped in plastic so it doesn’t dry out. Lightly flour the piece of dough you are working with over a piece of parchment paper and roll it out to 1/8″ thick for harder and more precisely shaped cookies or 1/4″ for softer, chewier, and slightly puffed shapes.
- Transfer the cookie cutouts over parchment paper to an aluminum baking sheet and bake at 350F for 7-20 minutes. For tiny detail pieces that are thin, bake for the lower 7 minutes. For cookies, bake for 10 minutes. For large, thicker shapes like walls and roof pieces, 20 minutes will bake a sturdy design. If it’s your first time, you can take the cookies out, let them cool, test the hardness, and even rebake for longer to harden further. You can check for doughy centers by watching for a consistent color over the entire cookie.
- Let cool on the cookie sheet for a few minutes before transferring your cutouts to a cooling rack. When they are completely cool, you can start decorating them!
House Glue Instructions
- In the bowl of an electric stand mixer, add the ingredients and whisk on high for 8-10 minutes or until soft peaks form. Adjust for color with more cocoa powder at teaspoon at a time.
- Add to a piping bag with a very small piping tip (I prefer #2), and you’re ready to go! You can leave it out on the countertop for multiple days of use.