How To Make Your Own Beeswax Wraps!
How To Make Your Own Beeswax Wraps!
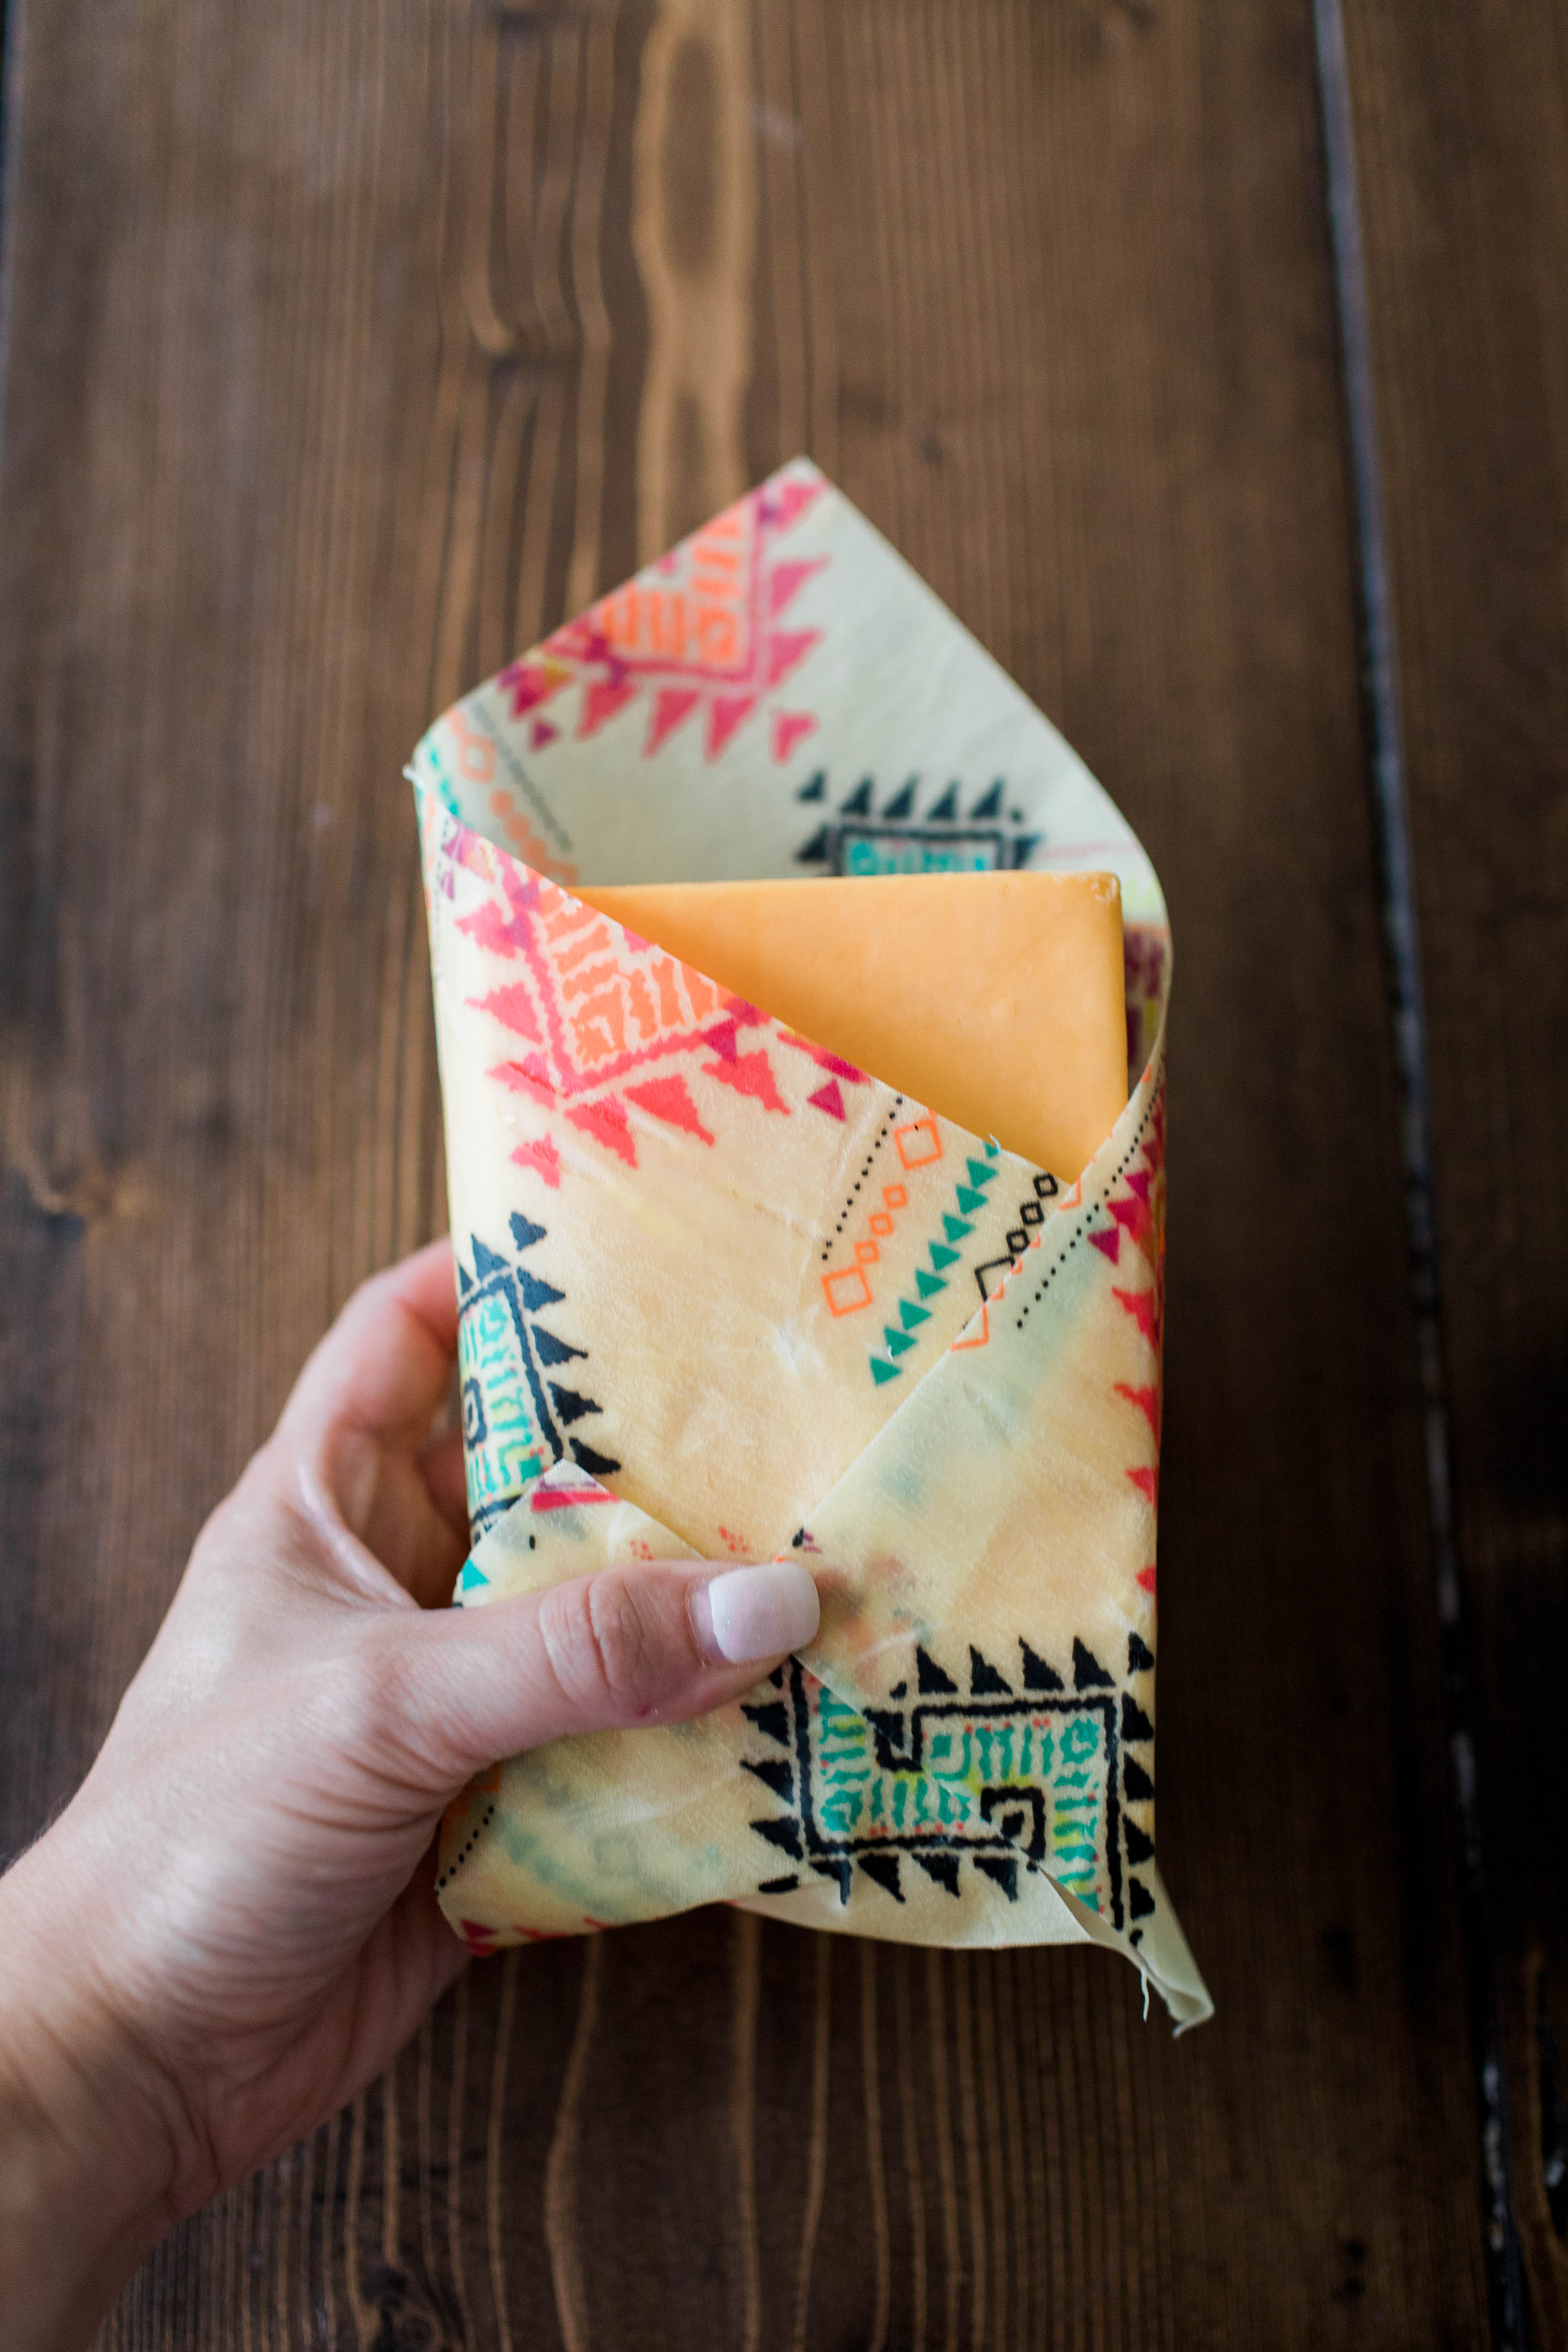
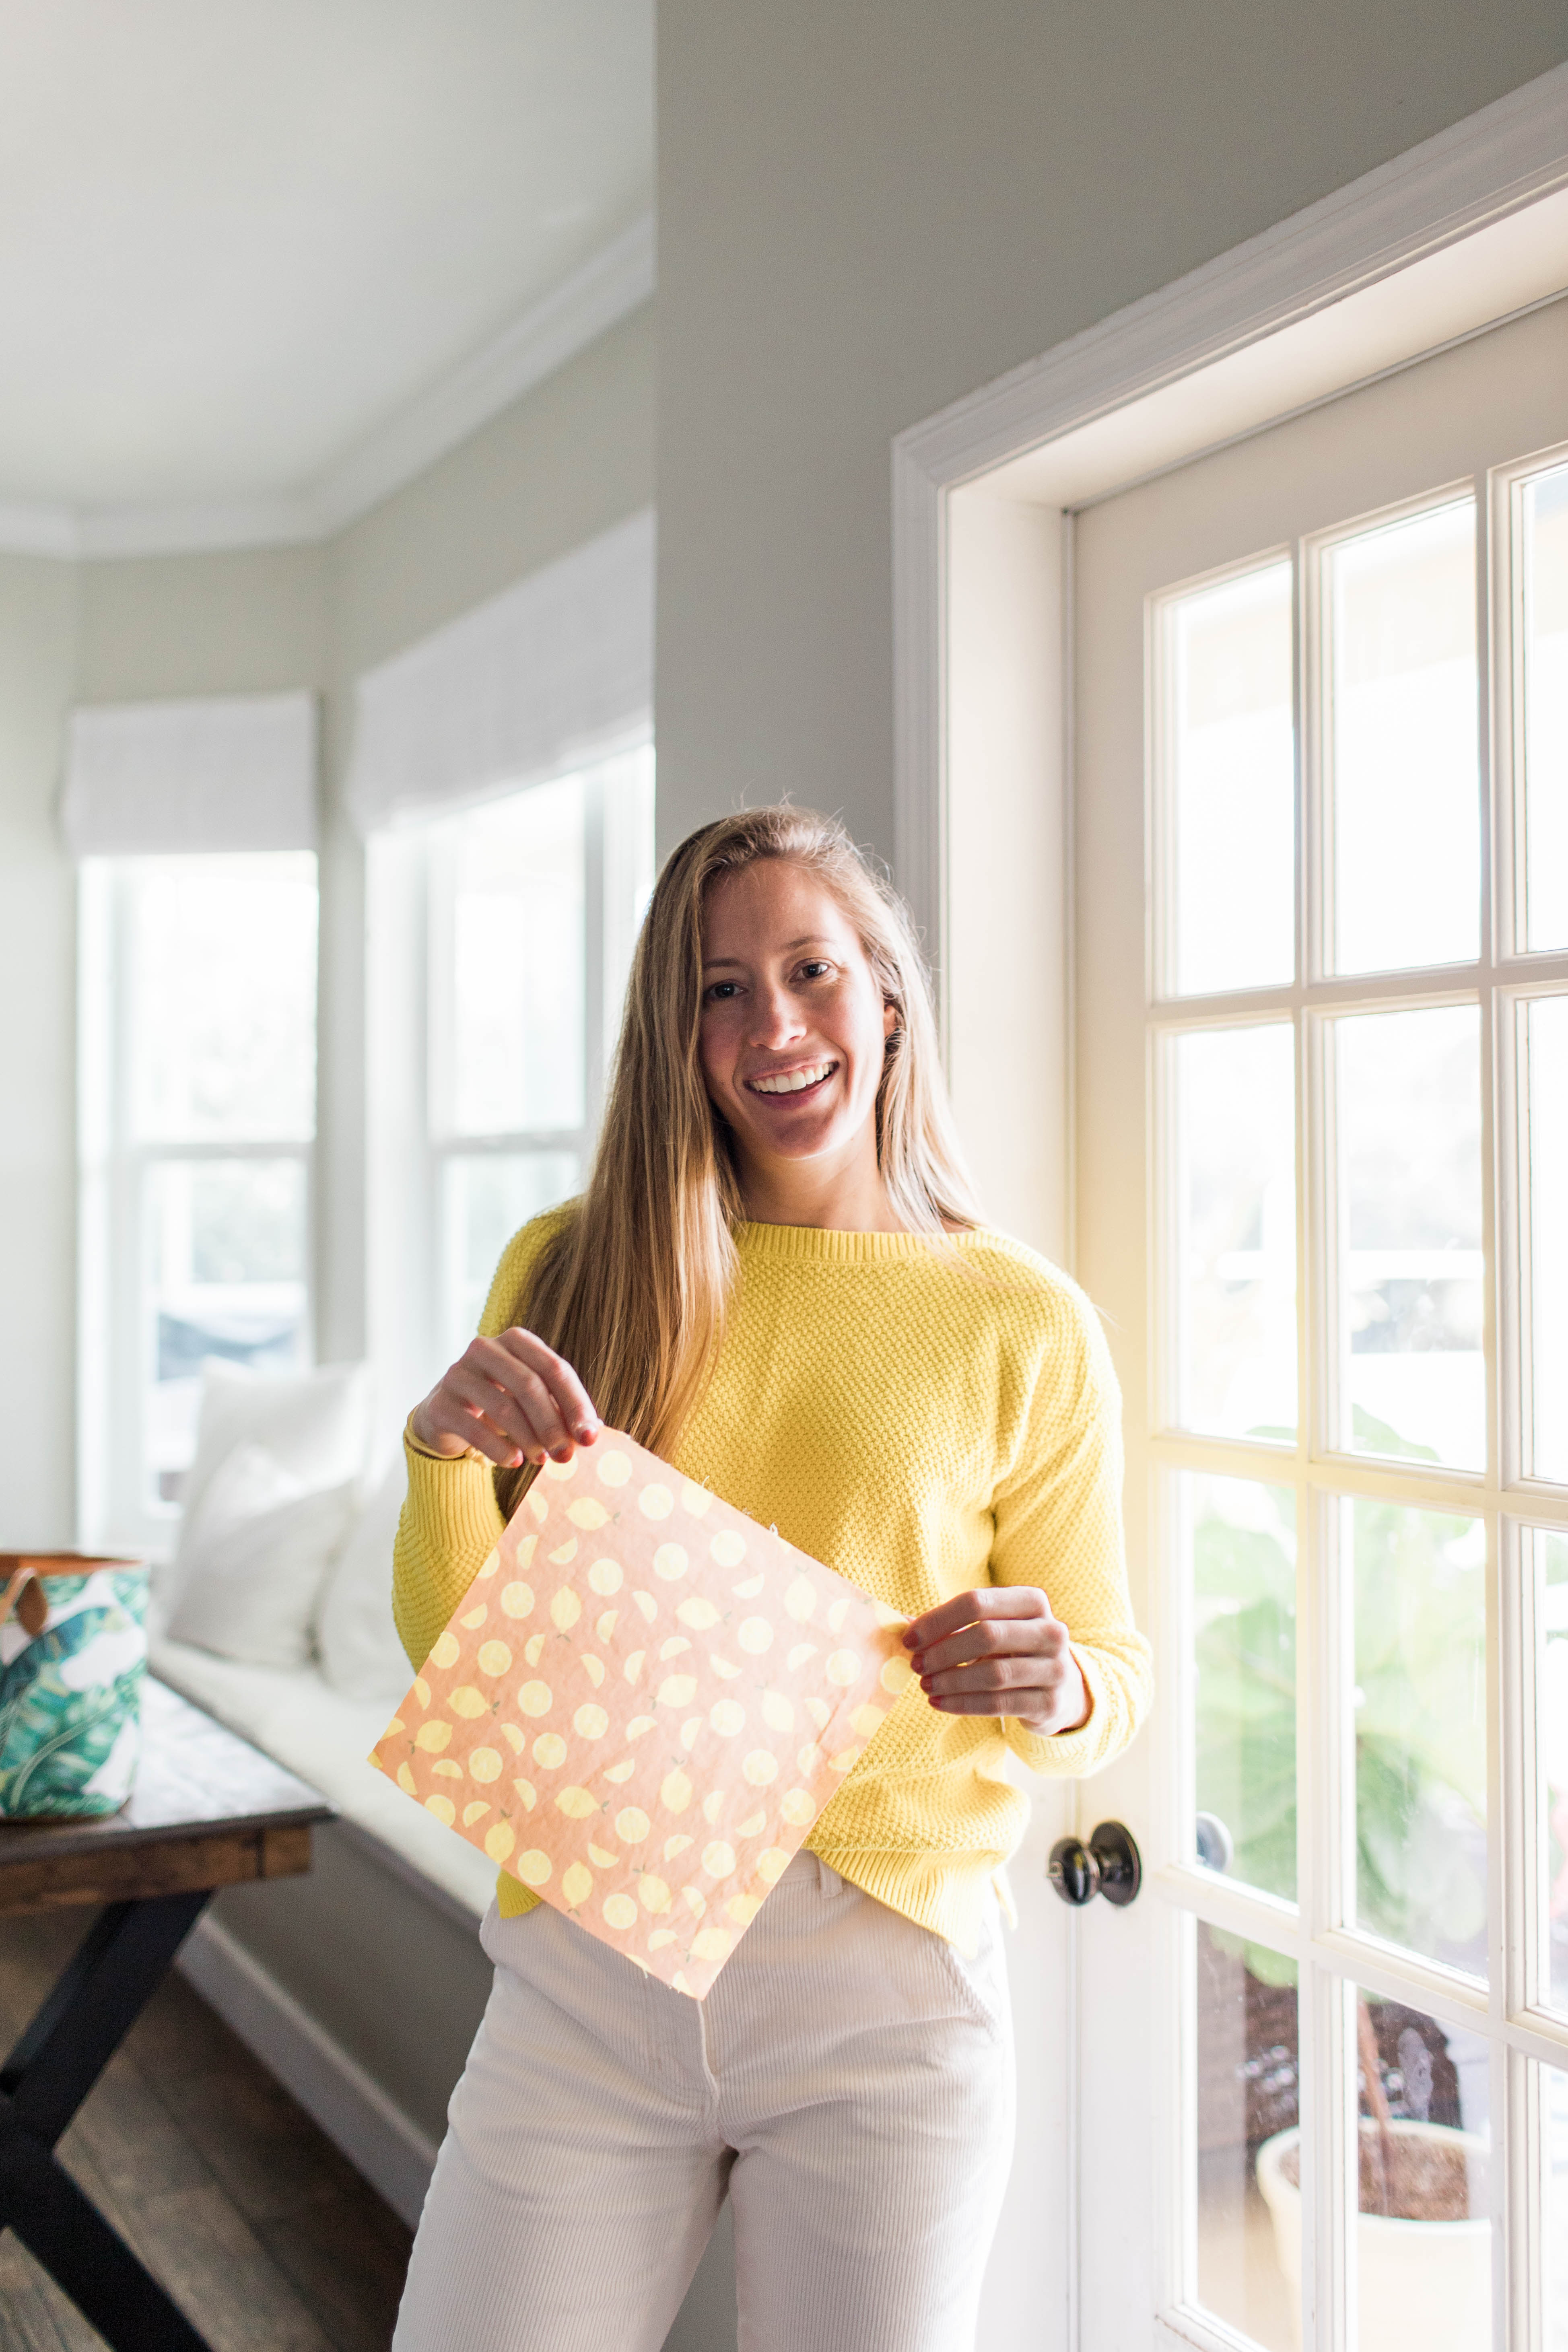
This easy tutorial for homemade beeswax wraps is a great way to bring personal style to your refrigerator in a sustainable way! Choose your own fabrics and ditch the plastic for these far superior homemade wraps. You can use beeswax wraps to cover anything from glass containers to produce and cheese. For this tutorial, my friend and fellow blogger, Katie of Sunshine Style joined me for a day of crafting in my kitchen! Katie is a fashion blogger here in the sunshine state and also has a passion for earth-conscious living! Read more about my other favorite simple changes to live a more sustainable life in your home with this post!
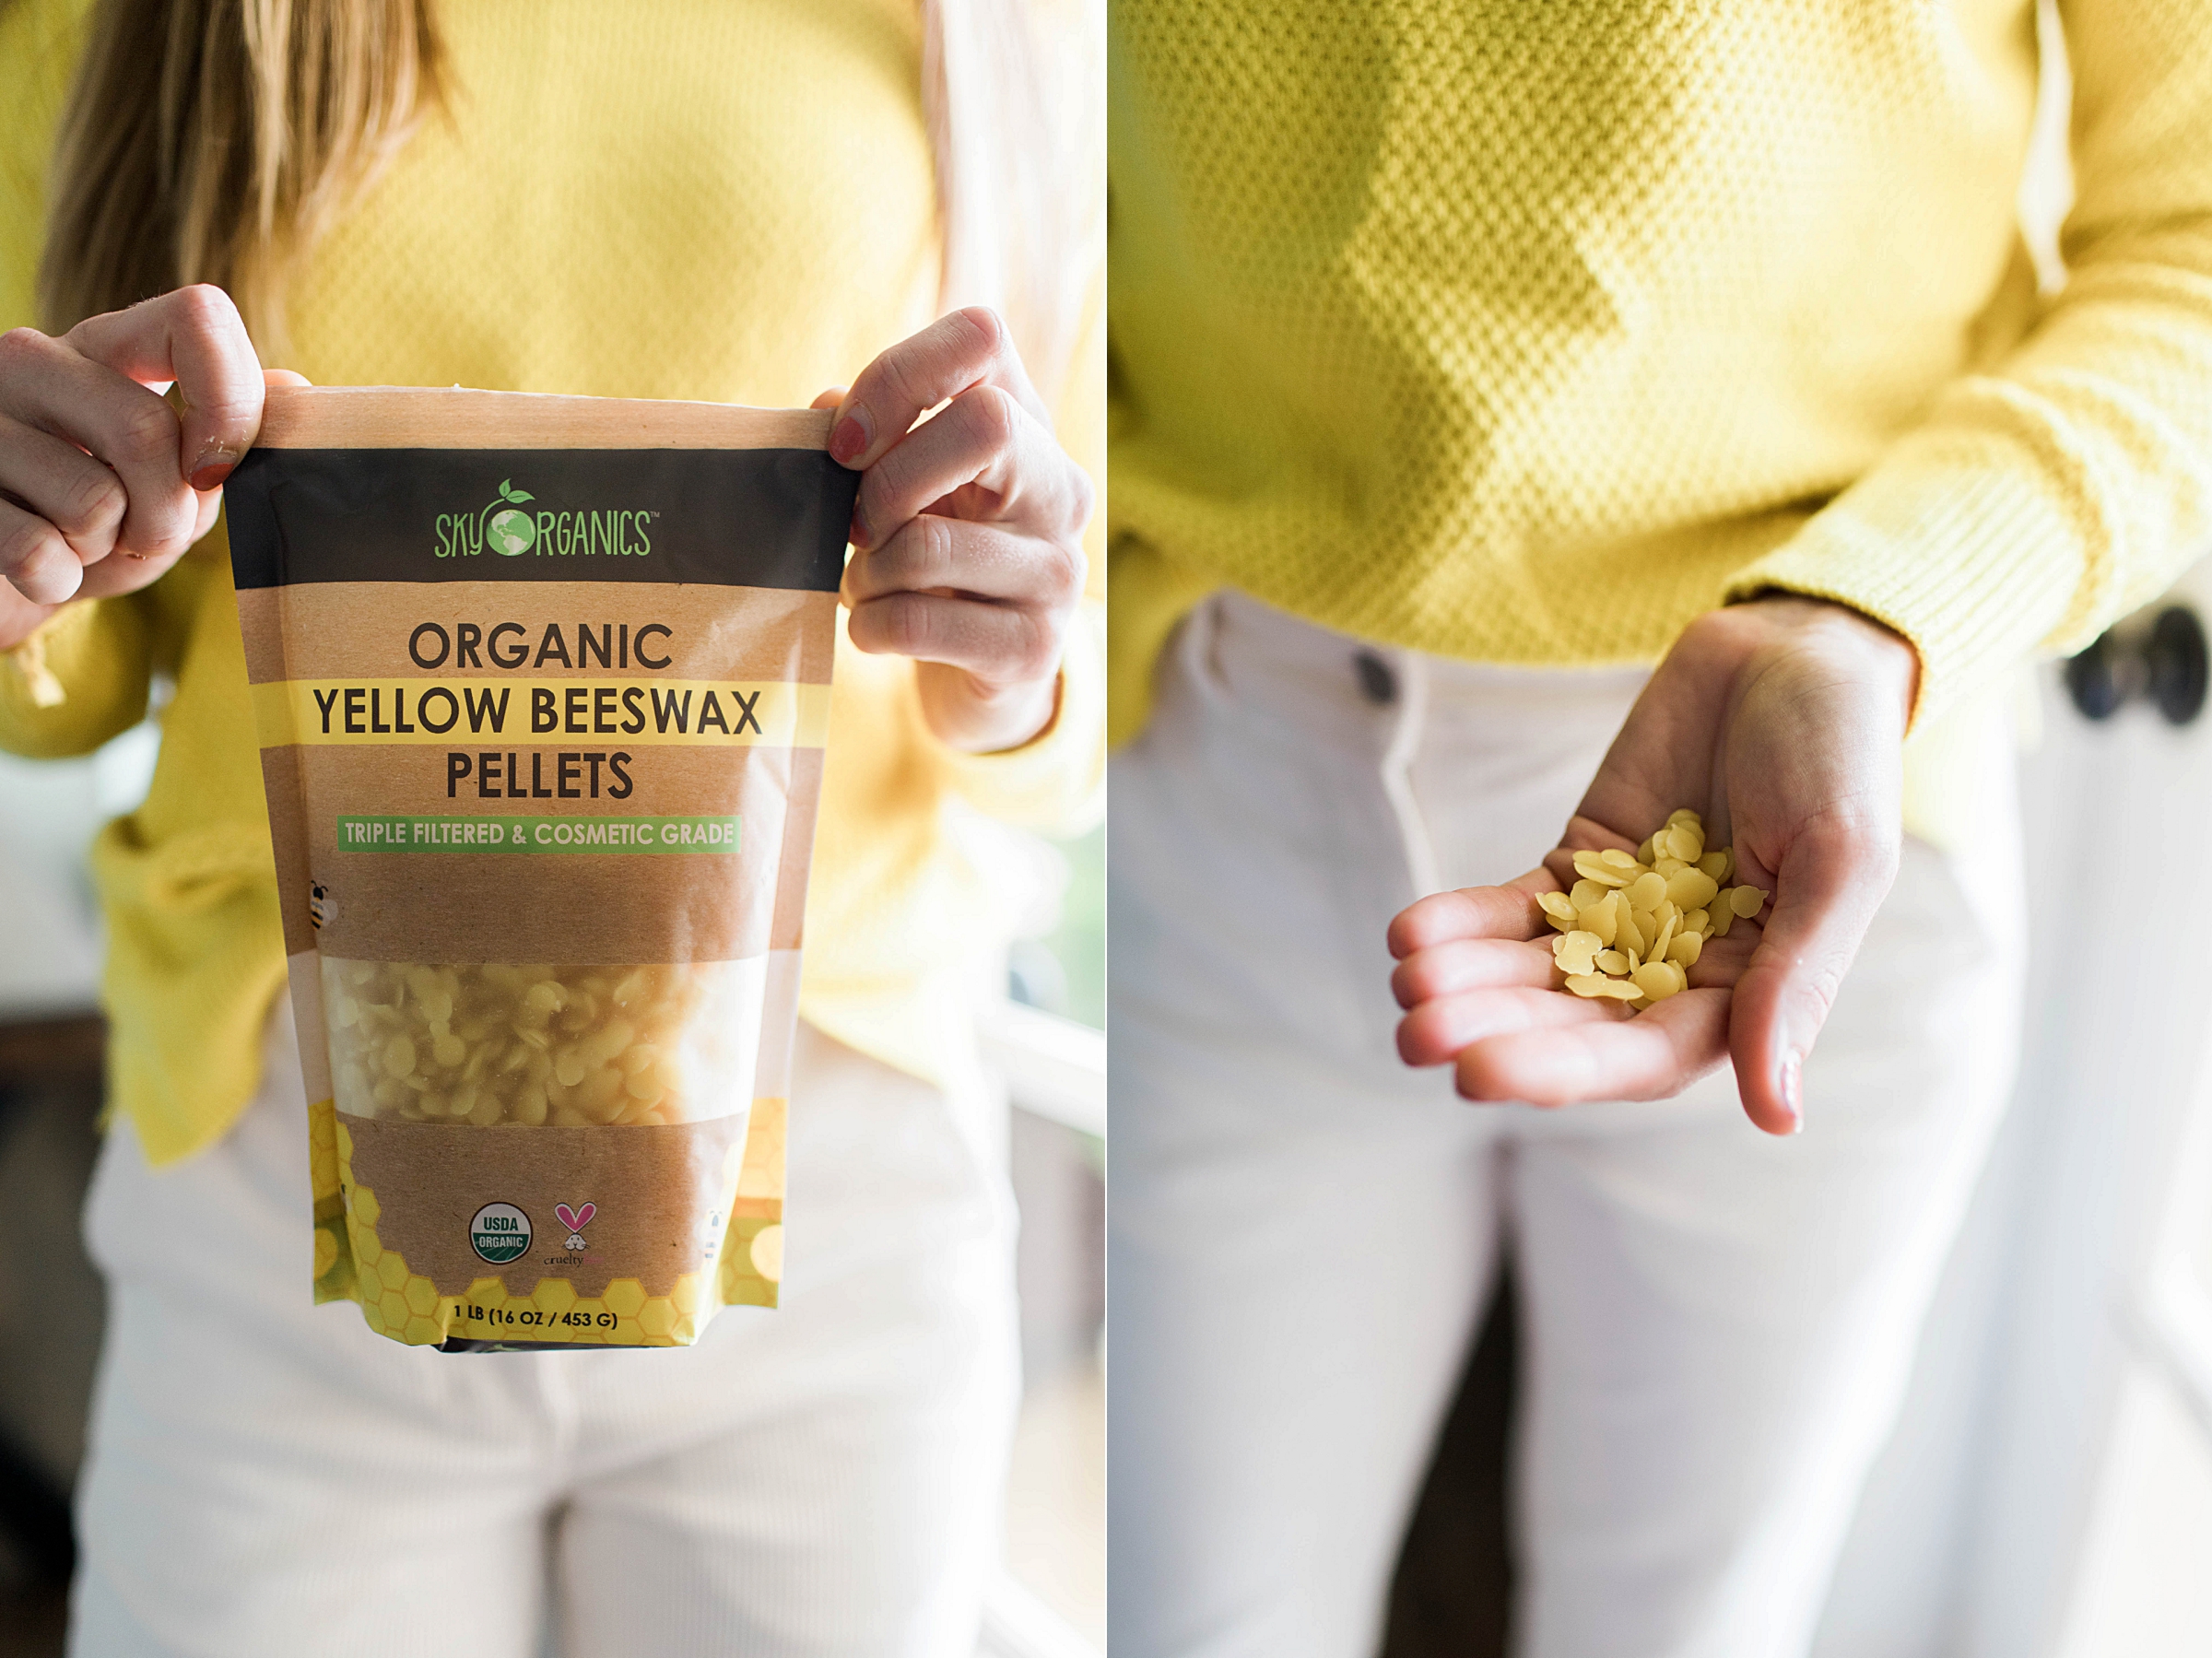
We used organic beeswax which comes in a 1 lb bag and will last you many projects! We did not find it necessary to iron or pre-wash our fabrics. When they bake, they will get soaked in the beeswax which should eliminate any fine wrinkles. You will not be washing or drying these in your washer/dryer, so I wouldn’t worry about fabric shrinkage.
Craft Supply List:
Cotton Fabric By The Yard
Beeswax Pellets
Parchment Paper
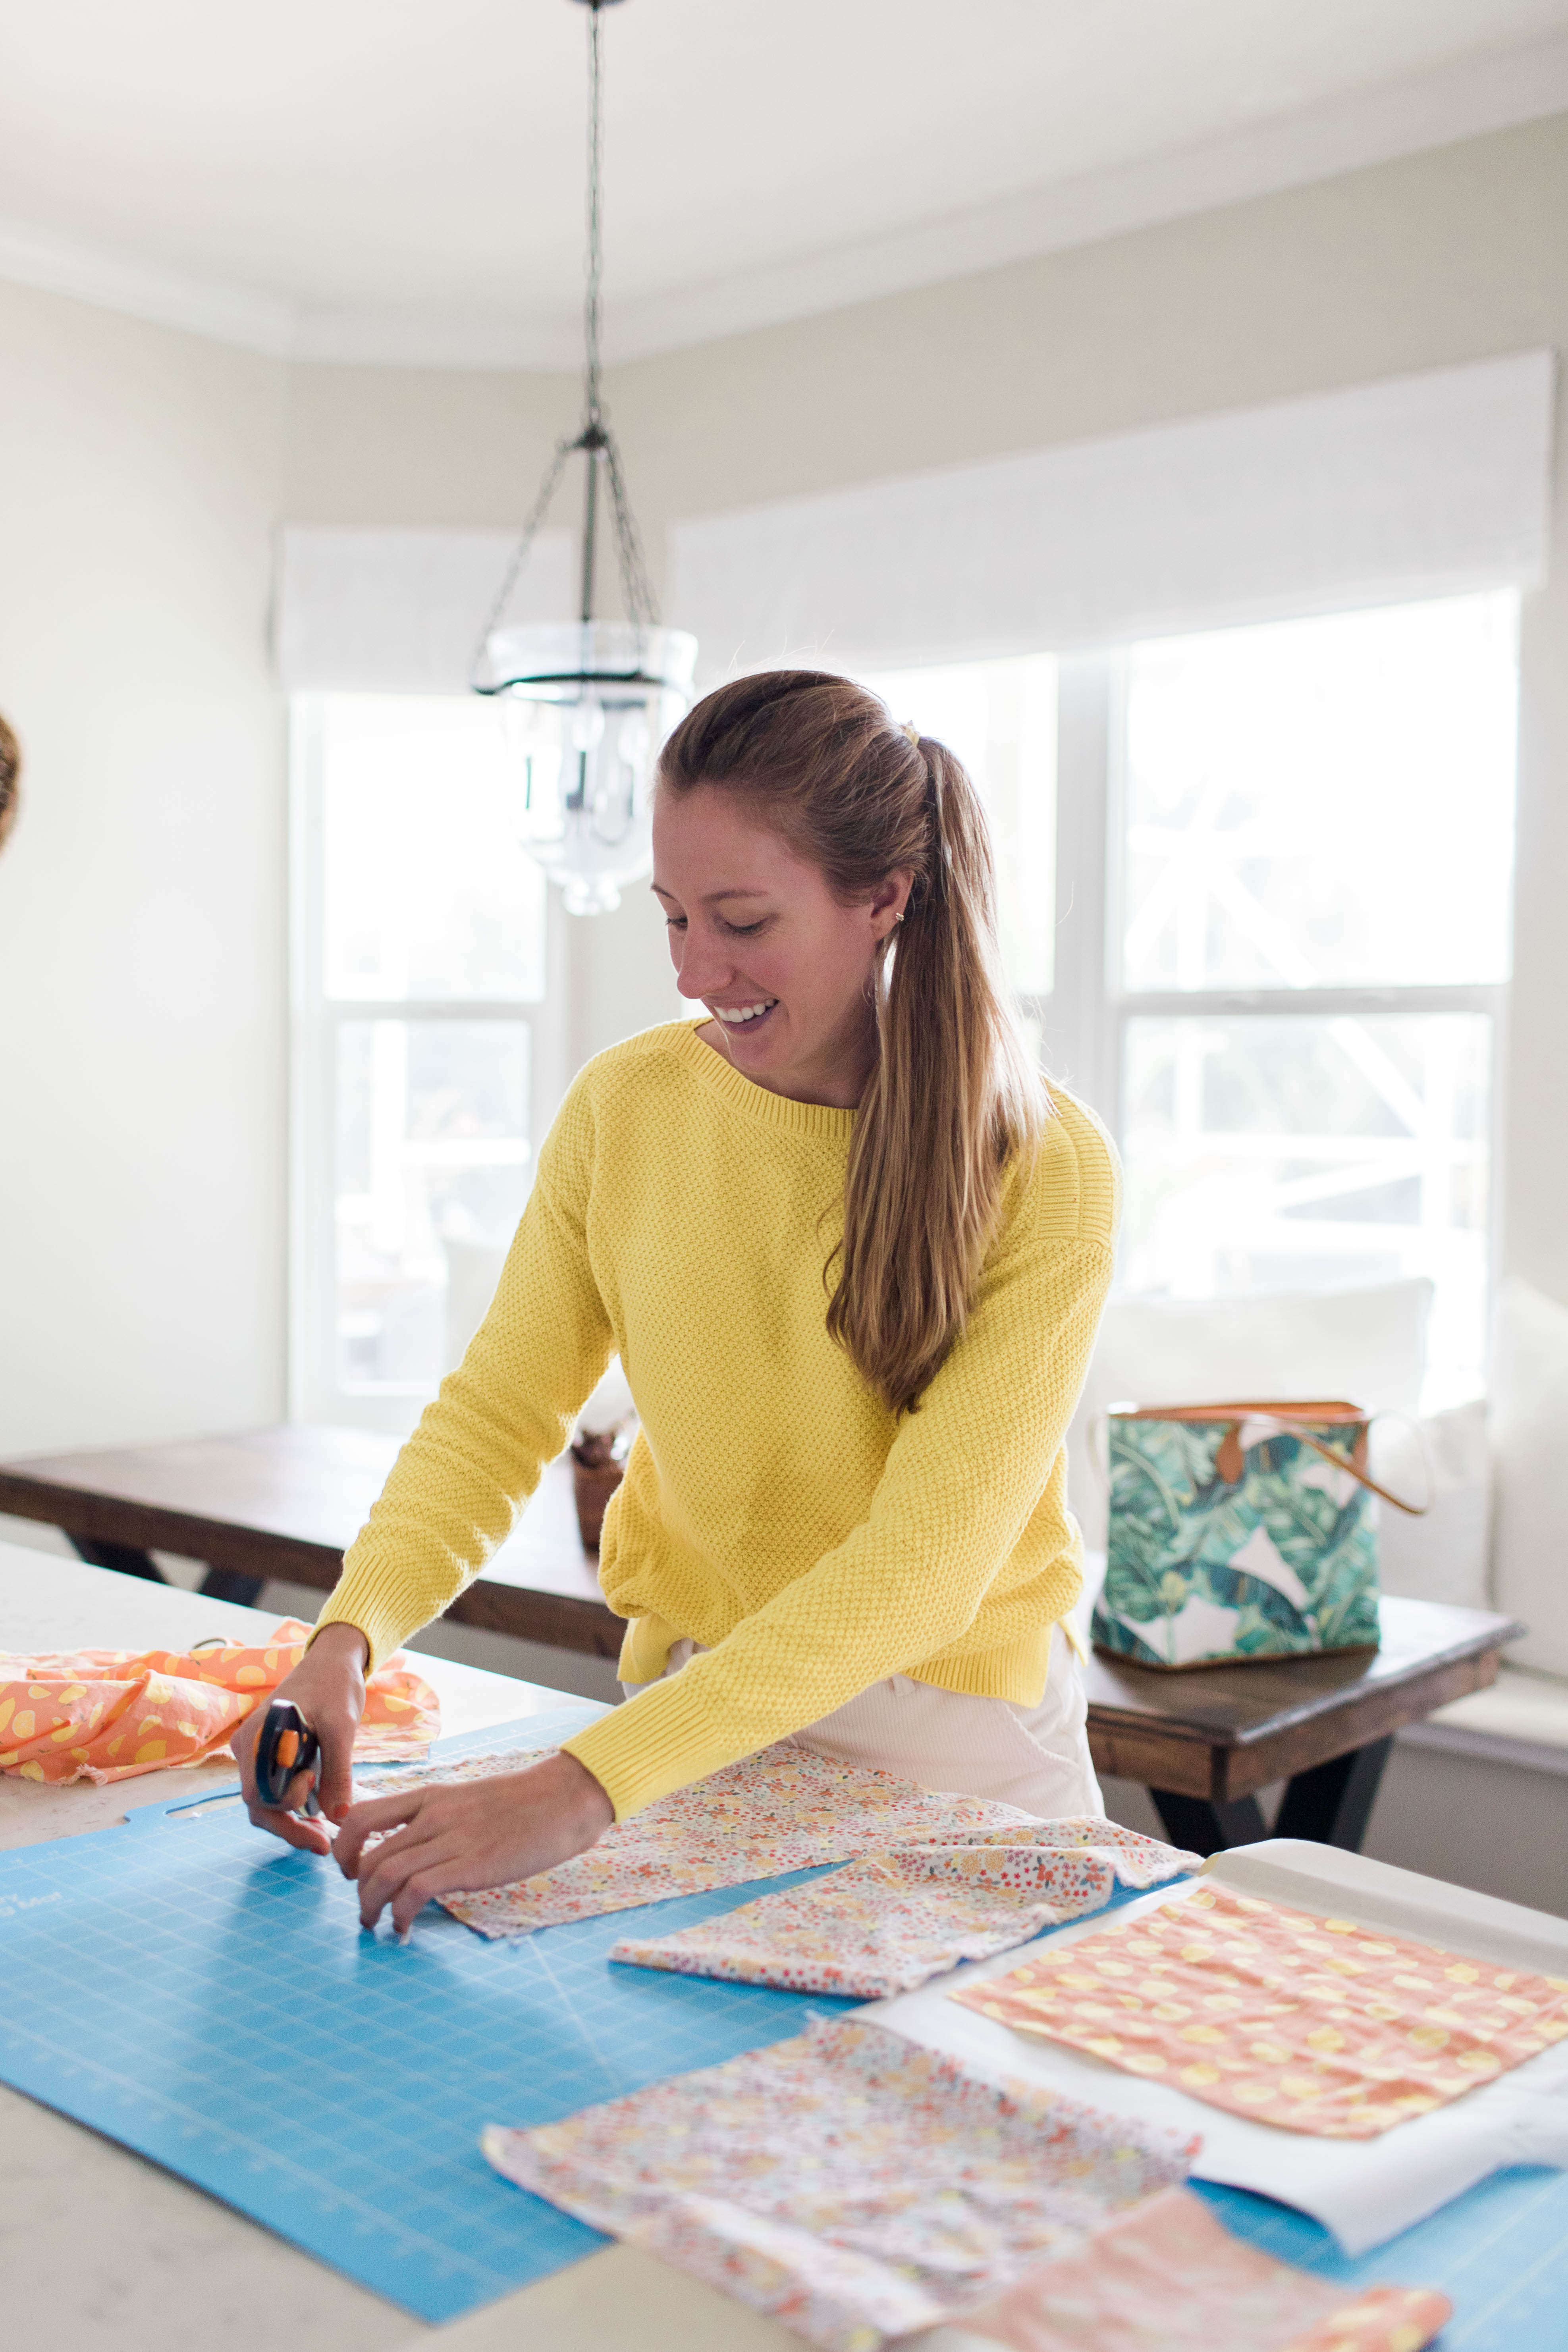
Step 1. Rough cut your fabric.
Cut your fabric roughly to the size you want leaving about a 1/4″ edge around the border for trimming. Your edges don’t need to be perfect at this point. The final cut will come after you add the wax.
Step 2. Prepare Your Beeswax
Lay your fabric flat on a parchment paper-lined baking sheet. Spread a handful of beeswax pellets evenly over your fabric.

Step 3. Bake & Cool.
Bake at 225F for 5 minutes, remove from the oven and quickly (and carefully) flip your fabric over so you can evenly bake the wax on the other side. Bake for an additional 2-3 minutes. Remove from the oven and carefully pick up your fabric by two corners. (I used my fingernails for this step but if it’s too hot for you to handle, you can use tongs.) Let it hang dry from your fingers until it cools and stiffens! This will take less than a minute. If you let it cool laying flat on the parchment paper, one side will be very waxy. The hang dry method ensures that the melted wax evenly runs through the fabric and fills in any uncoated areas.
Step 4. Finish The Edges!
Now that your fabric has baked and cooled into a more rigid wax wrap, you can trim off the edges with ease! We used a measurement mat for convenience and perfectly measured edges. You can use your wraps right away on anything from cheese to containers and produce. Use the warmth of your hands to heat the beeswax and stick the wrap around the surfaces of your items.
Cleaning & Storing.
Clean your wraps with cold water and let them air dry before reusing. If you are storing them longterm, you can keep them in the refrigerator.